
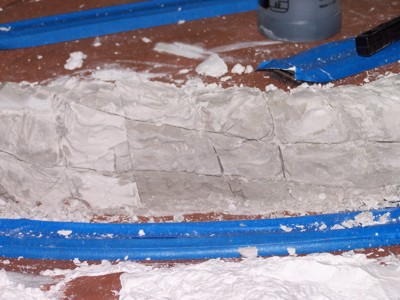
Blue tape covers the track and holds castings in
place.
|

In striving for the northern Colorado to southern
Oregon area, not all the landscape would be rock, so the casting were
spaced out.
|

Rock peaks will show through the forest floor. The
back section lifts out for access.
|

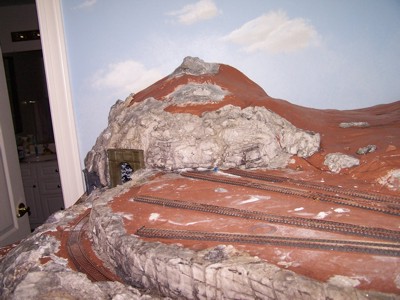
The start of the mountain behind the bed.
|

The mountainside was carved to show the smooth face
left by blasting to clear a path for the tracks.
|

The blue tape really saved on cleanup time.
|
Closeup of the carved rock wall.
|

The grooves show where the charges were. Once weathered,
the cuts will stand out very well.
|

Closeup of the cuts for the rock wall.
|

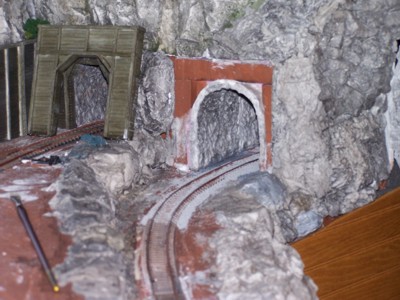
A timber retaining wall edges the tunnel entrance.
|

The rocks had to be cast just right to allow the
lift out section to come out without damaging scenary.
|

Stone retaining walls near another tunnel entrance.
|

Overall picture of Pine Ridge, complete with fascia
boards. The two uprights on the curve form part of the bracing for the
bridge section..
|

Colors were applied to simulate granite, slate,
and other rock colorations.
|

Smoke streaks were added above the tunnel entrances.
|

One rock mountain top, colored and ready for the
next step.
|
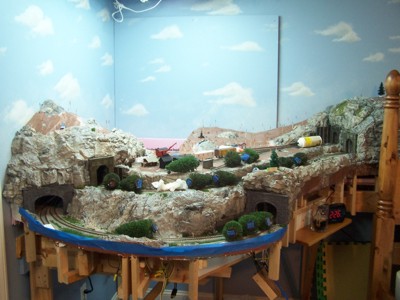
The Fraser Logging camp lines.
|

The weathered cuts show well.
|

The switches were added and the spur line to reach
the new village of Addon, comprised of Kurt's
Industrial modules.
|

The other half of the spur track.
|
The next step was to apply the ballast to the track.
This is where Michelle takes over the scenary portion.
|

Ballasting is tedious, but fun.
|

The hard part is to not clean up the ballast so
much that it doesn't look real.
|

Ballast gets everywhere and never sneeze over freshly
applied ballast - at least not until it is wet.
|

The mainline ballast is a fine gray blend.
|

The ballast extended as far into the tunnel as Michelle
could reach.
|

Into the other tunnel at the other edge of the mountain.
|

Basic buildings were placed so that the forest could
be planted.
|

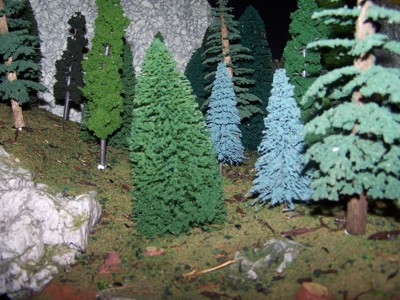
As any model railroader knows, really nice trees
are expensive, especially the tall pines that we needed. Our forest has
a mixture of trees, just like a real forest would.
|

Push pins simulate where we will place the cut stumps.
|

Fraser Logging is starting to take shape.
|

The shelf below the camp holds the alarm clock.
|
Before we could plant the trees for real, the forest
floor had to be created.
|

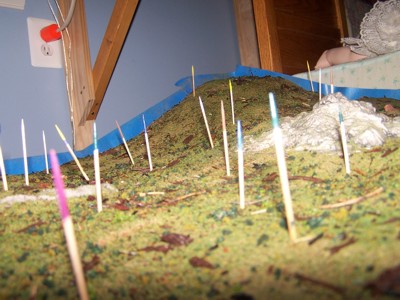
Colored toothpicks stood in for the removed trees.
Bases were cut from the trees and the stems colored to match. A different
color was used for each type of tree.
|

A very odd looking forest.
|

This was a good project for a rainy Saturday afternoon.
|

The forest floor, with logging path and debris piles.
|
The view from the loggers point of view.
|

The mountain top with several deadwood piles that
have slid down the steep slope.
|

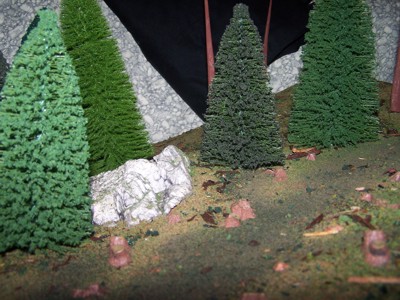
Logs and bushes were added to the rocks.
|

Replanting the forest became a matter of remove
a toothpick, find the correct type of tree, add glue and press into the
foam board base.
|
One forest ready for loggers to move in - well almost,
We decided it needed a few more trees.
|
Tree stumps line the path the loggers are taking
into the forest.
|

The loggers have moved in and are already busily
working to clear the trees.
|
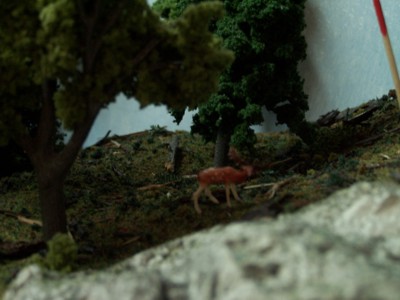
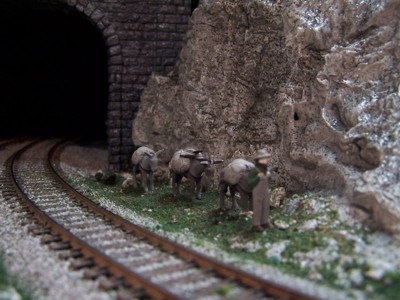
The moose shy away from the logging activity.
|

An arial shot of part of the logging camp. The water
tower was made from an old steam tender, raised on stilts.
|

The other half of the logging camp.
|

Loggers busily working.
|
Angry papa bear protects his family from the loggers.
|

The foreman's cabin at Fraser Logging.
|

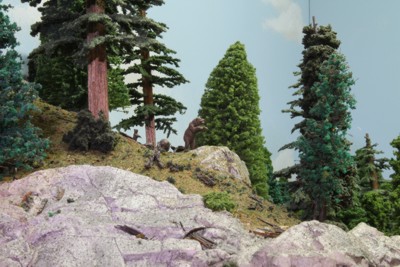
The lone stag surveys the logging valley from on
high.
|
A prospector is moving into the Fraser Mountain
area.
|