Eagle Valley - Kurt's Third Layout
Laying the Track
The track came next, followed by hours and hours of testing
with various engines and car combinations. As much of the track is hidden
in tunnels and behind scenary, the trackwork needed to be as error proof
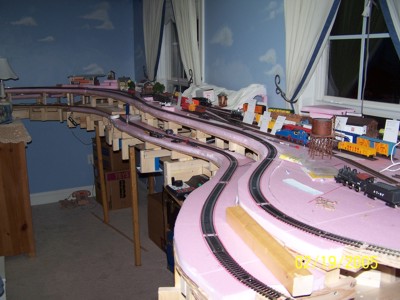
as possible. The main line is
two levels, basically one large folded
figure 8 loop, that can be set to run as two separate loops. The spurs
and yards are on three separate levels from the main line. The main line
is constantly changing elevation to reach the differnt levels.
When the
bridge is dropped into place between Pine Ridge Mountain and Addon,
point
to point operations can be done from Addon to Timberline.
(Click on a picture to see a larger image.)
The beginnings of the Timberline Yard.
|
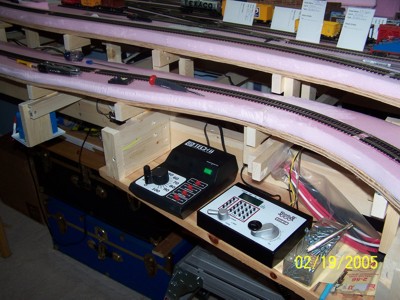
The DCC control panel.
|
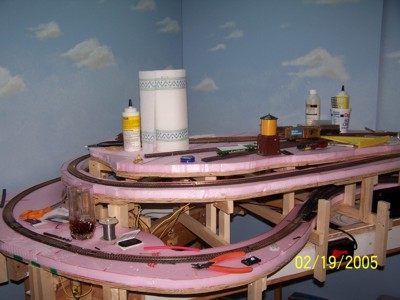
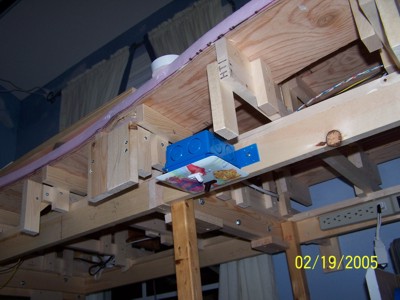
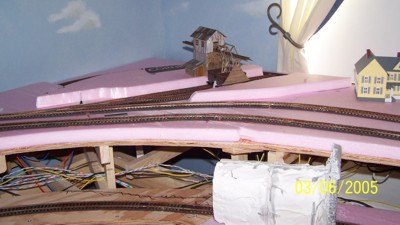
Pine Ridge has three levels of track, the
highest at Fraser Logging and the lowest on the outer main line loop. This
is before the turnouts were added for the bridge section.
|
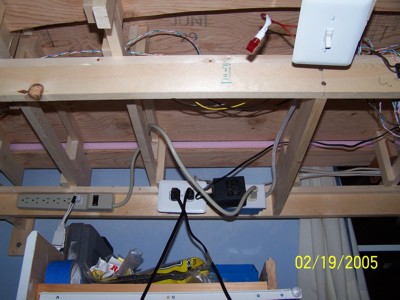
Power hookups and the main switch.
|
Overhead florescent lights will be installed,
one a daylight bulb and one a black light bulb. The switch is setup
for each bulb. The fishies are leftover from the kids bathroom, as
they grew out of the whimsical age.
|
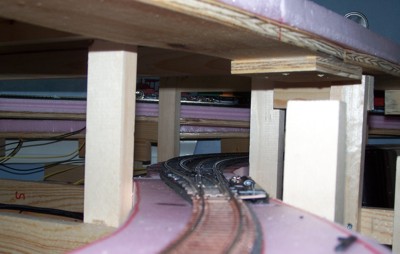
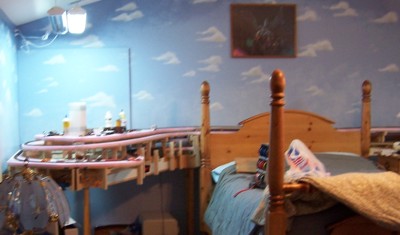
The double crossover behind the bed, where
the upper main and lower main lines meet.
|
Three of the tracks behind the bed. All of these
will be inside the mountain.
|
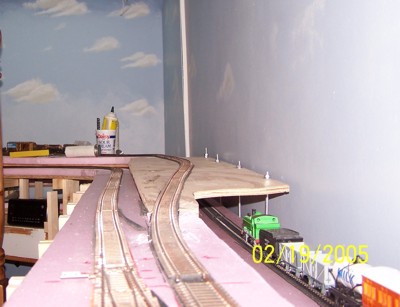
The lower main line exterior track behind the
bed.
|
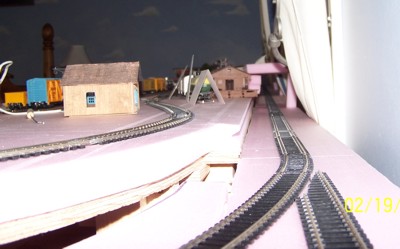
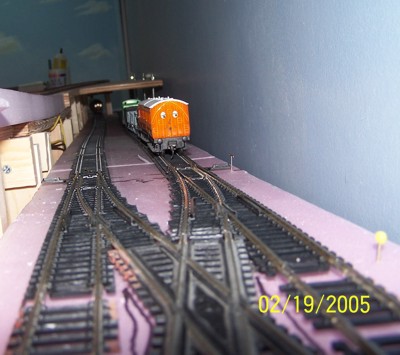
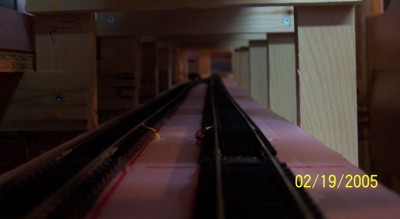
A view of the back tracks at Timberline. The
track on the right edge of this picture is non-working track that will
later be inside a tunnel. The track was added for look, not operations.
The tunnel is an interchange track, where the layout could connect to the
"rest of the world".
|

Tracks from behind the bed to the lower level
of Pine Ridge.
|
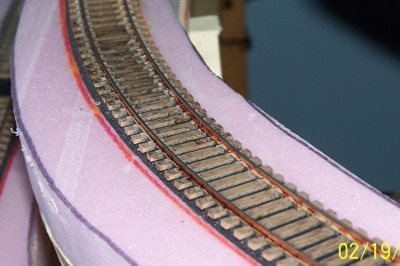
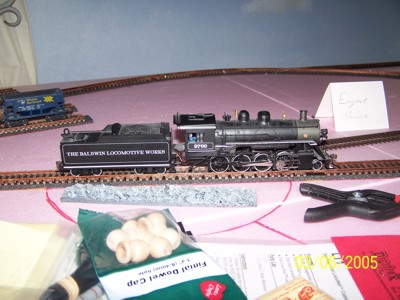
Kurt weathered all the track, first by painting
the ties, then putting a chestnut wash onto the rails.
|
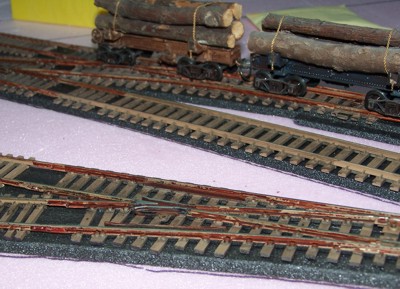
Logging cars resting on the logging camp lines.
|
The lower section of Pine Ridge.
This will be inside the tunnel when finished.
|
The lower tracks behind the bed.
|
Pine Ridge and behind the bed towards
Winchester Mine.
|
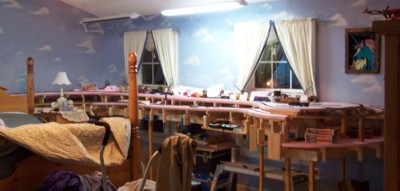
Half of the layout, from Winchester Mine mountain
through Timberline to Devil's Gulch.
|
Timberline Yard during one of the testing sessions.
|
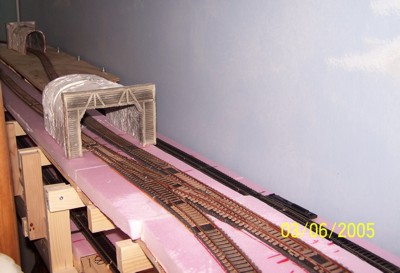
The basic mine structure for Winchester mine
was set into place to aid in track placement.
|
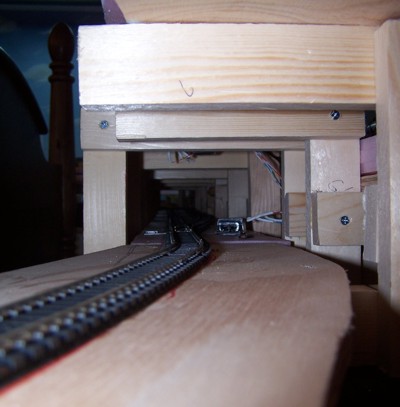
Tunnels are setup to check clearances.
|
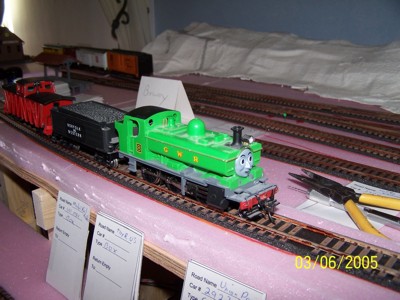
The small cards are part of the car card system
for operations.
|
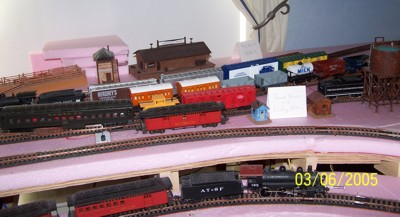
Timberline Yard is full of rolling stock, waiting
on a passenger train to move through.
|
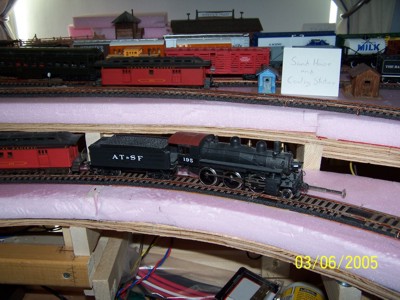
A 2-8-0 sits waiting for the engine house, the
turntable is still missing.
|
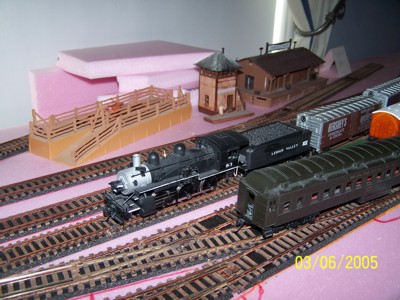
Timberline's cattle pen. These are all temporary
to check fit and possible placement.
|
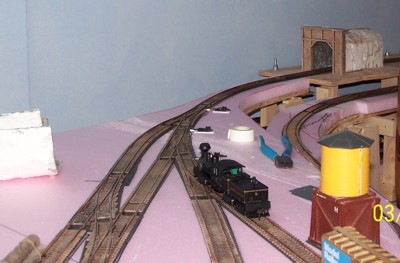
Fraser Logging camp track is accessed via the
tunnel.
|