
For Christmas 2011, Dad and I gave him all the interior dash knobs and some of the small bits.
|
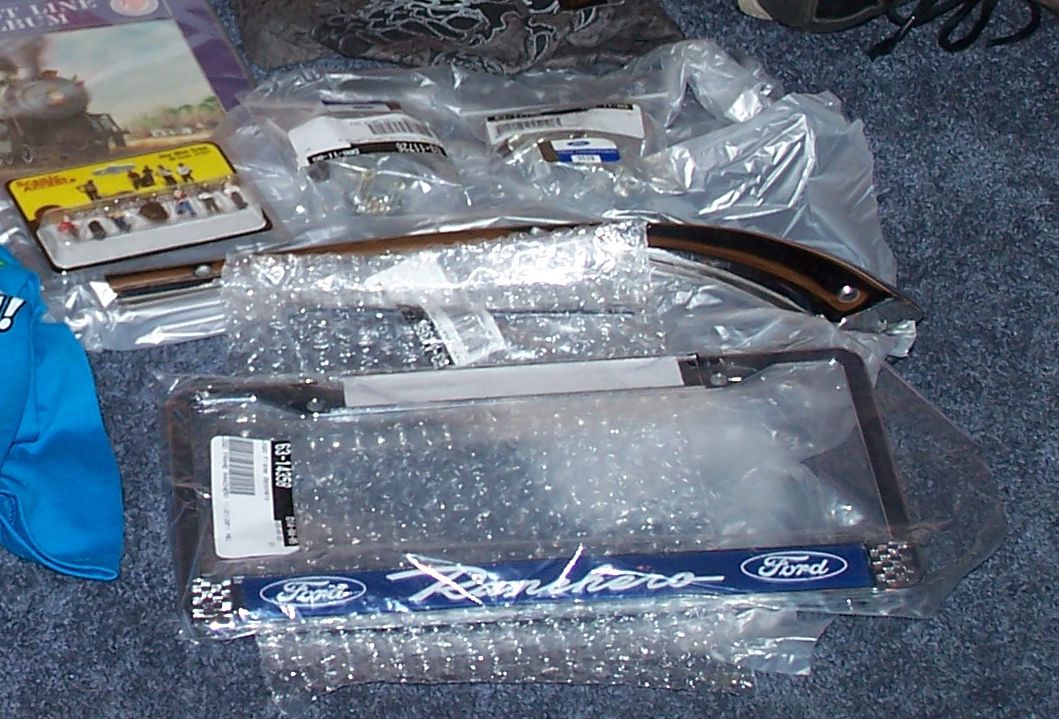
For his birthday in 2012, he received the corner bed stainless and some other parts.
|
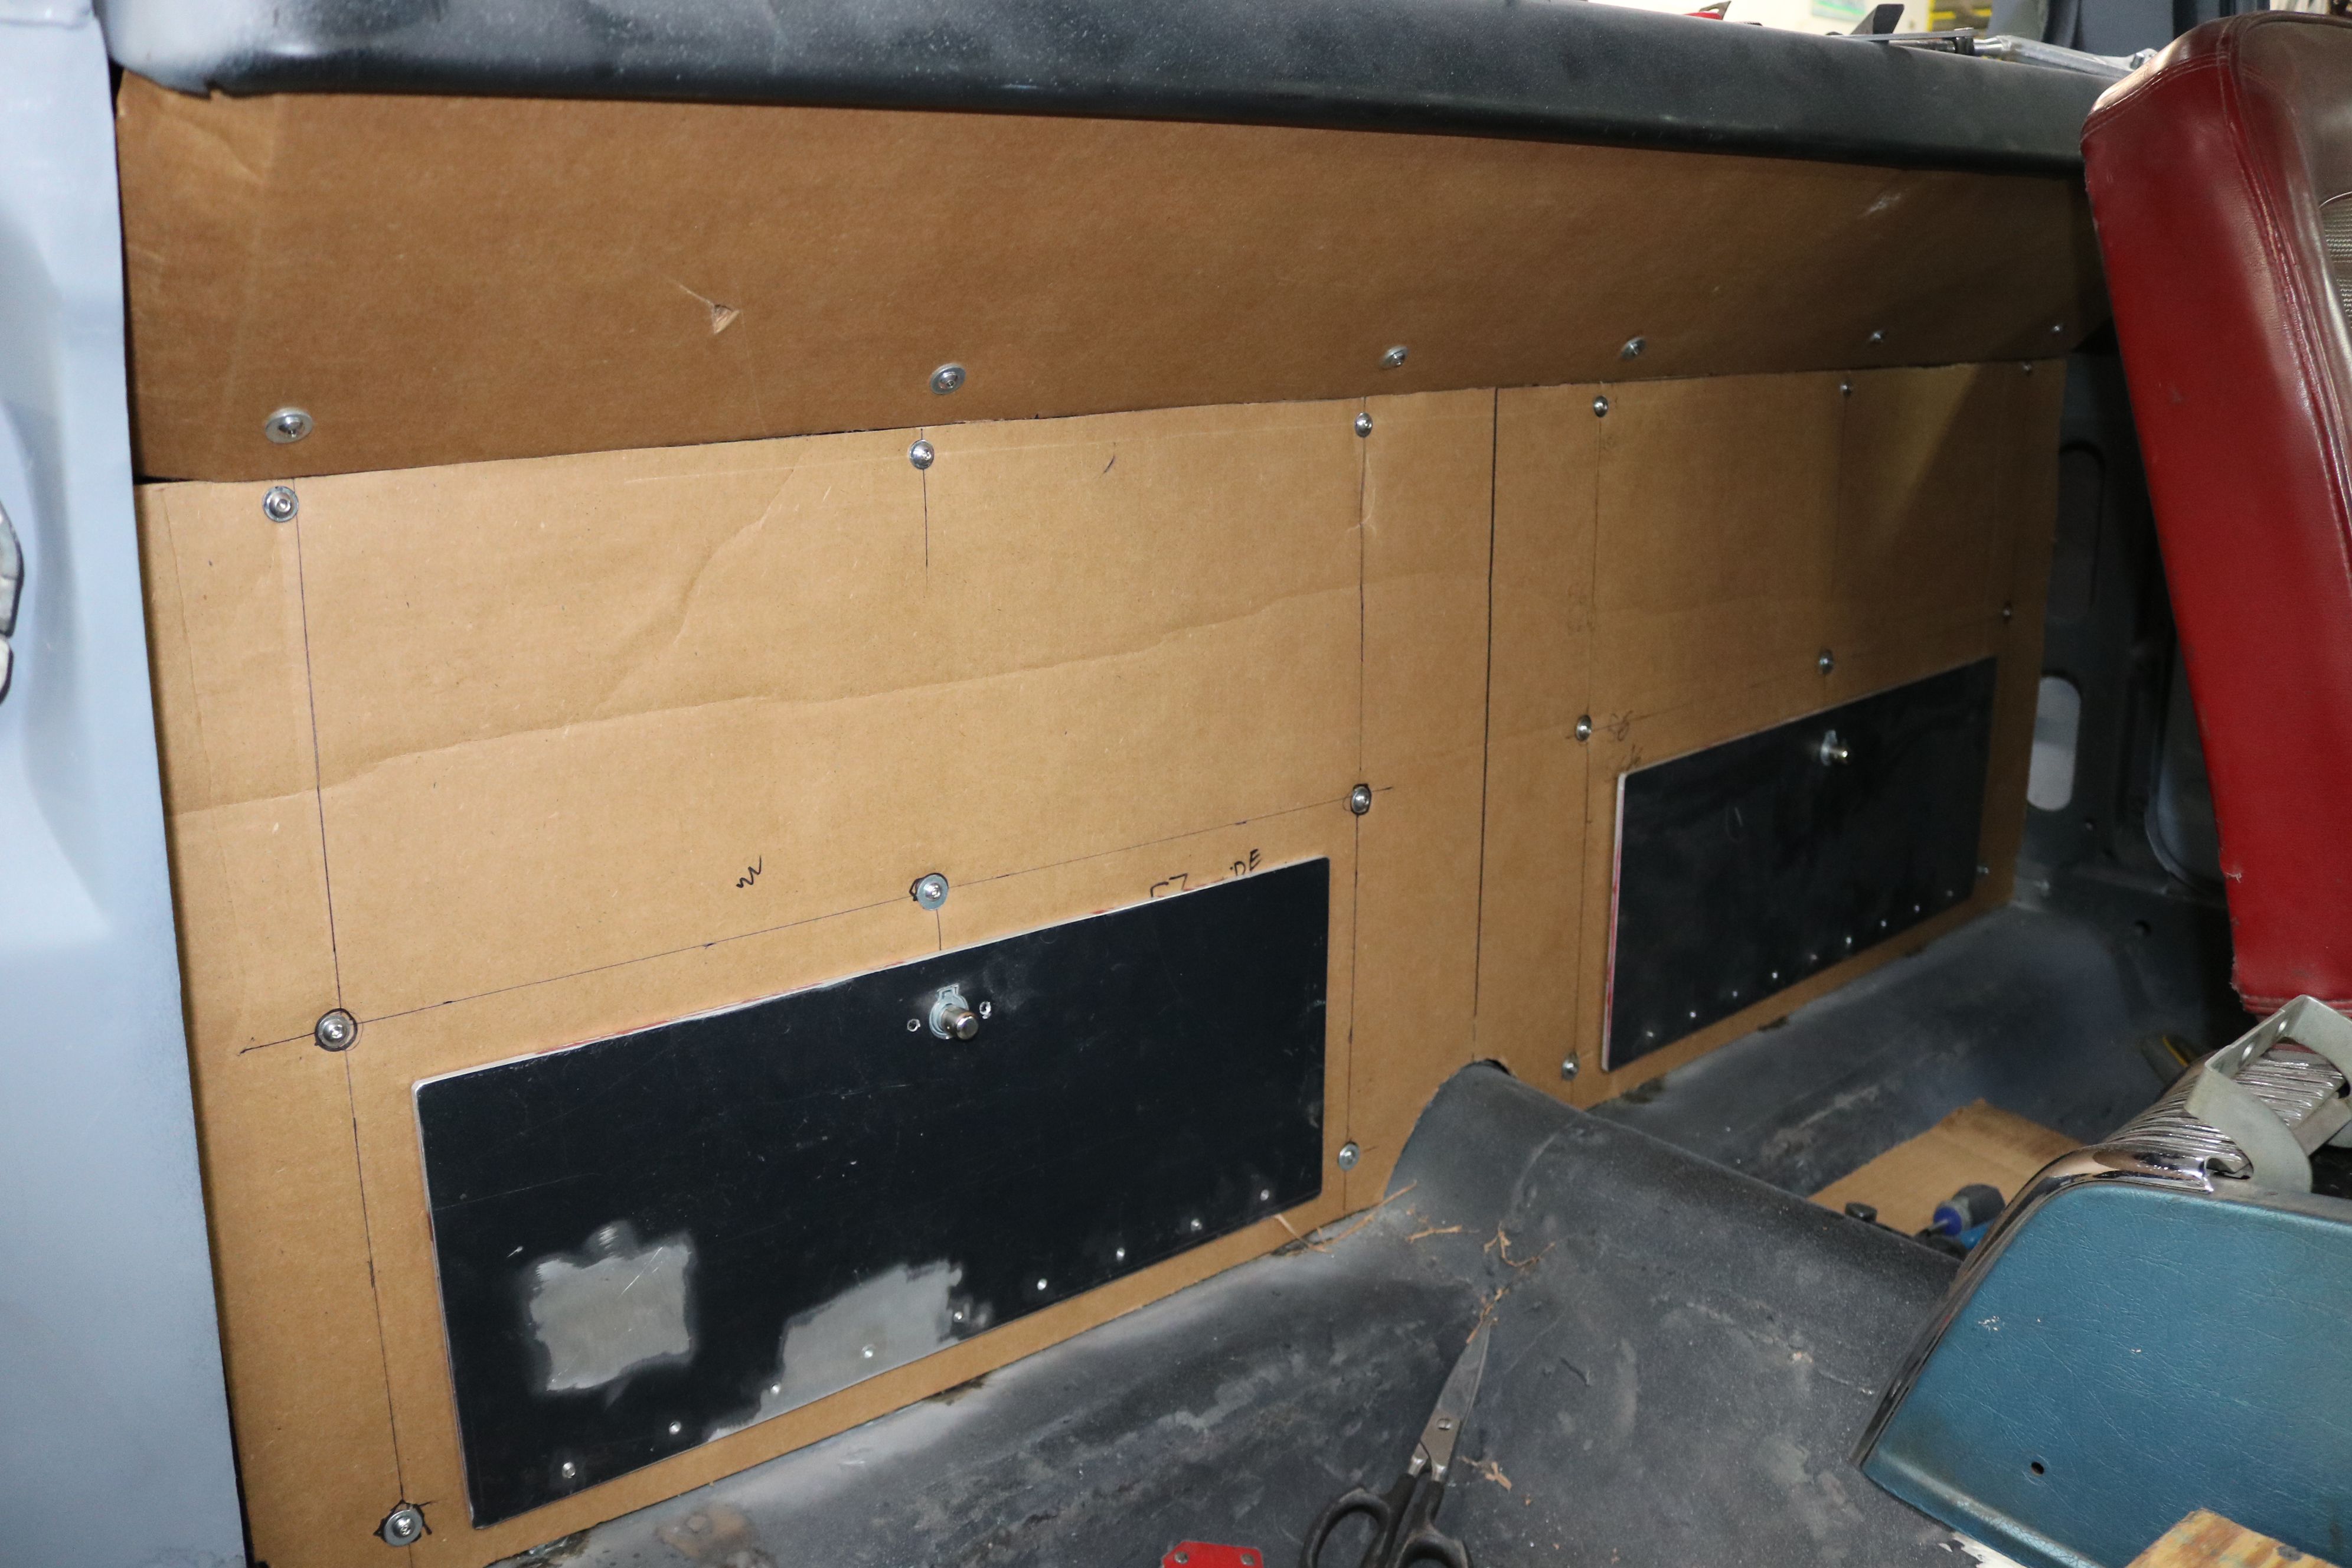
A cardboard template was made for the cab wall interior panel. We have some
1/8" sheet plastic to make this out of. Then it will be covered in vinyl.
|

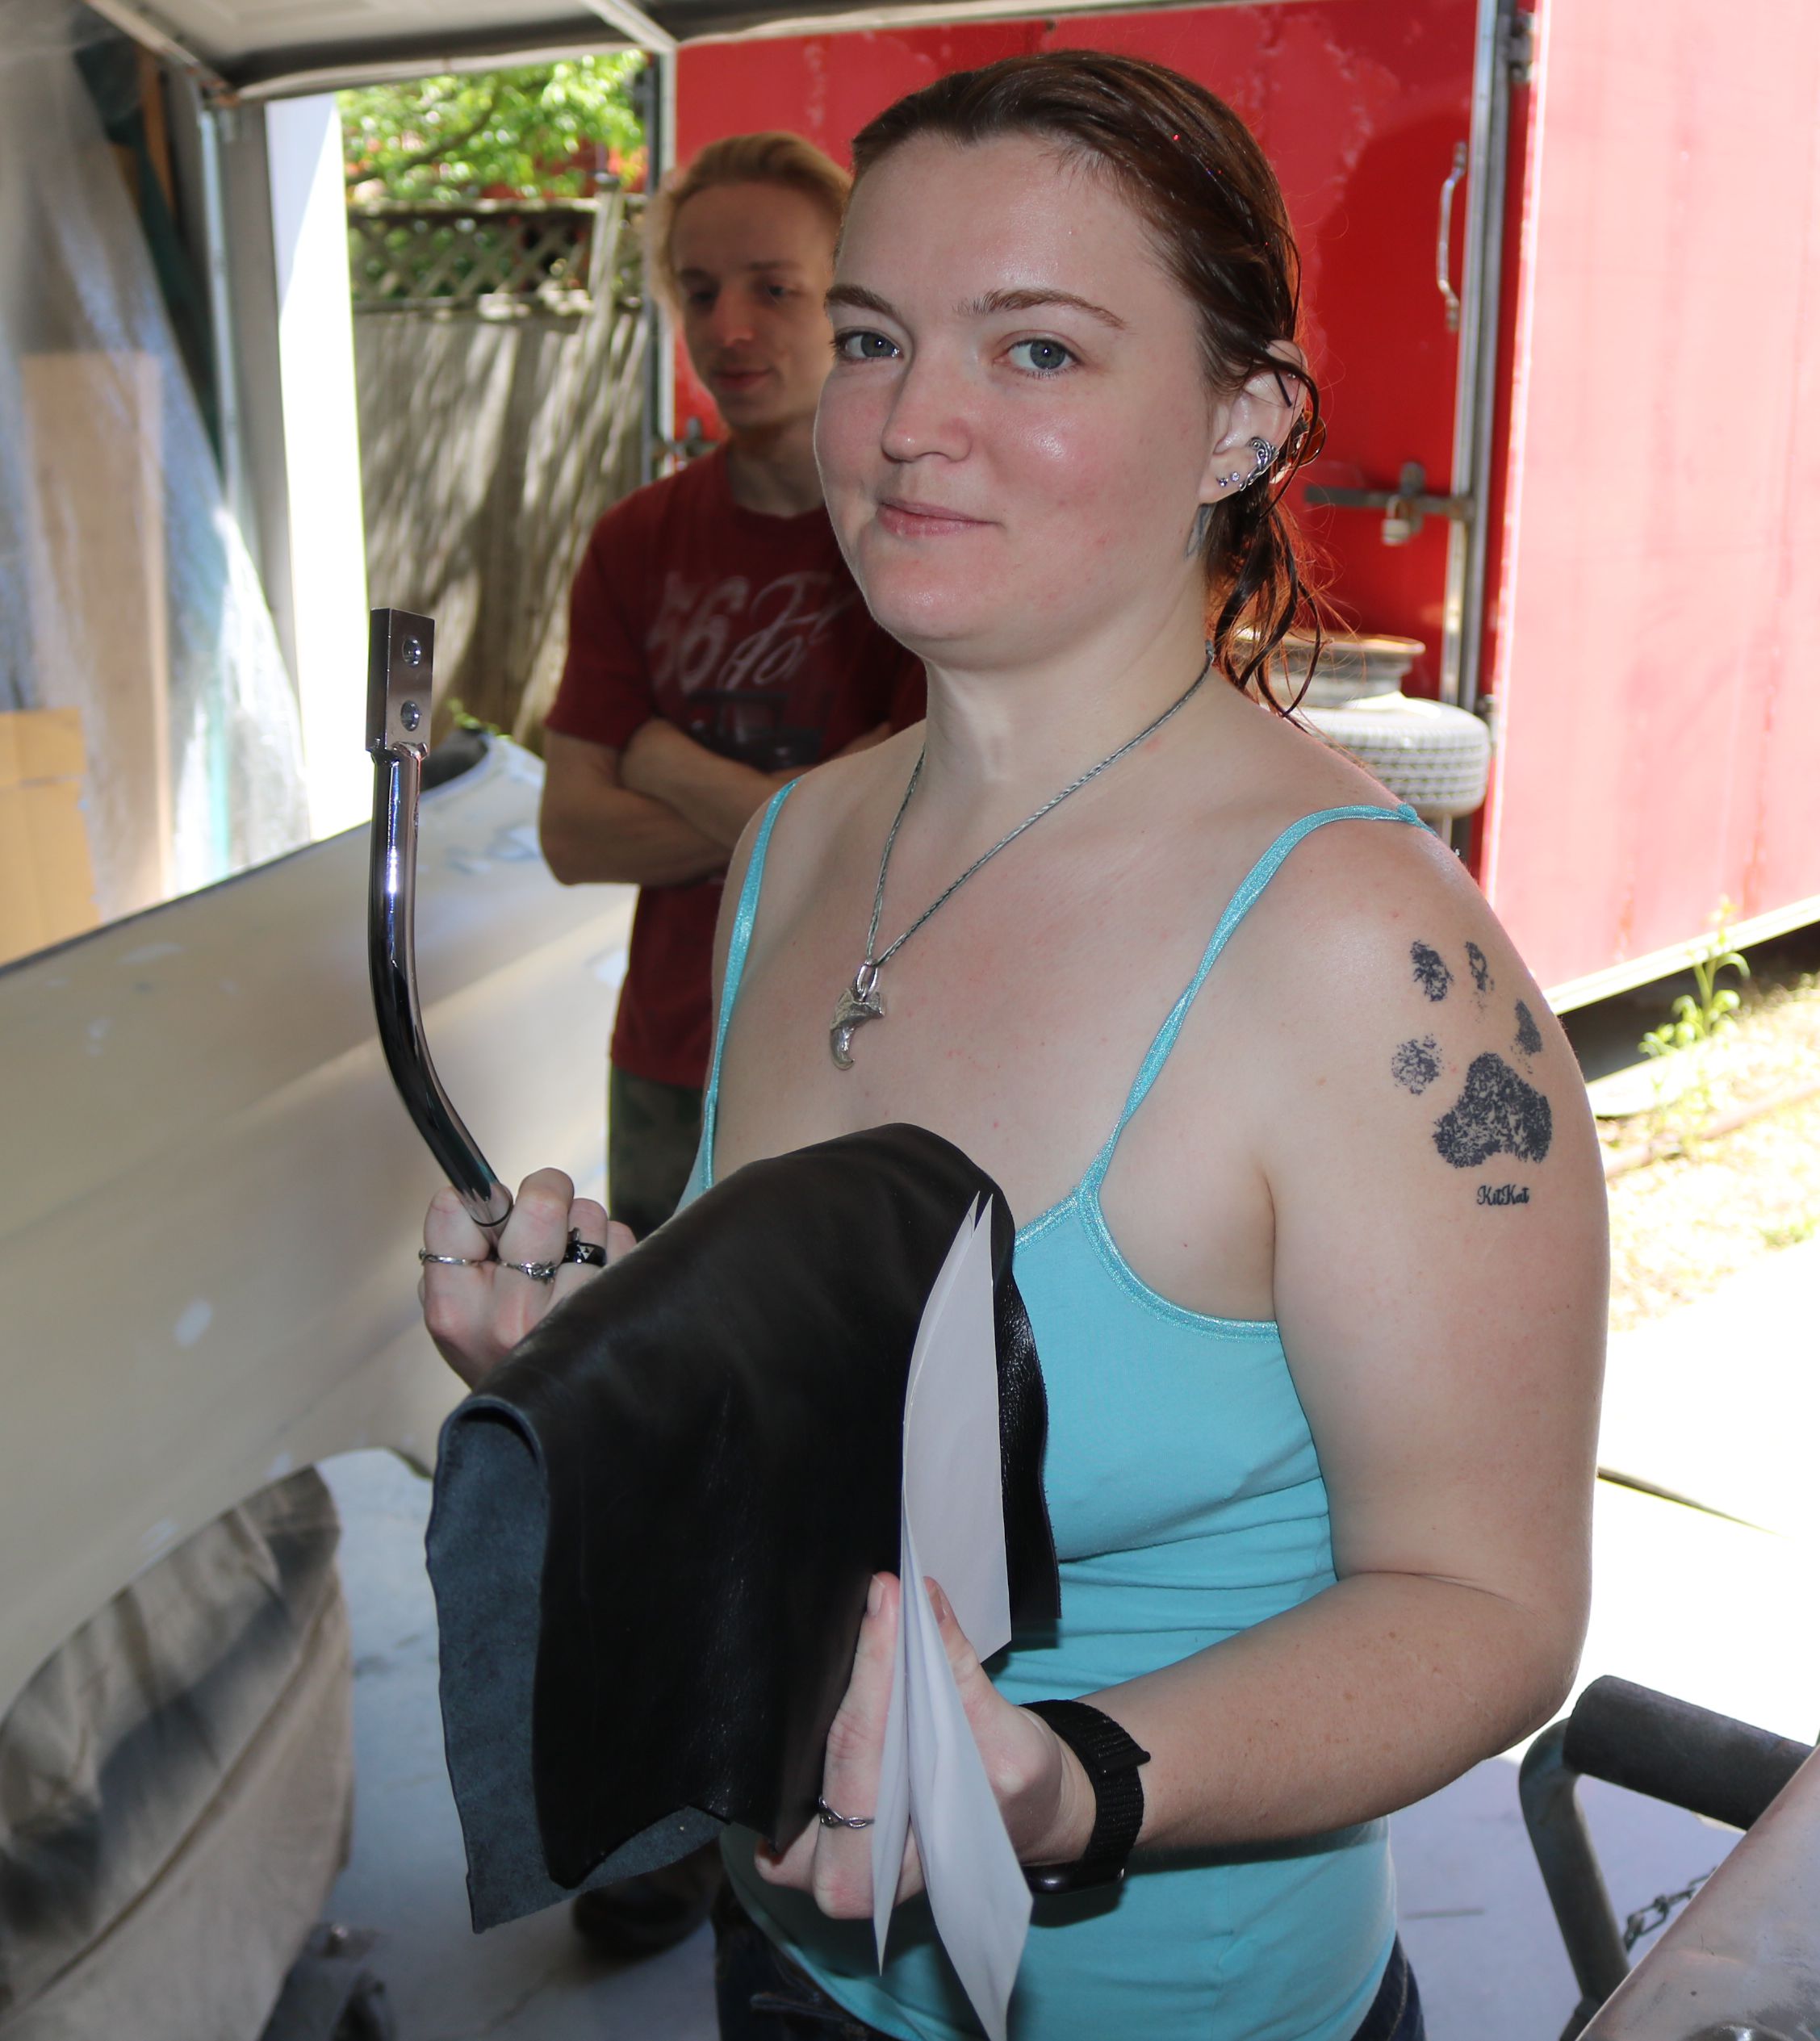
The Mustang seat with the cardboard template and the doors to the storage
boxes. The design for the custom interior is shaping up nicely.
|
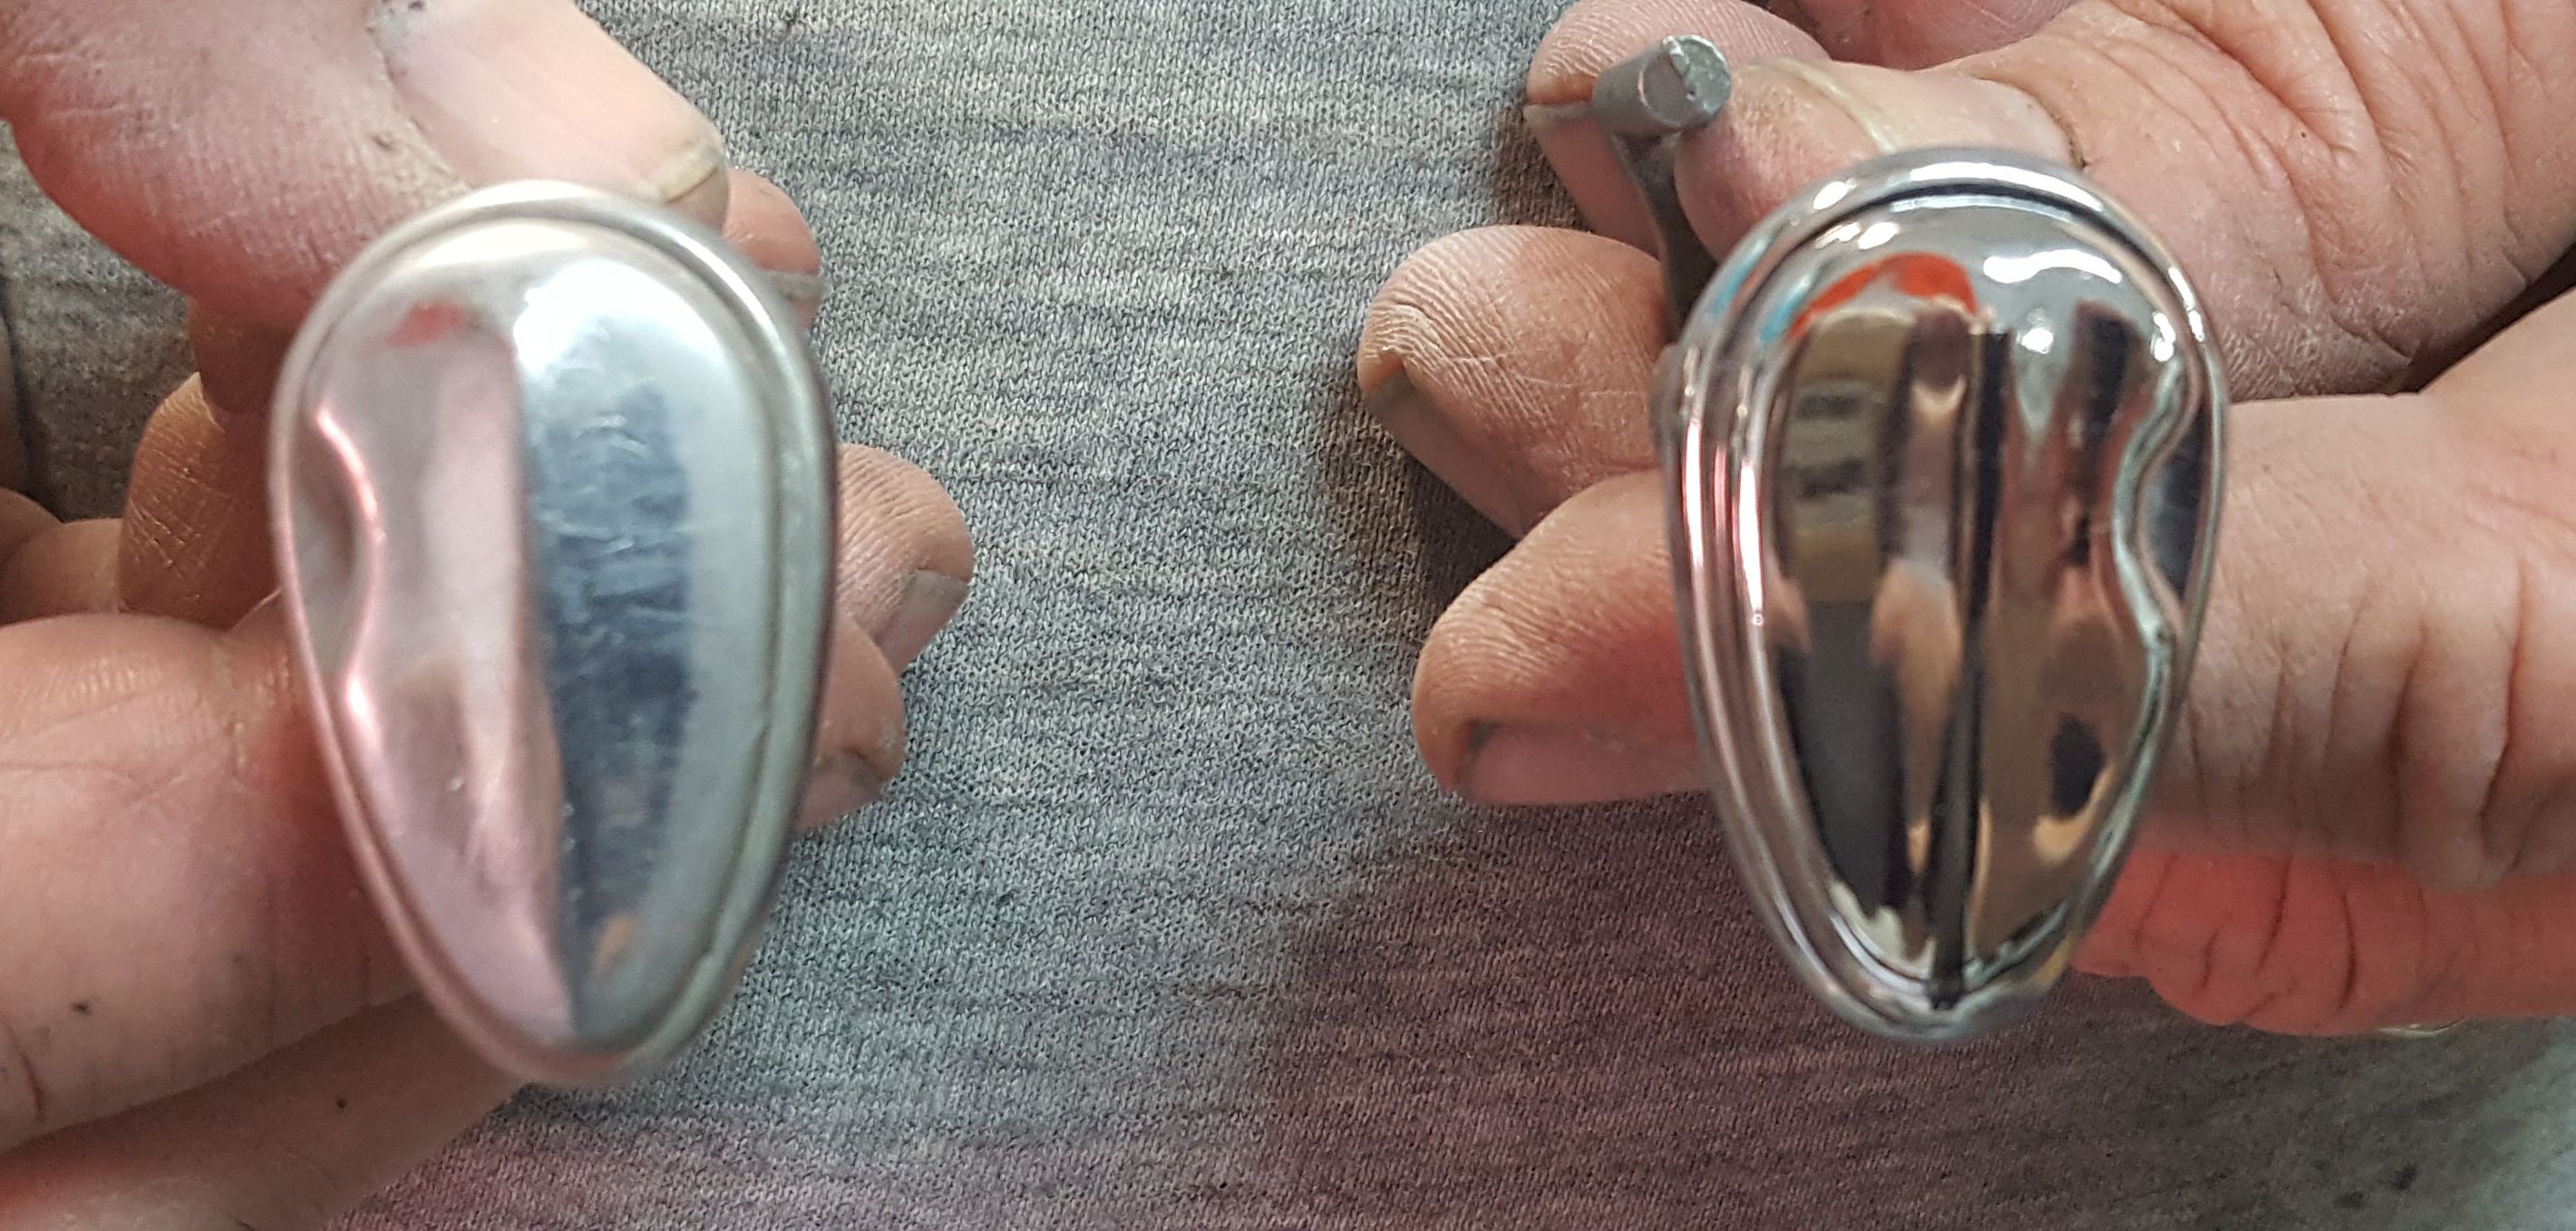
The door locks actually have stainless covers. The one on the right has been polished back to a high shine. The one on the left is the scuffed and scratched original.
|
Our son netted a set of the padded dash stainless on the Falcon Facebook group that someone was selling. Not having actually seen this in the original car and not having a dash already drilled for it, he asked his artistic sister for help in locating the best looking spot.
|
One of her artistic friends helped with this part of the project. This will be used as a separator for the two-tone paint to come.
|
The final location for the dash stainless trim. The top of the dash will be yellow and the middle will be pearl white to the next body line, with the yellow for the bottom of the dash. This pattern will carry through to the doors.
|
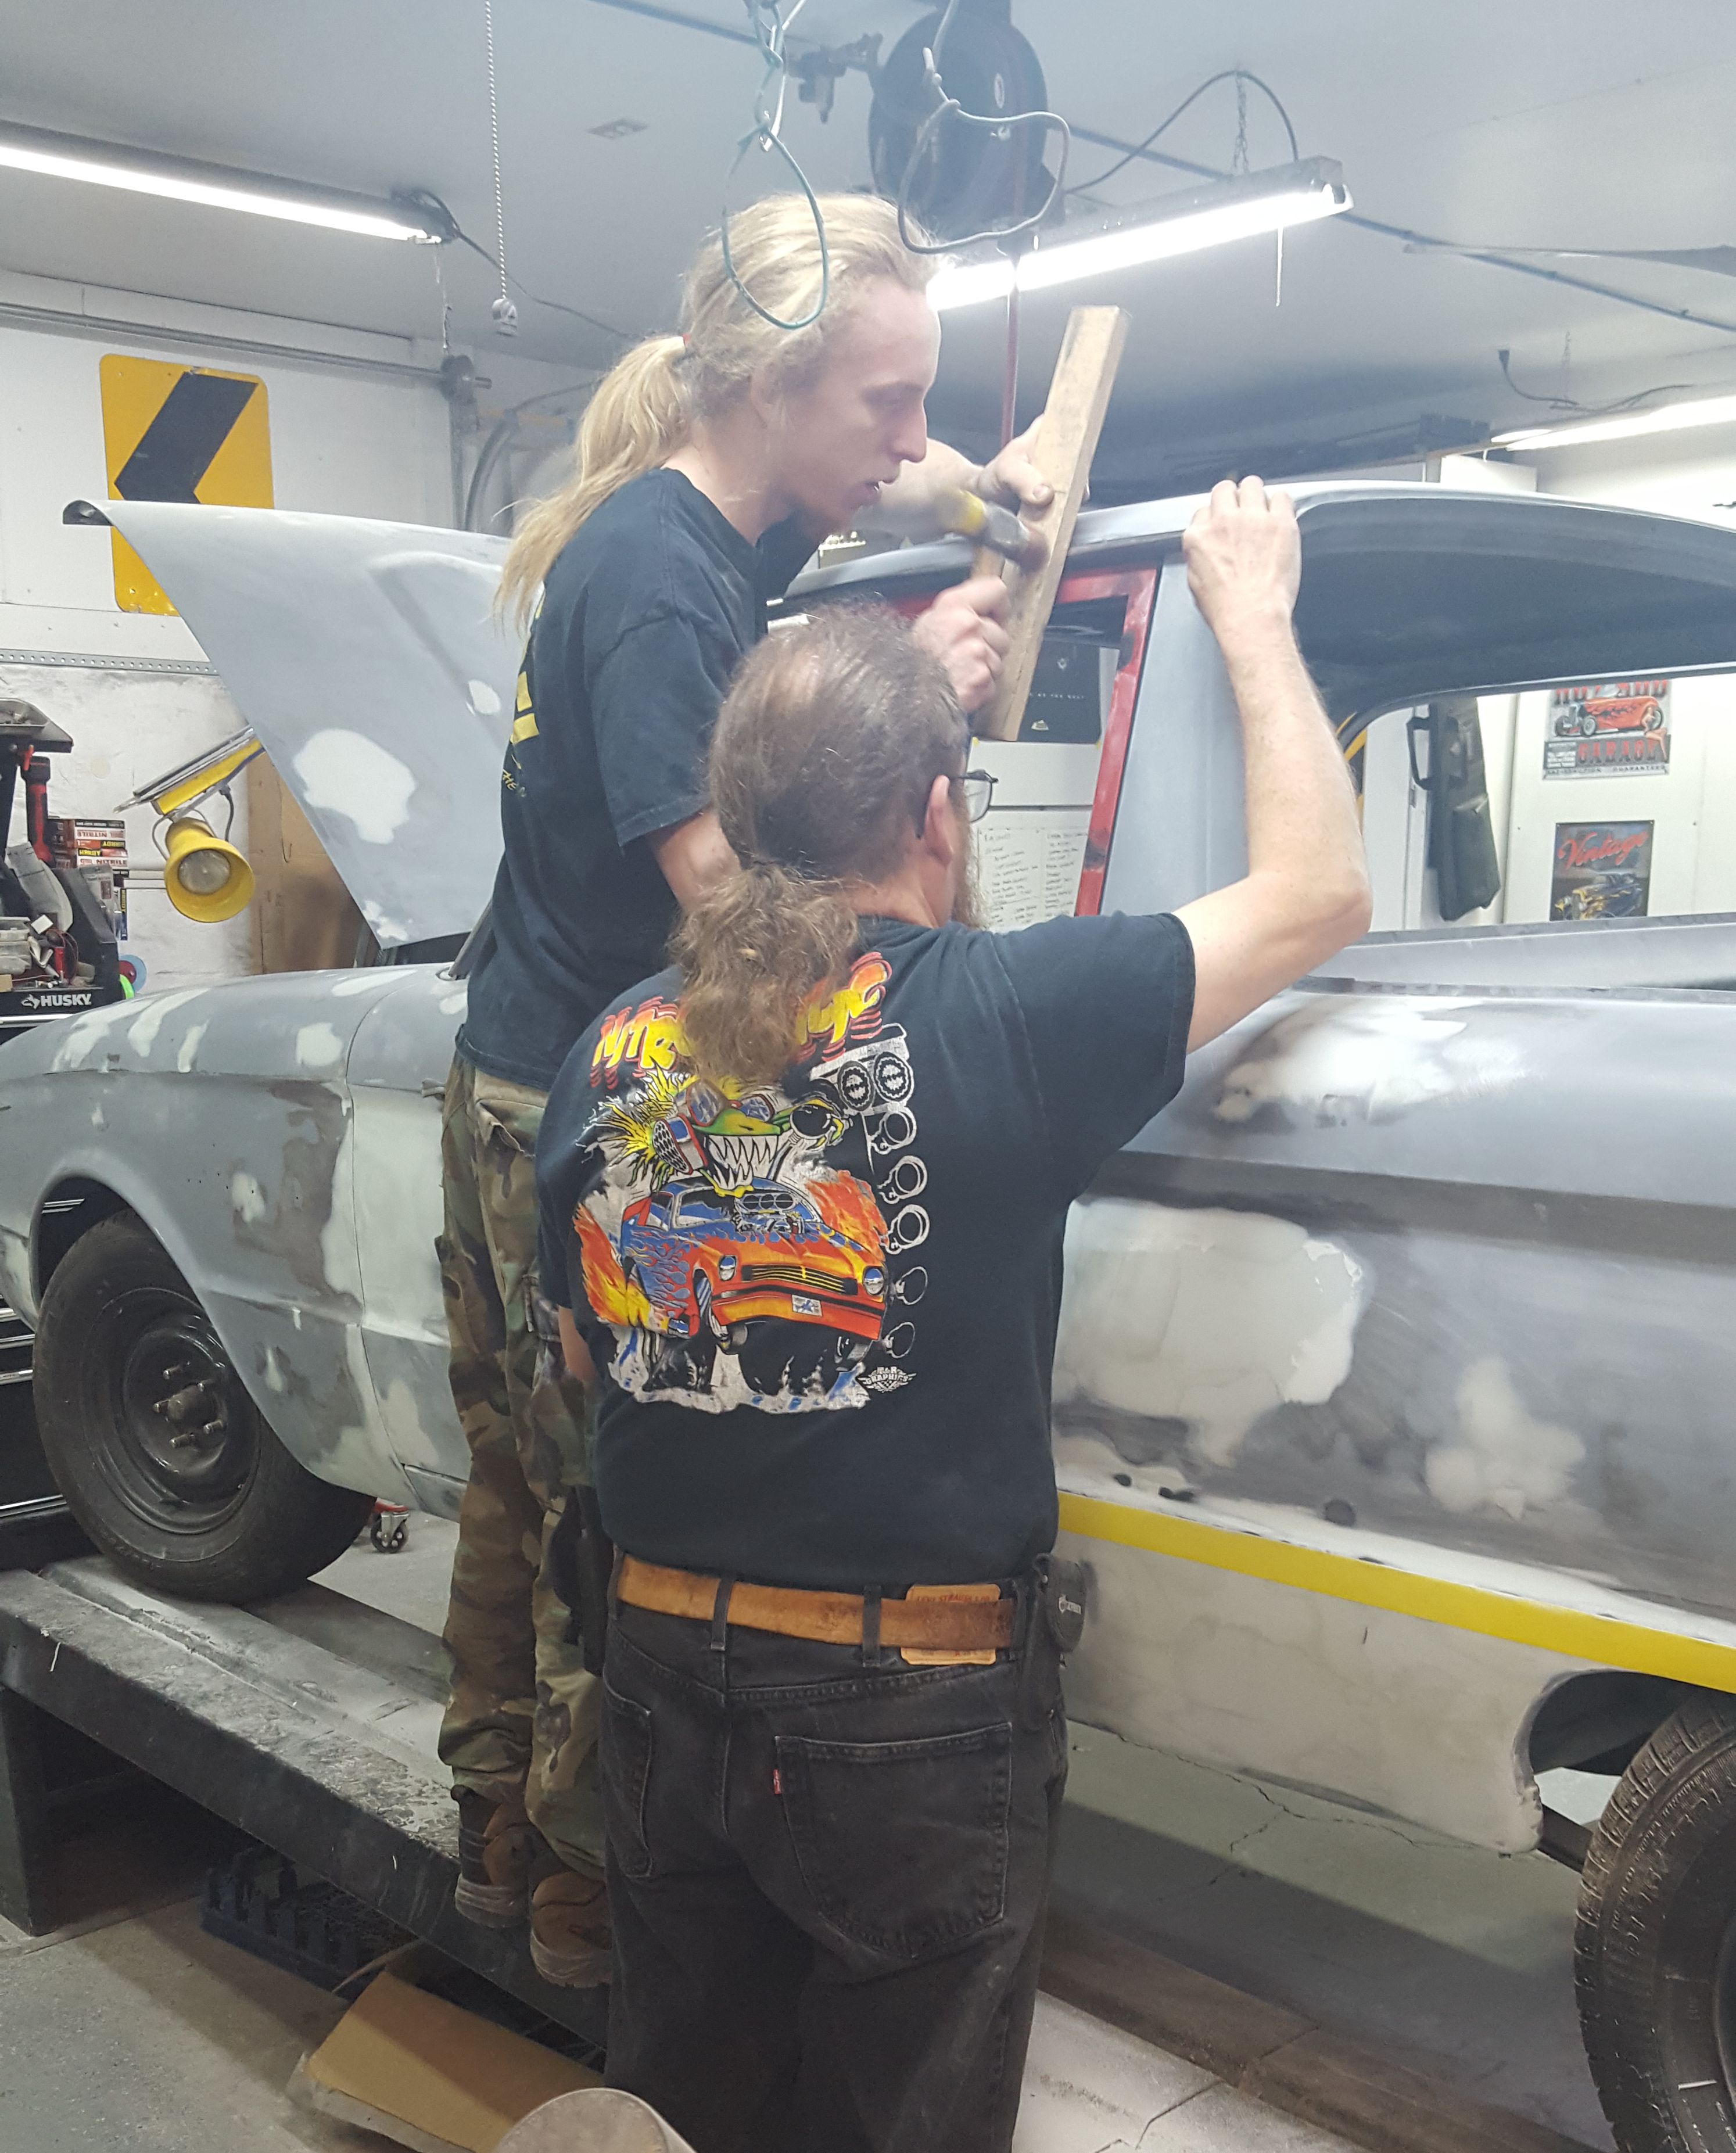
Our son found a four door Falcon rusting in a local salvage yard, with the drip rail stainless in great shape. Being from the sedan body, these are longer than will fit the Ranchero, but they can be trimmed to fit. To do that, they have to be installed on the car. In order to not damage the trim, a wooden slat is kept between the stainless and the hammer.
|

Still a bit of trimming to do. And that original red paint stands out against all the gray epoxy primer with spots of putty.
|
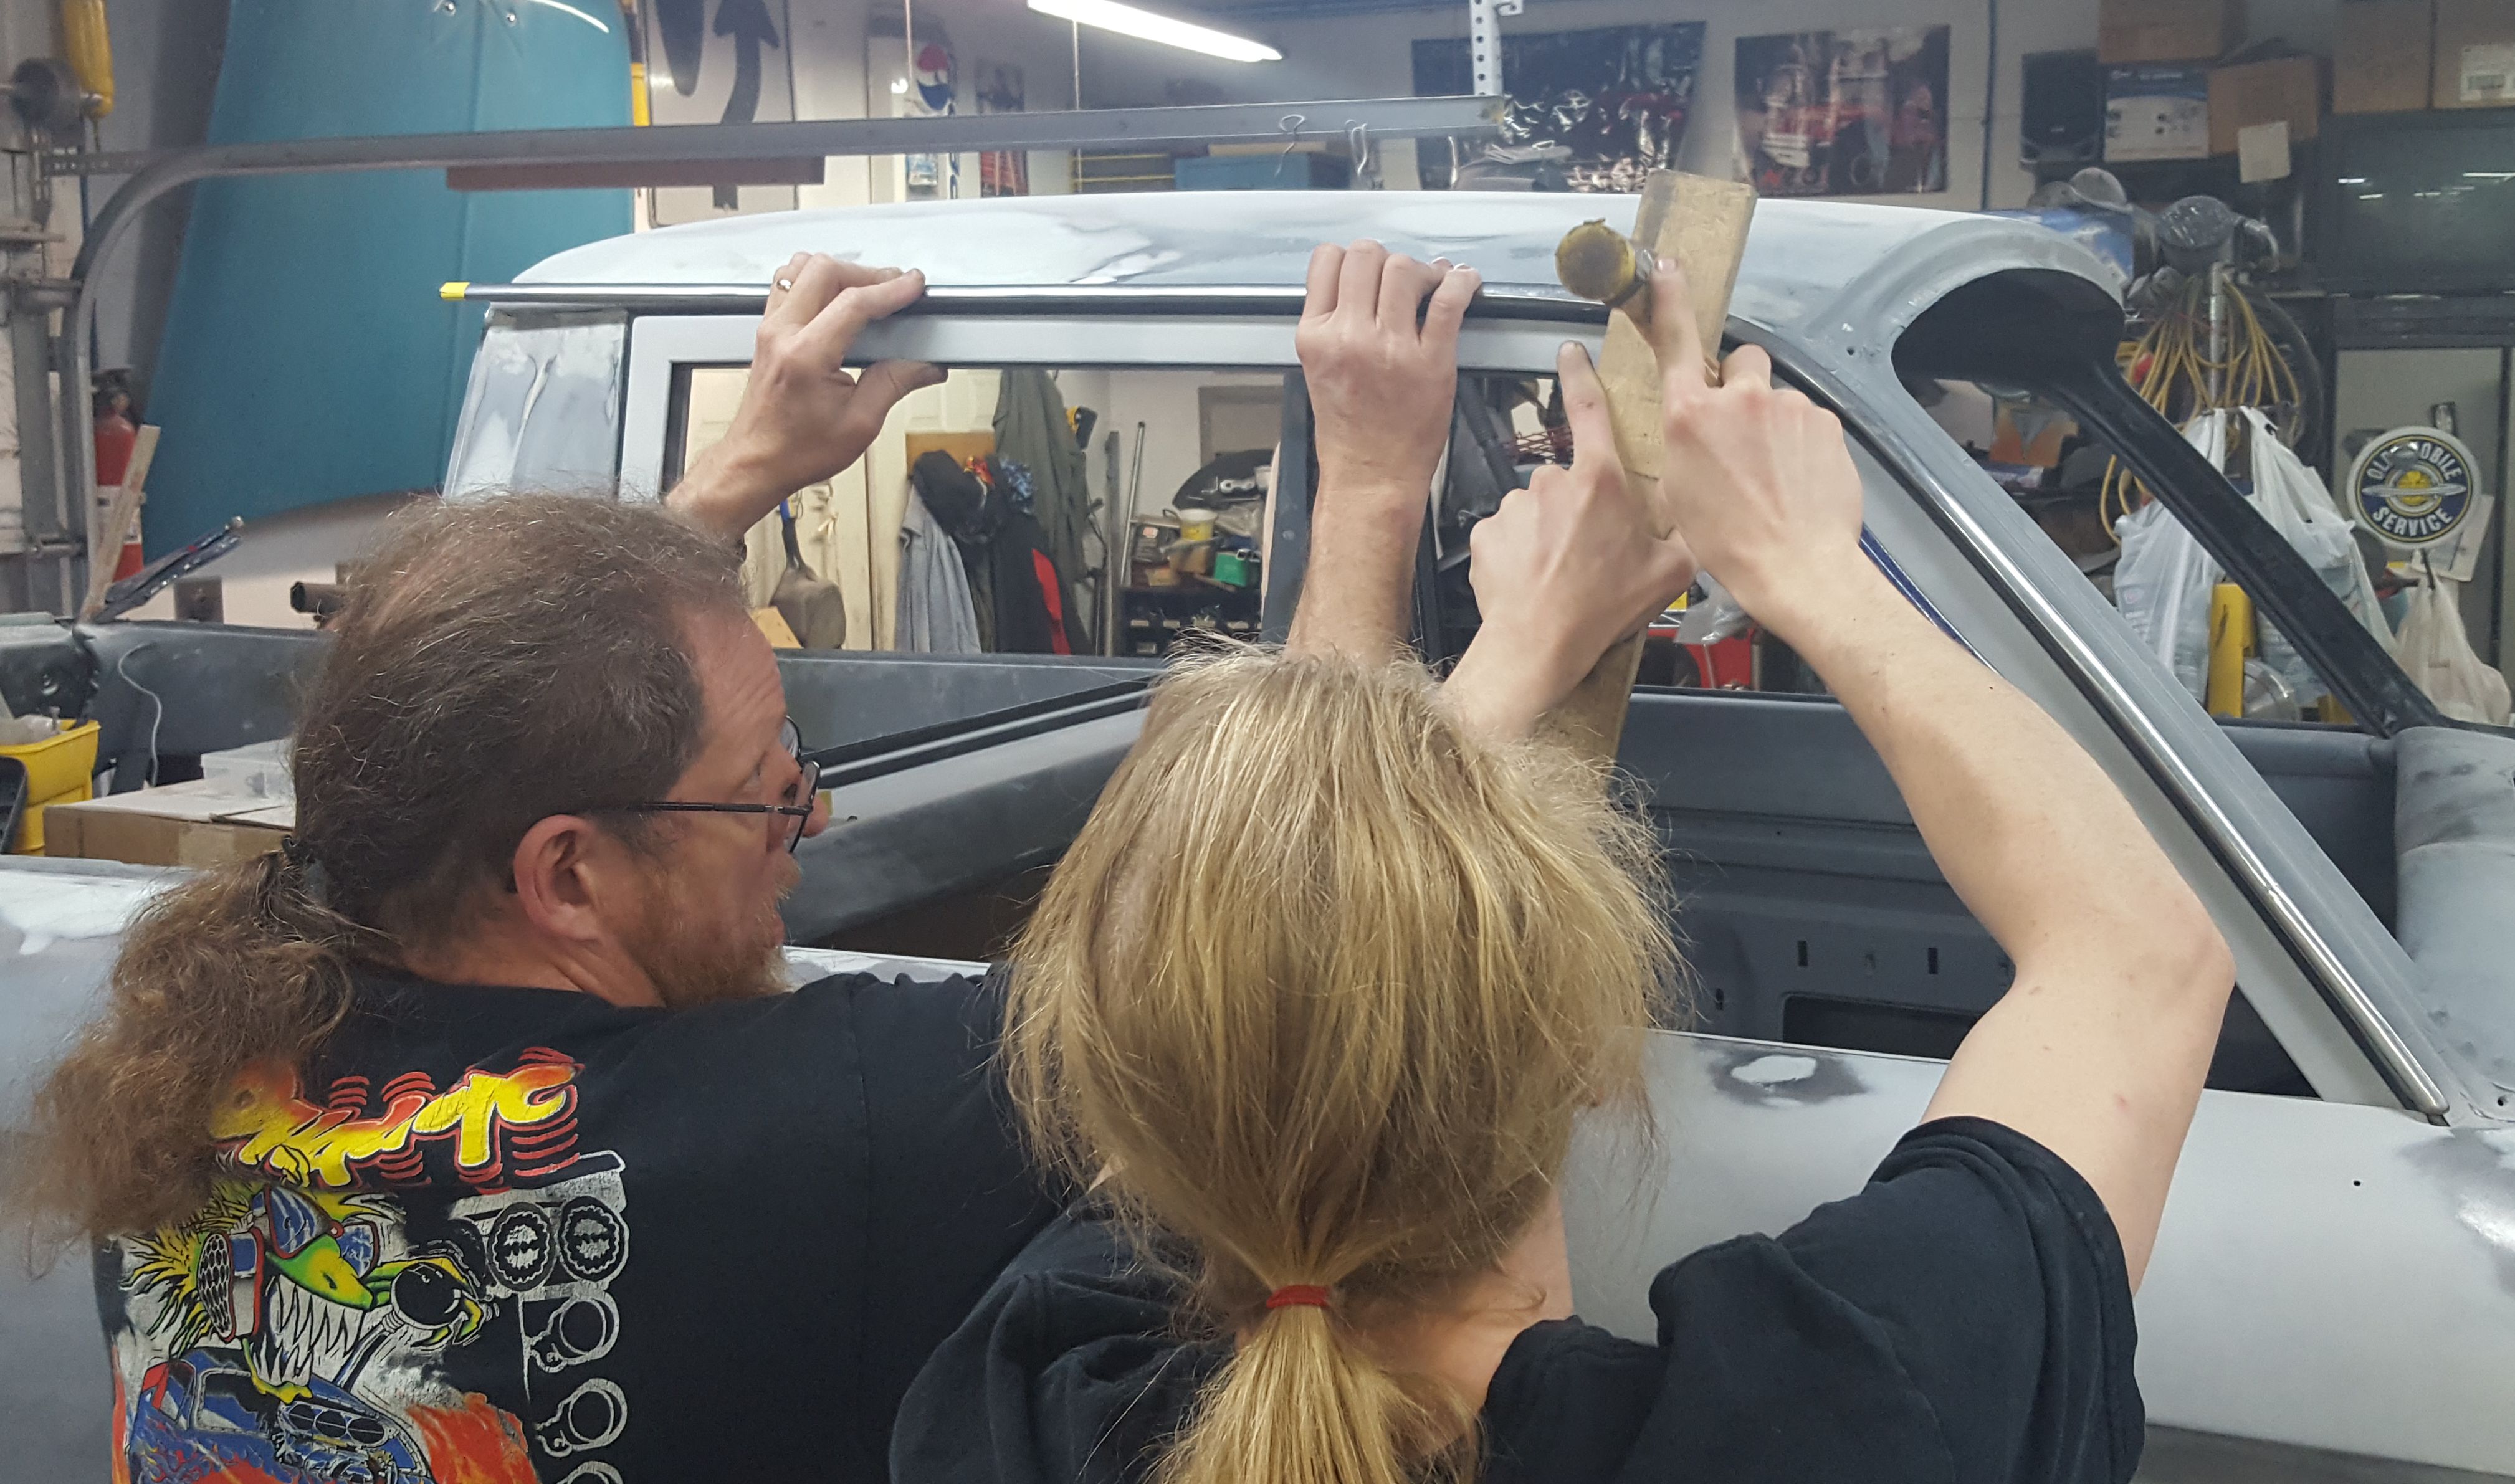
It took both men to get the trim on without damaging it so that Dad could cut it while our son returned to helping with the body work.
|

For our son's birthday, we gave him the interior door handles, window cranks, and wiper arms, blades, wiper pivot chrome, vent window handles, and chrome covers.
|
Our daughter helped out again with making a custom leather shifter boot, still some assembly required here.
|

Dad has built shifter boots before, so he helped with the pattern making.
|
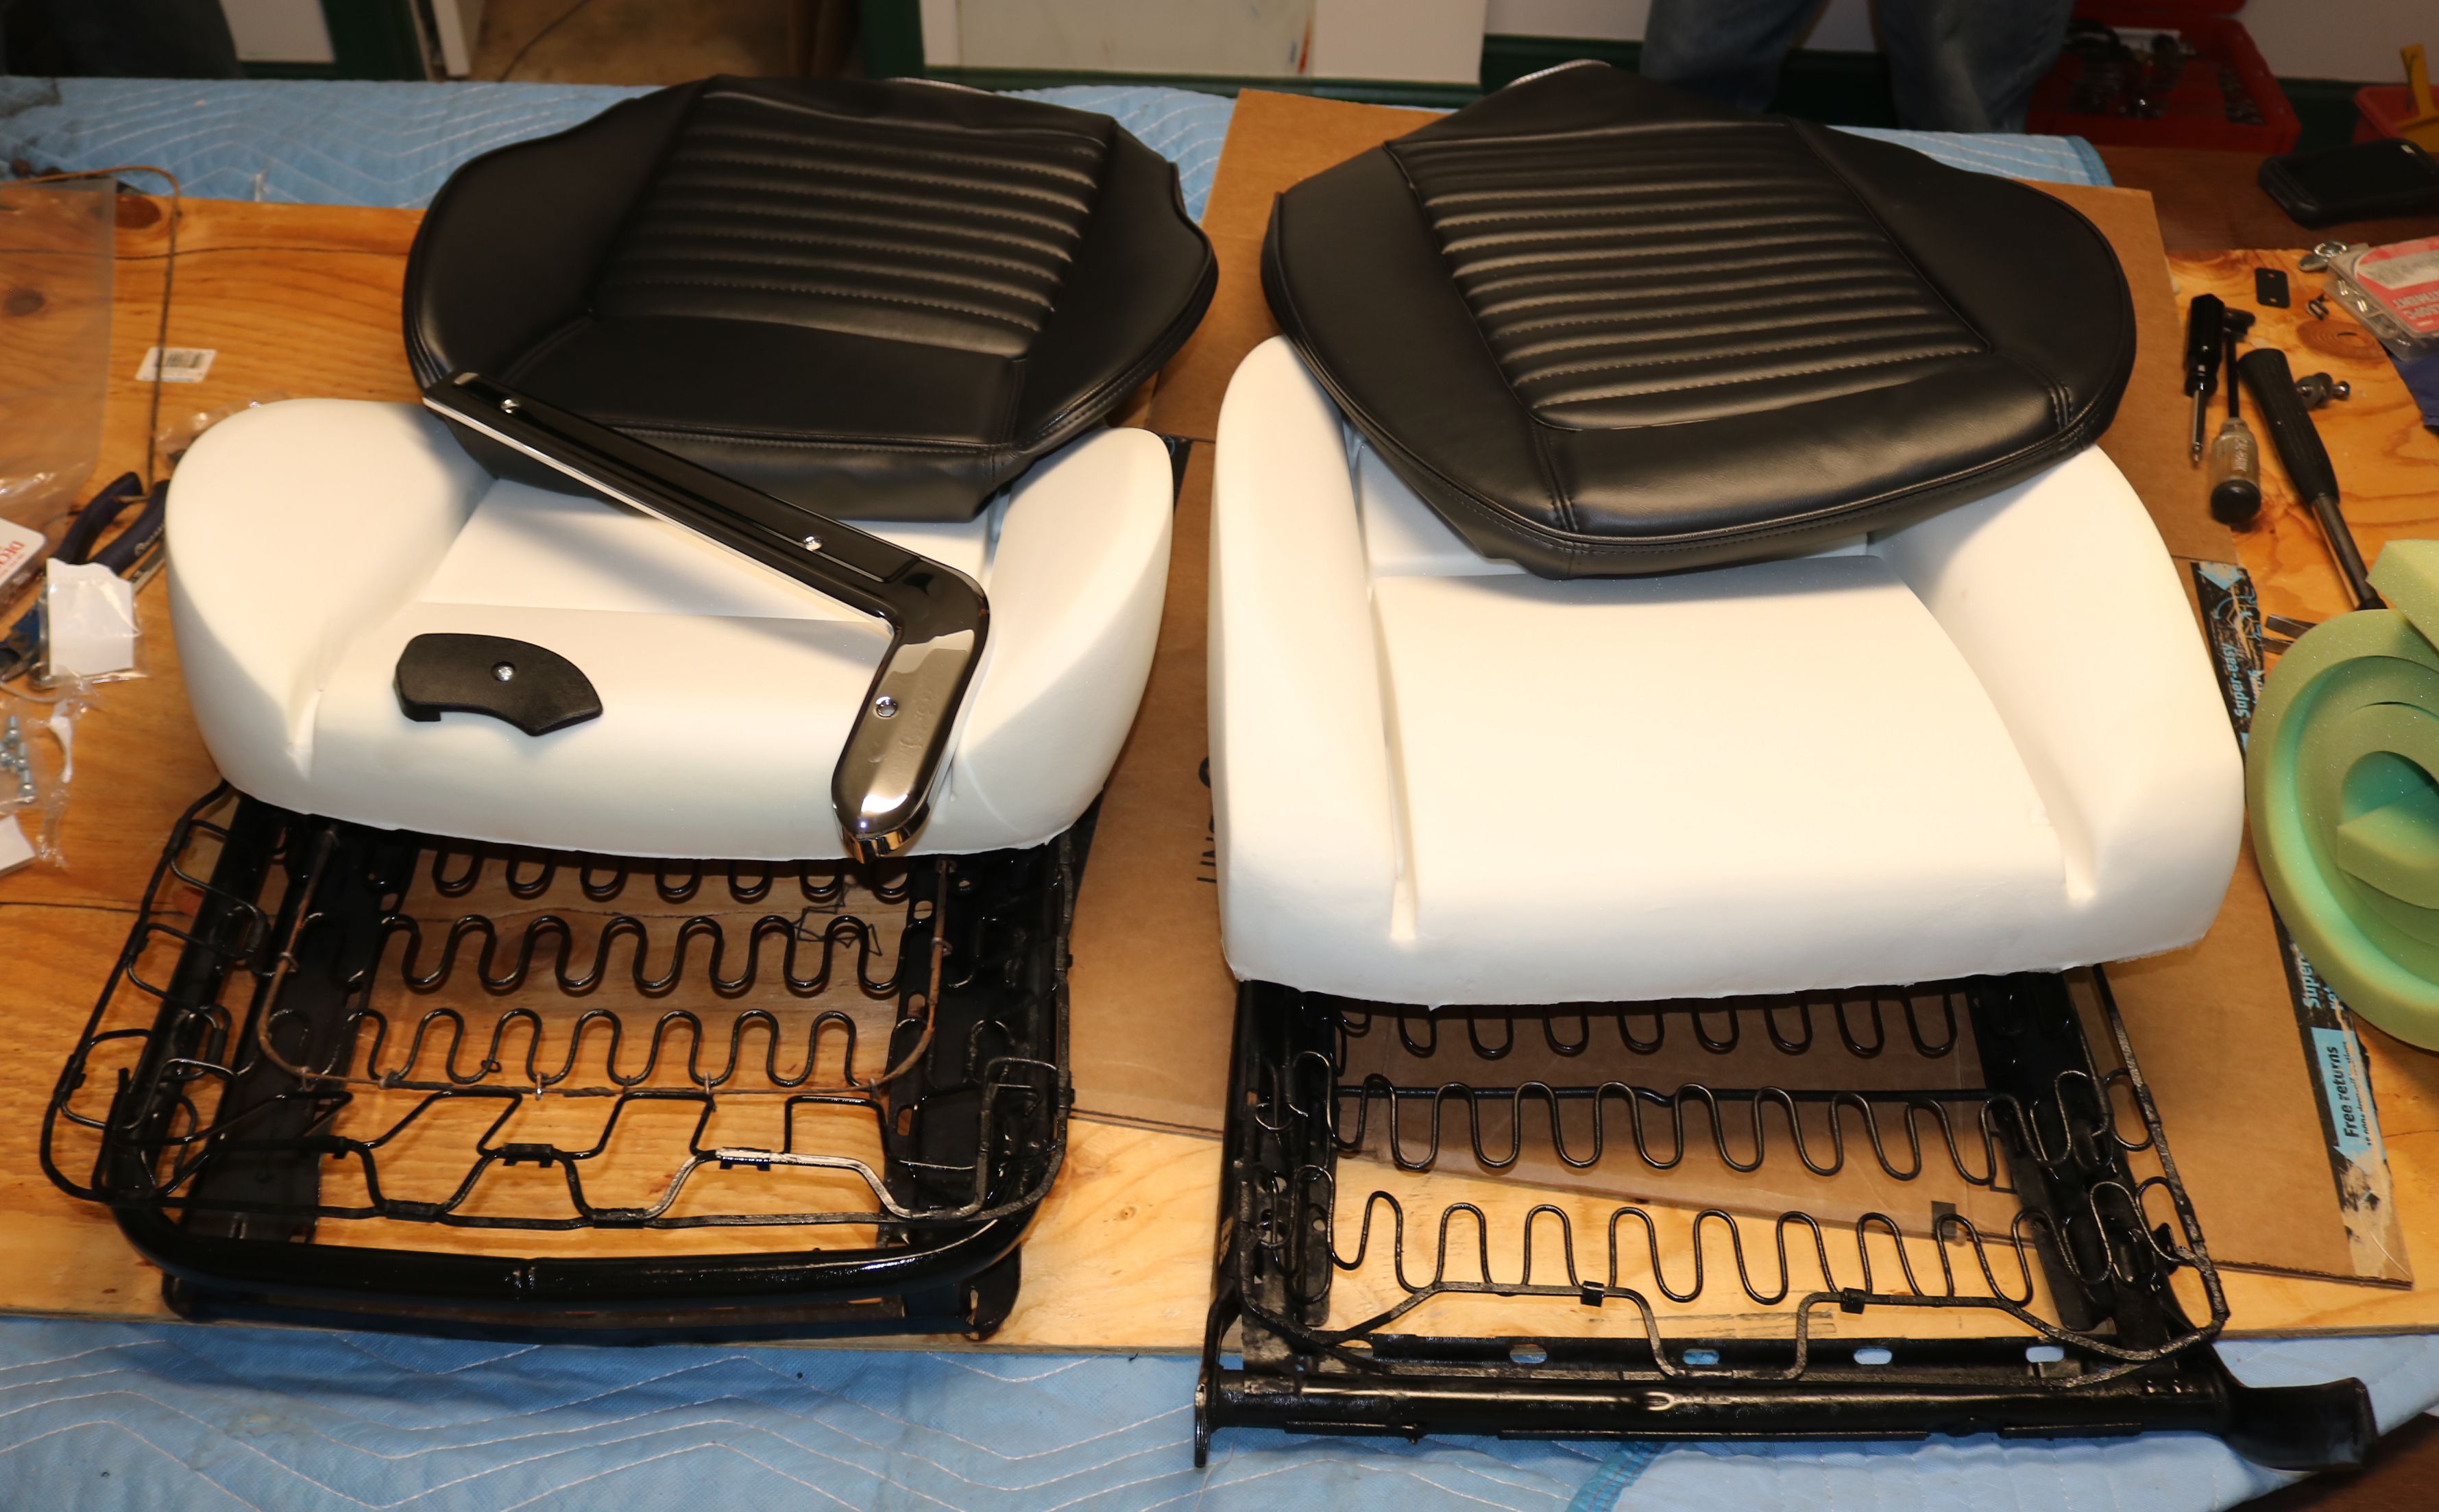
The new interior arrived for the Mustang seats from TMI Interiors. This is the back and bottom for one seat.
|
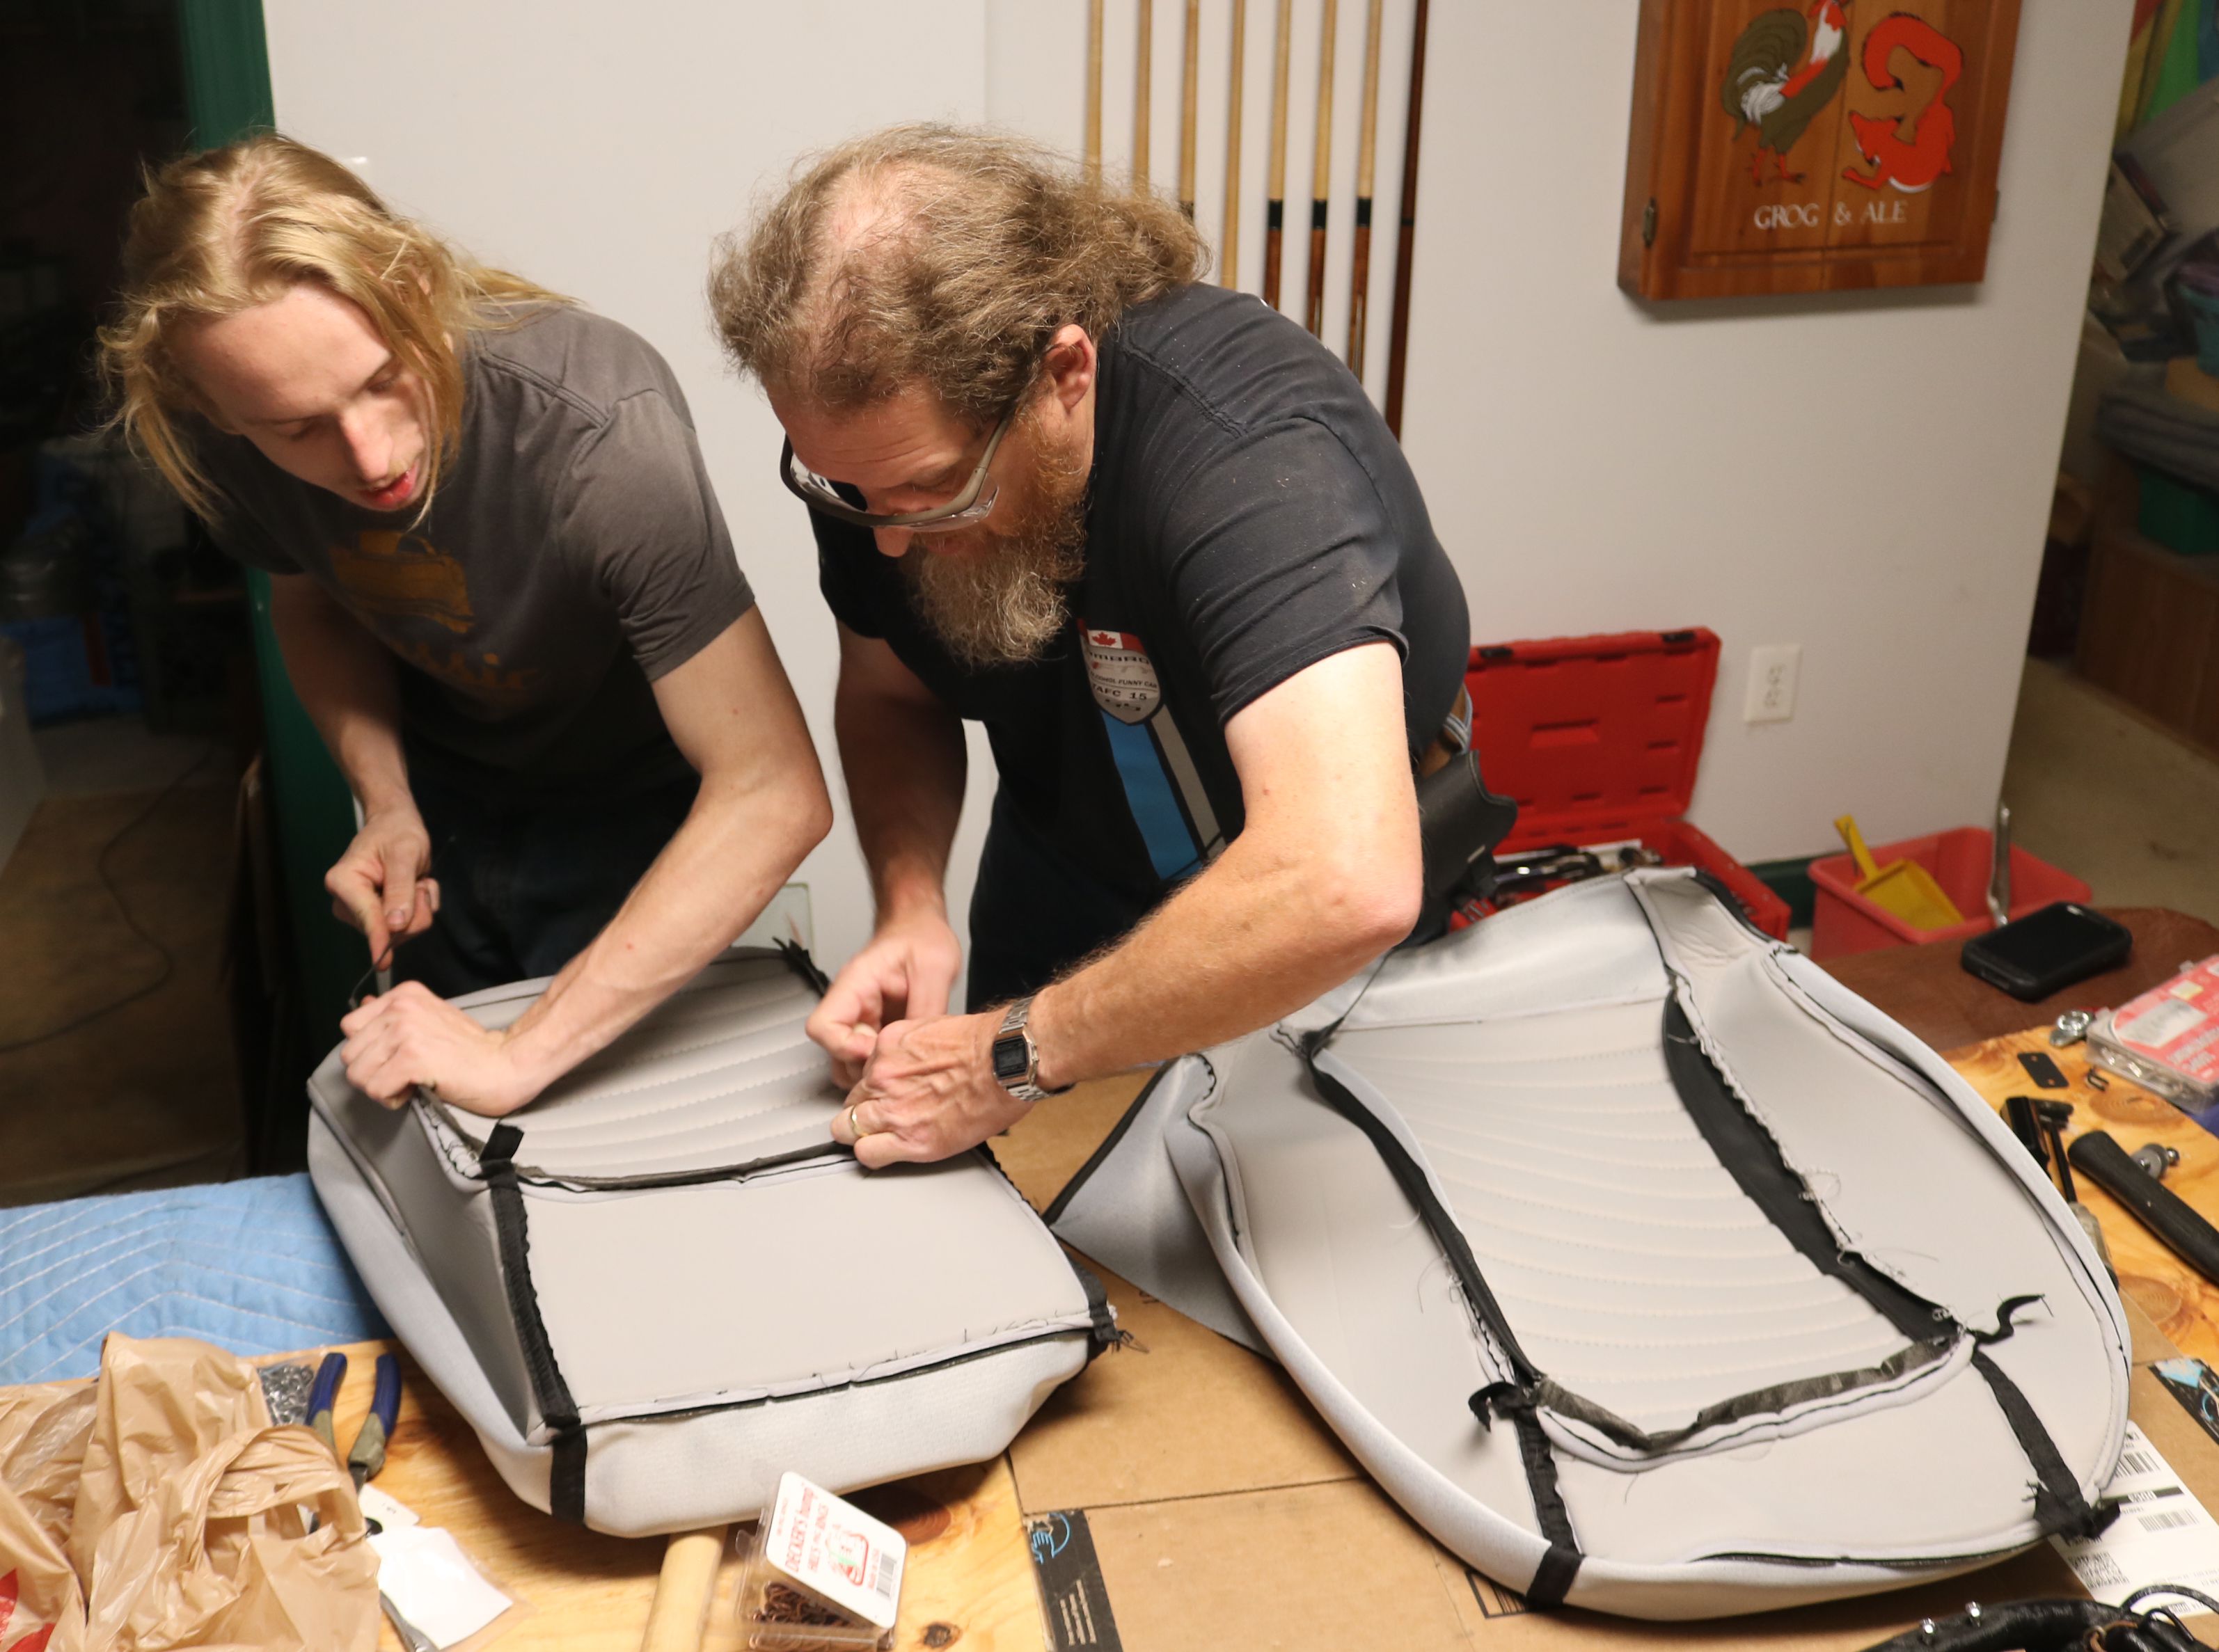
It took four hands to get the stays into the new upholstery kit.
|
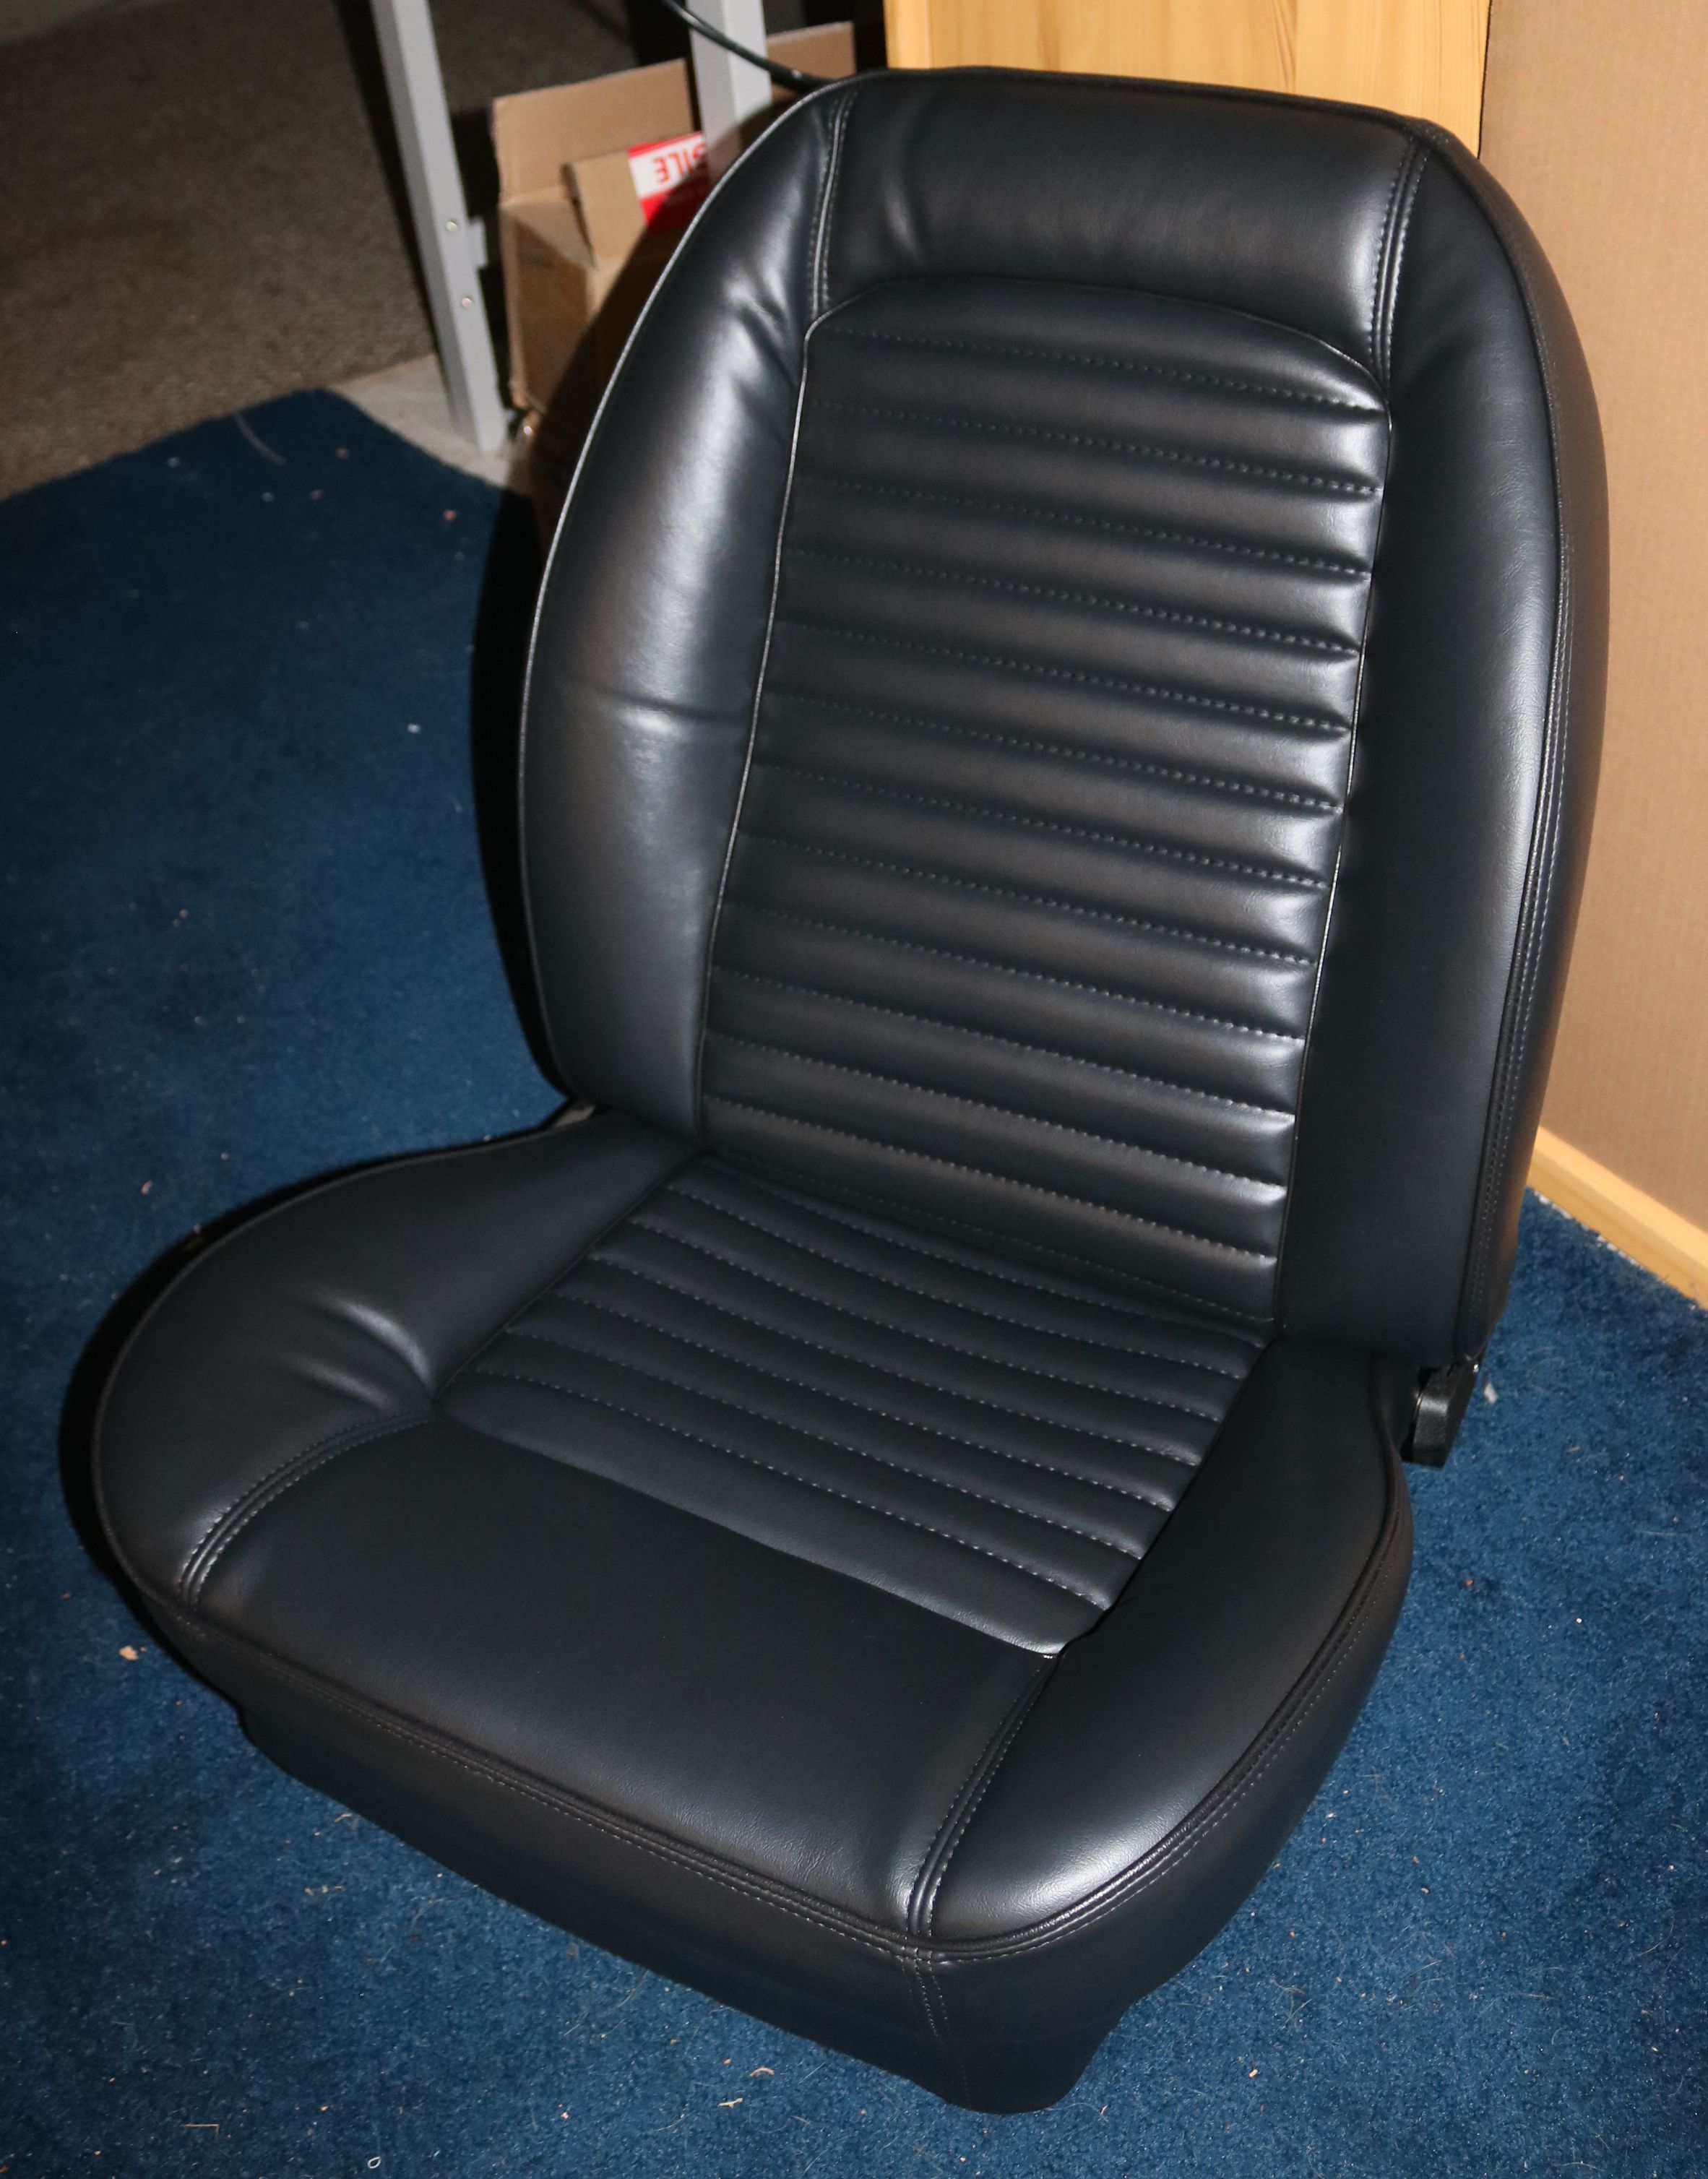
The completed driver seat.
|

One down and one to go. Now for the rush to try to get as much assembled prior to the first "show", Halloween day 2020.
|
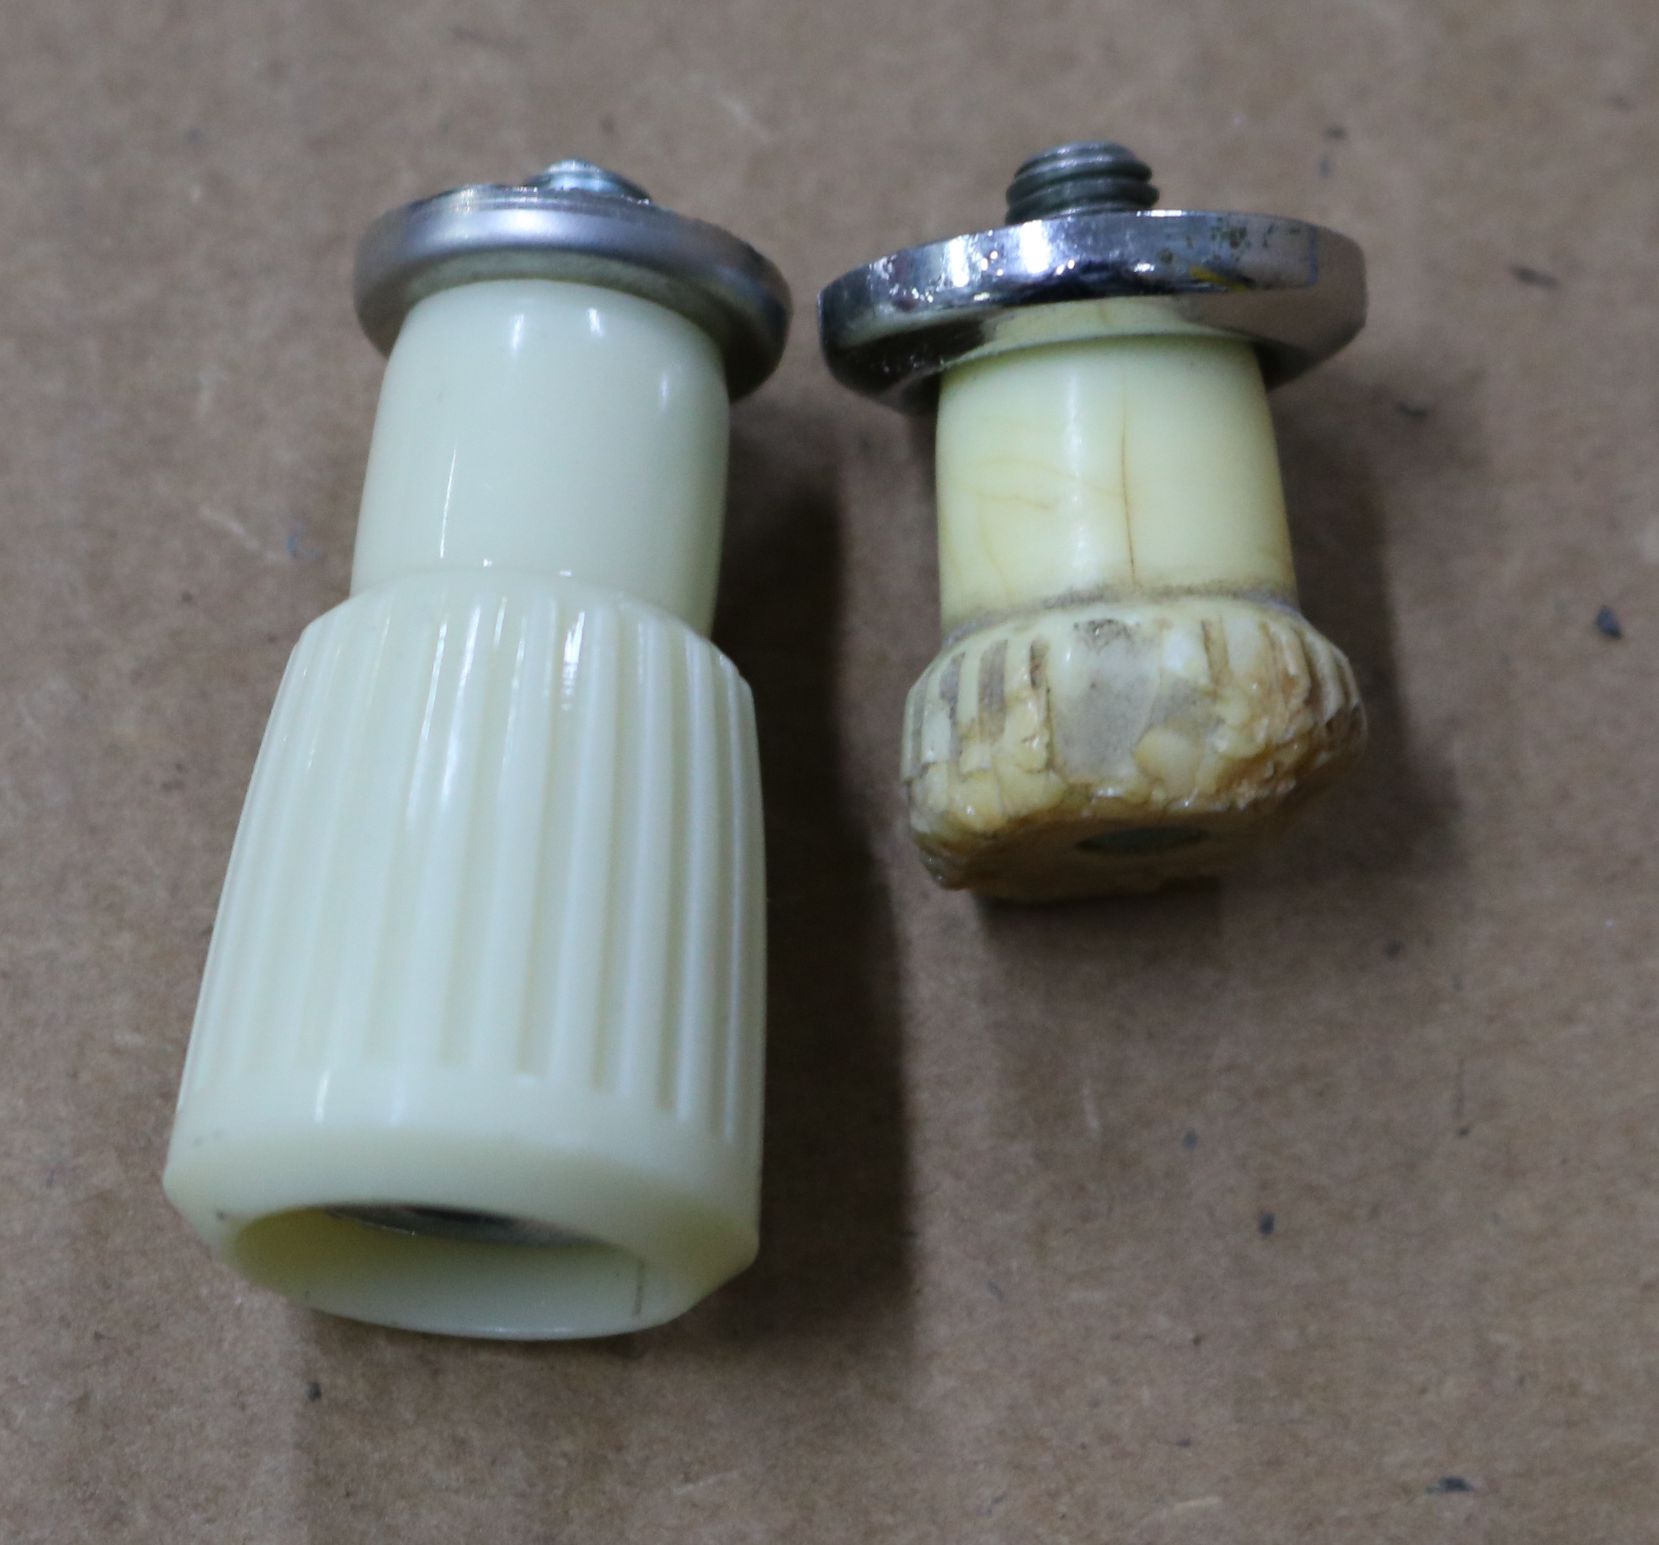
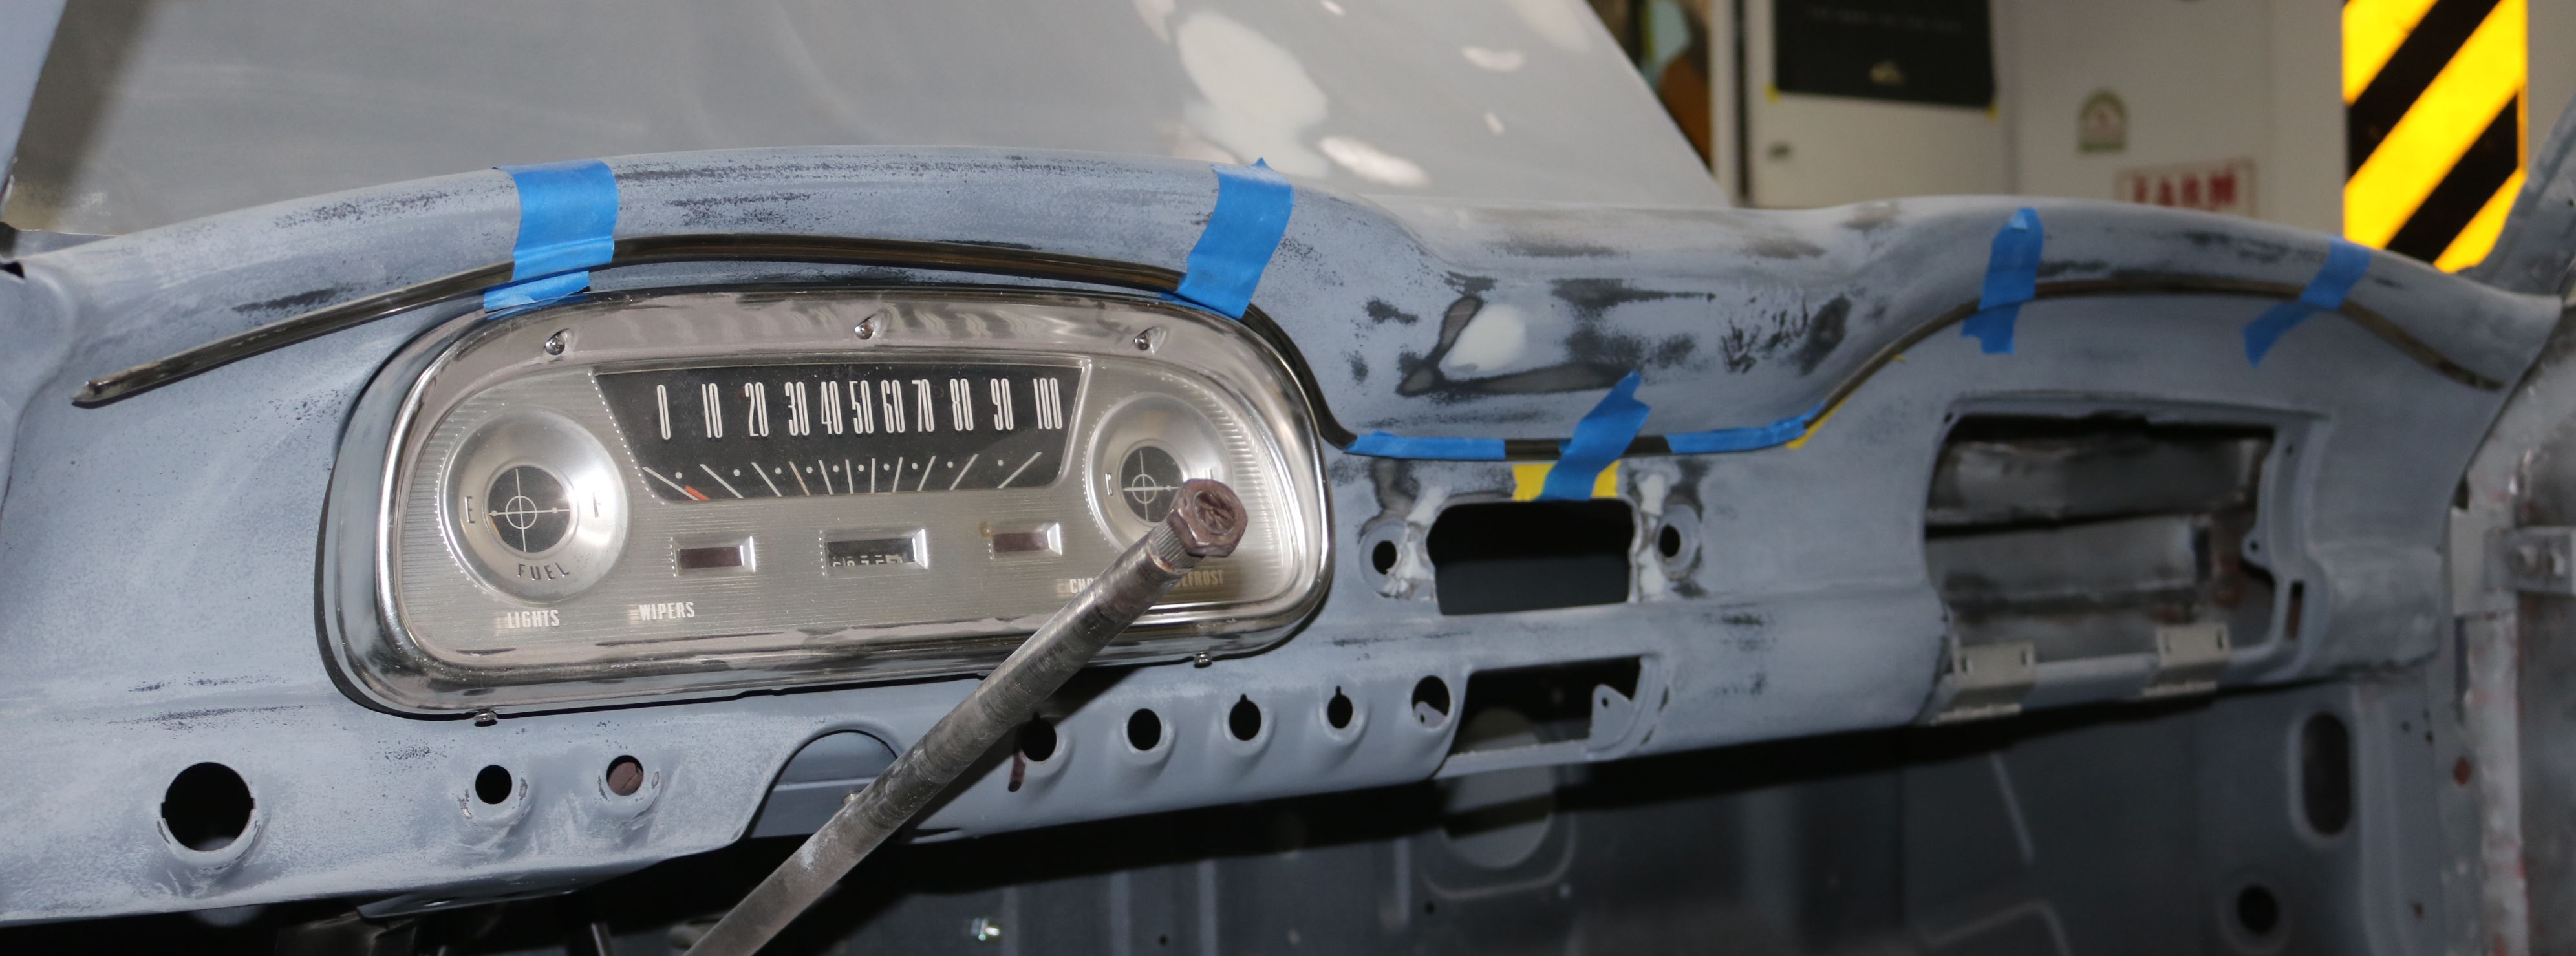
Time to start installing the dash. This is the old cigarette lighter knob and the new replacement knob.
|

And the center console. We managed to get a seat bracket in place, but then decided that sleep was needed before the show.
|
Now that the show is over, the Ranchero came home and went into the garage attached to the house and into Betsy's bay as it is the widest one for getting to both sides of the car during final assembly. During the final months of bodywork and paint, this garage underwent a minor remodel to raise the interior ceiling and install a 4-post lift. Betsy is now under the lift and Sadie gets the top "bunk". We are still waiting for the high-lift door to be installed, so for now, only Sadie fits on top with the door open.
|

After almost 3 months on backorder, the firewall pad arrived just after Thanksgiving 2020. Time to install the interior for the final time.
|

The windlacing was installed first, even before the headliner.
|

The completed windlacing for the passenger side.
|
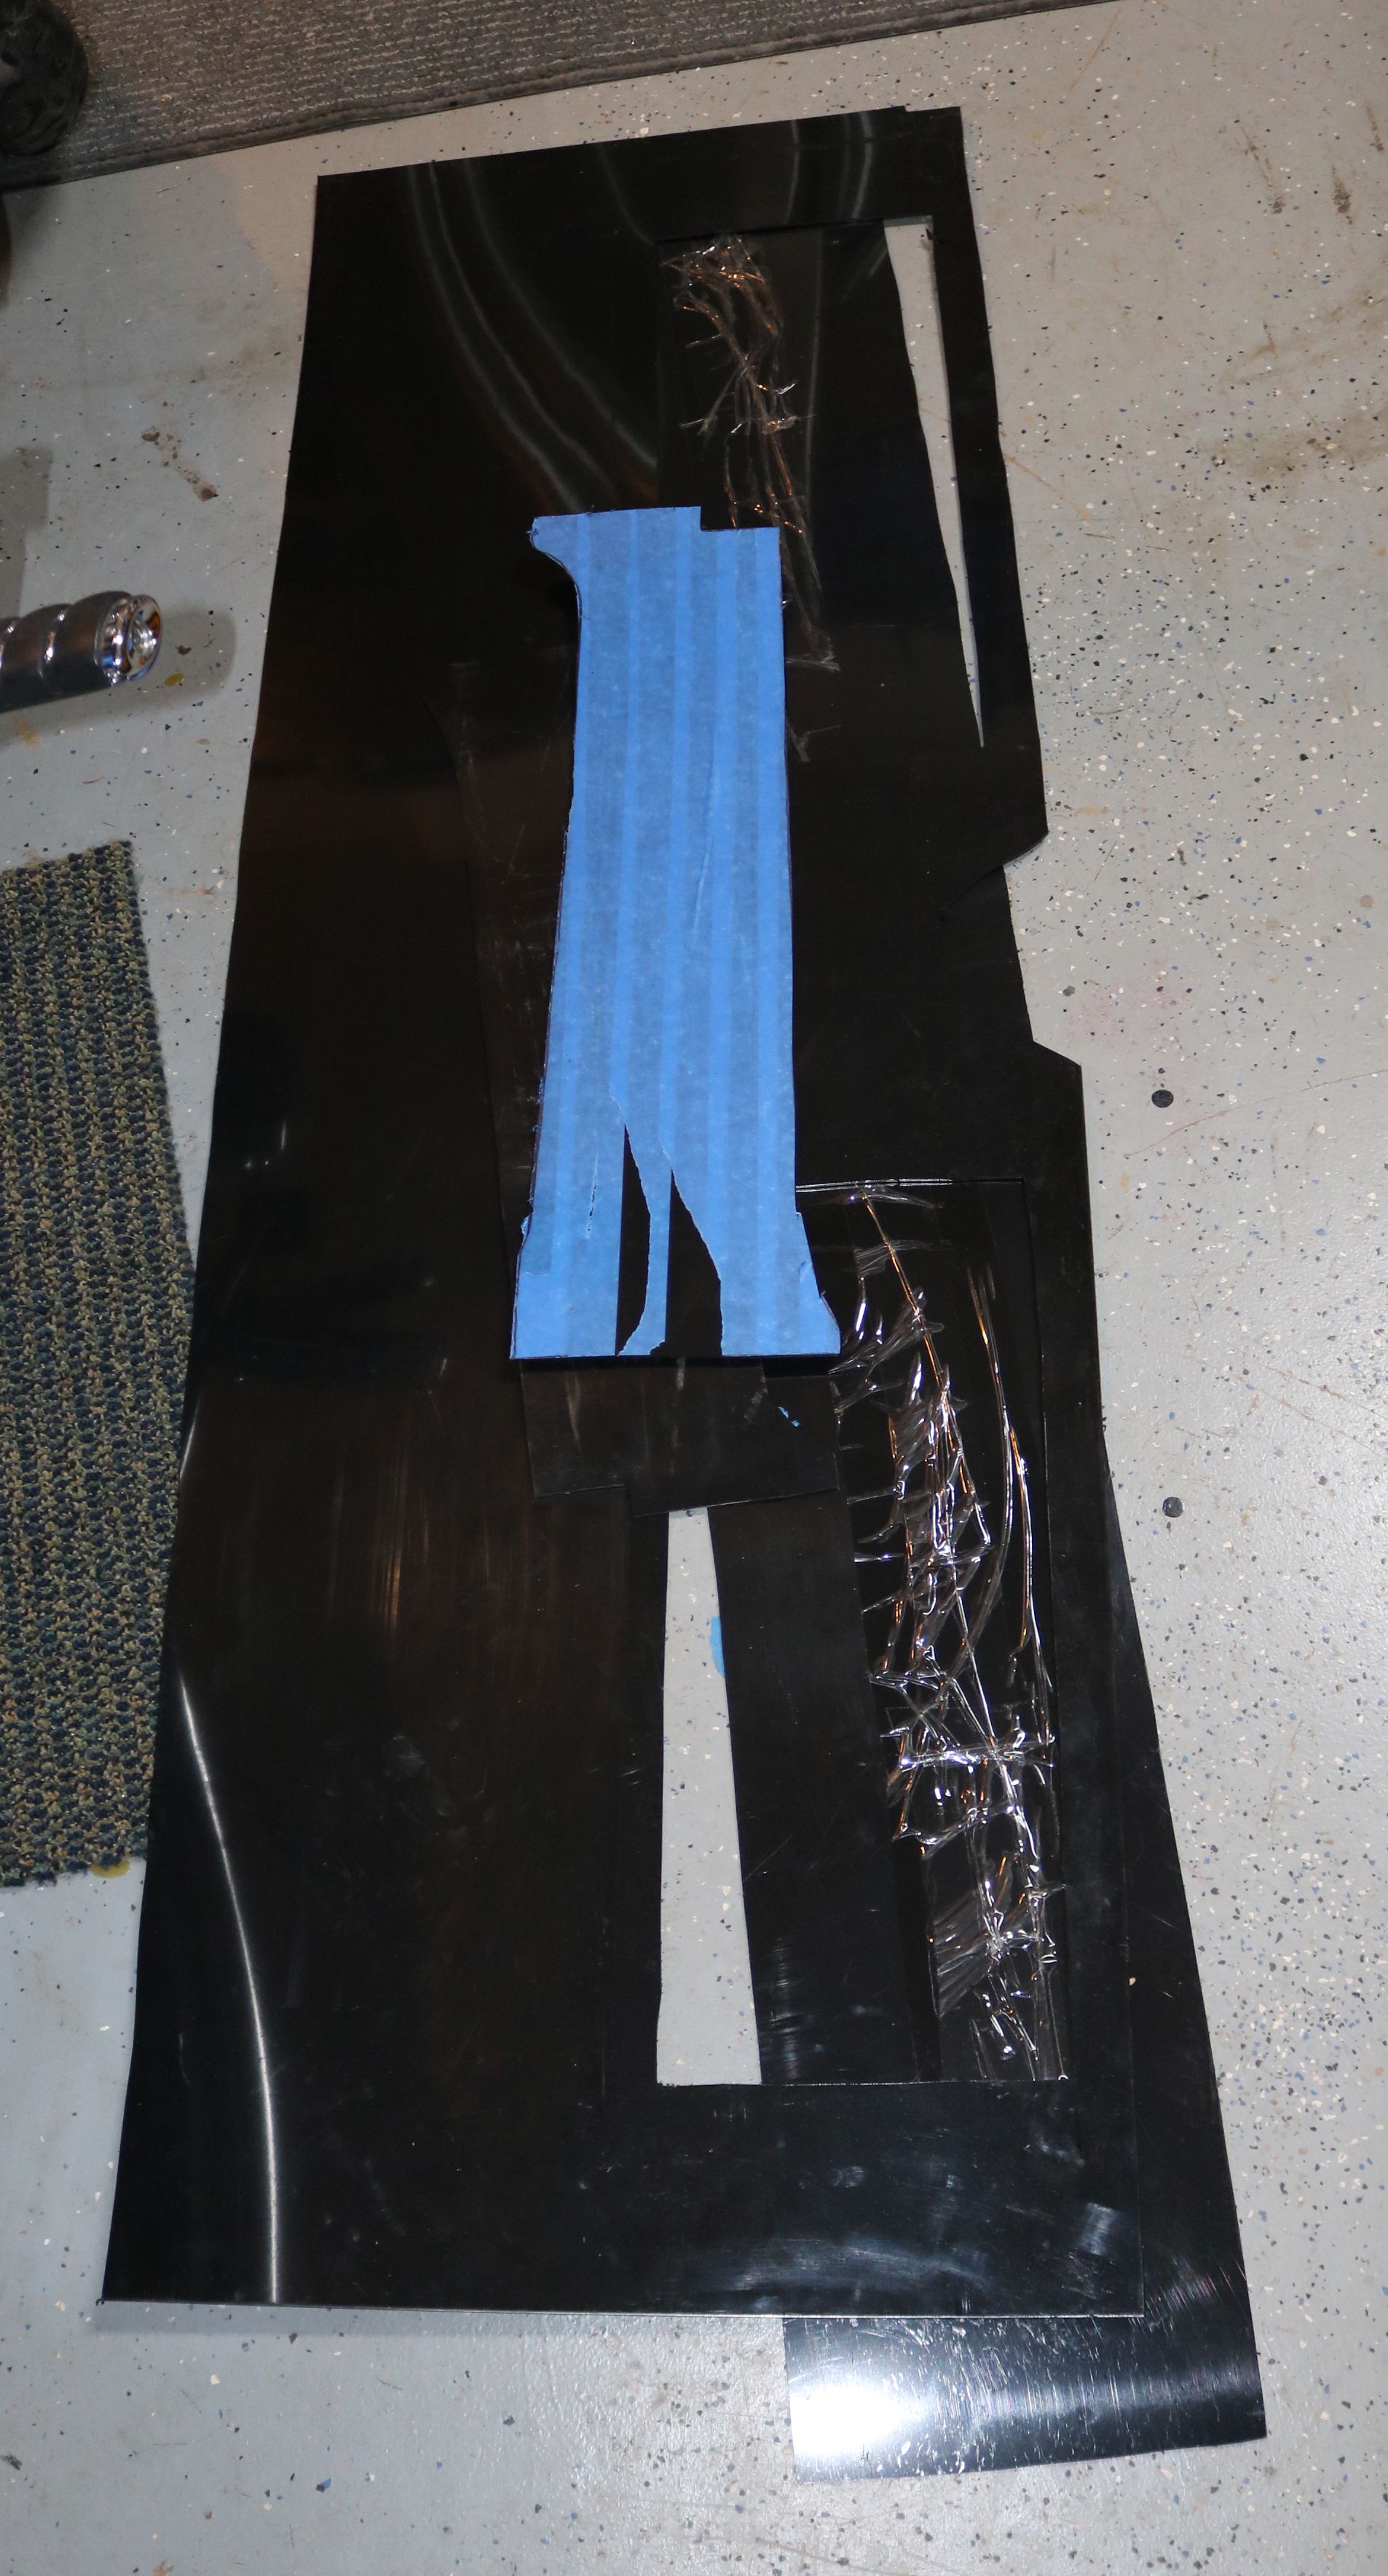
The cardboard templates for the cab wall were cut out in the final backing plastic.
|
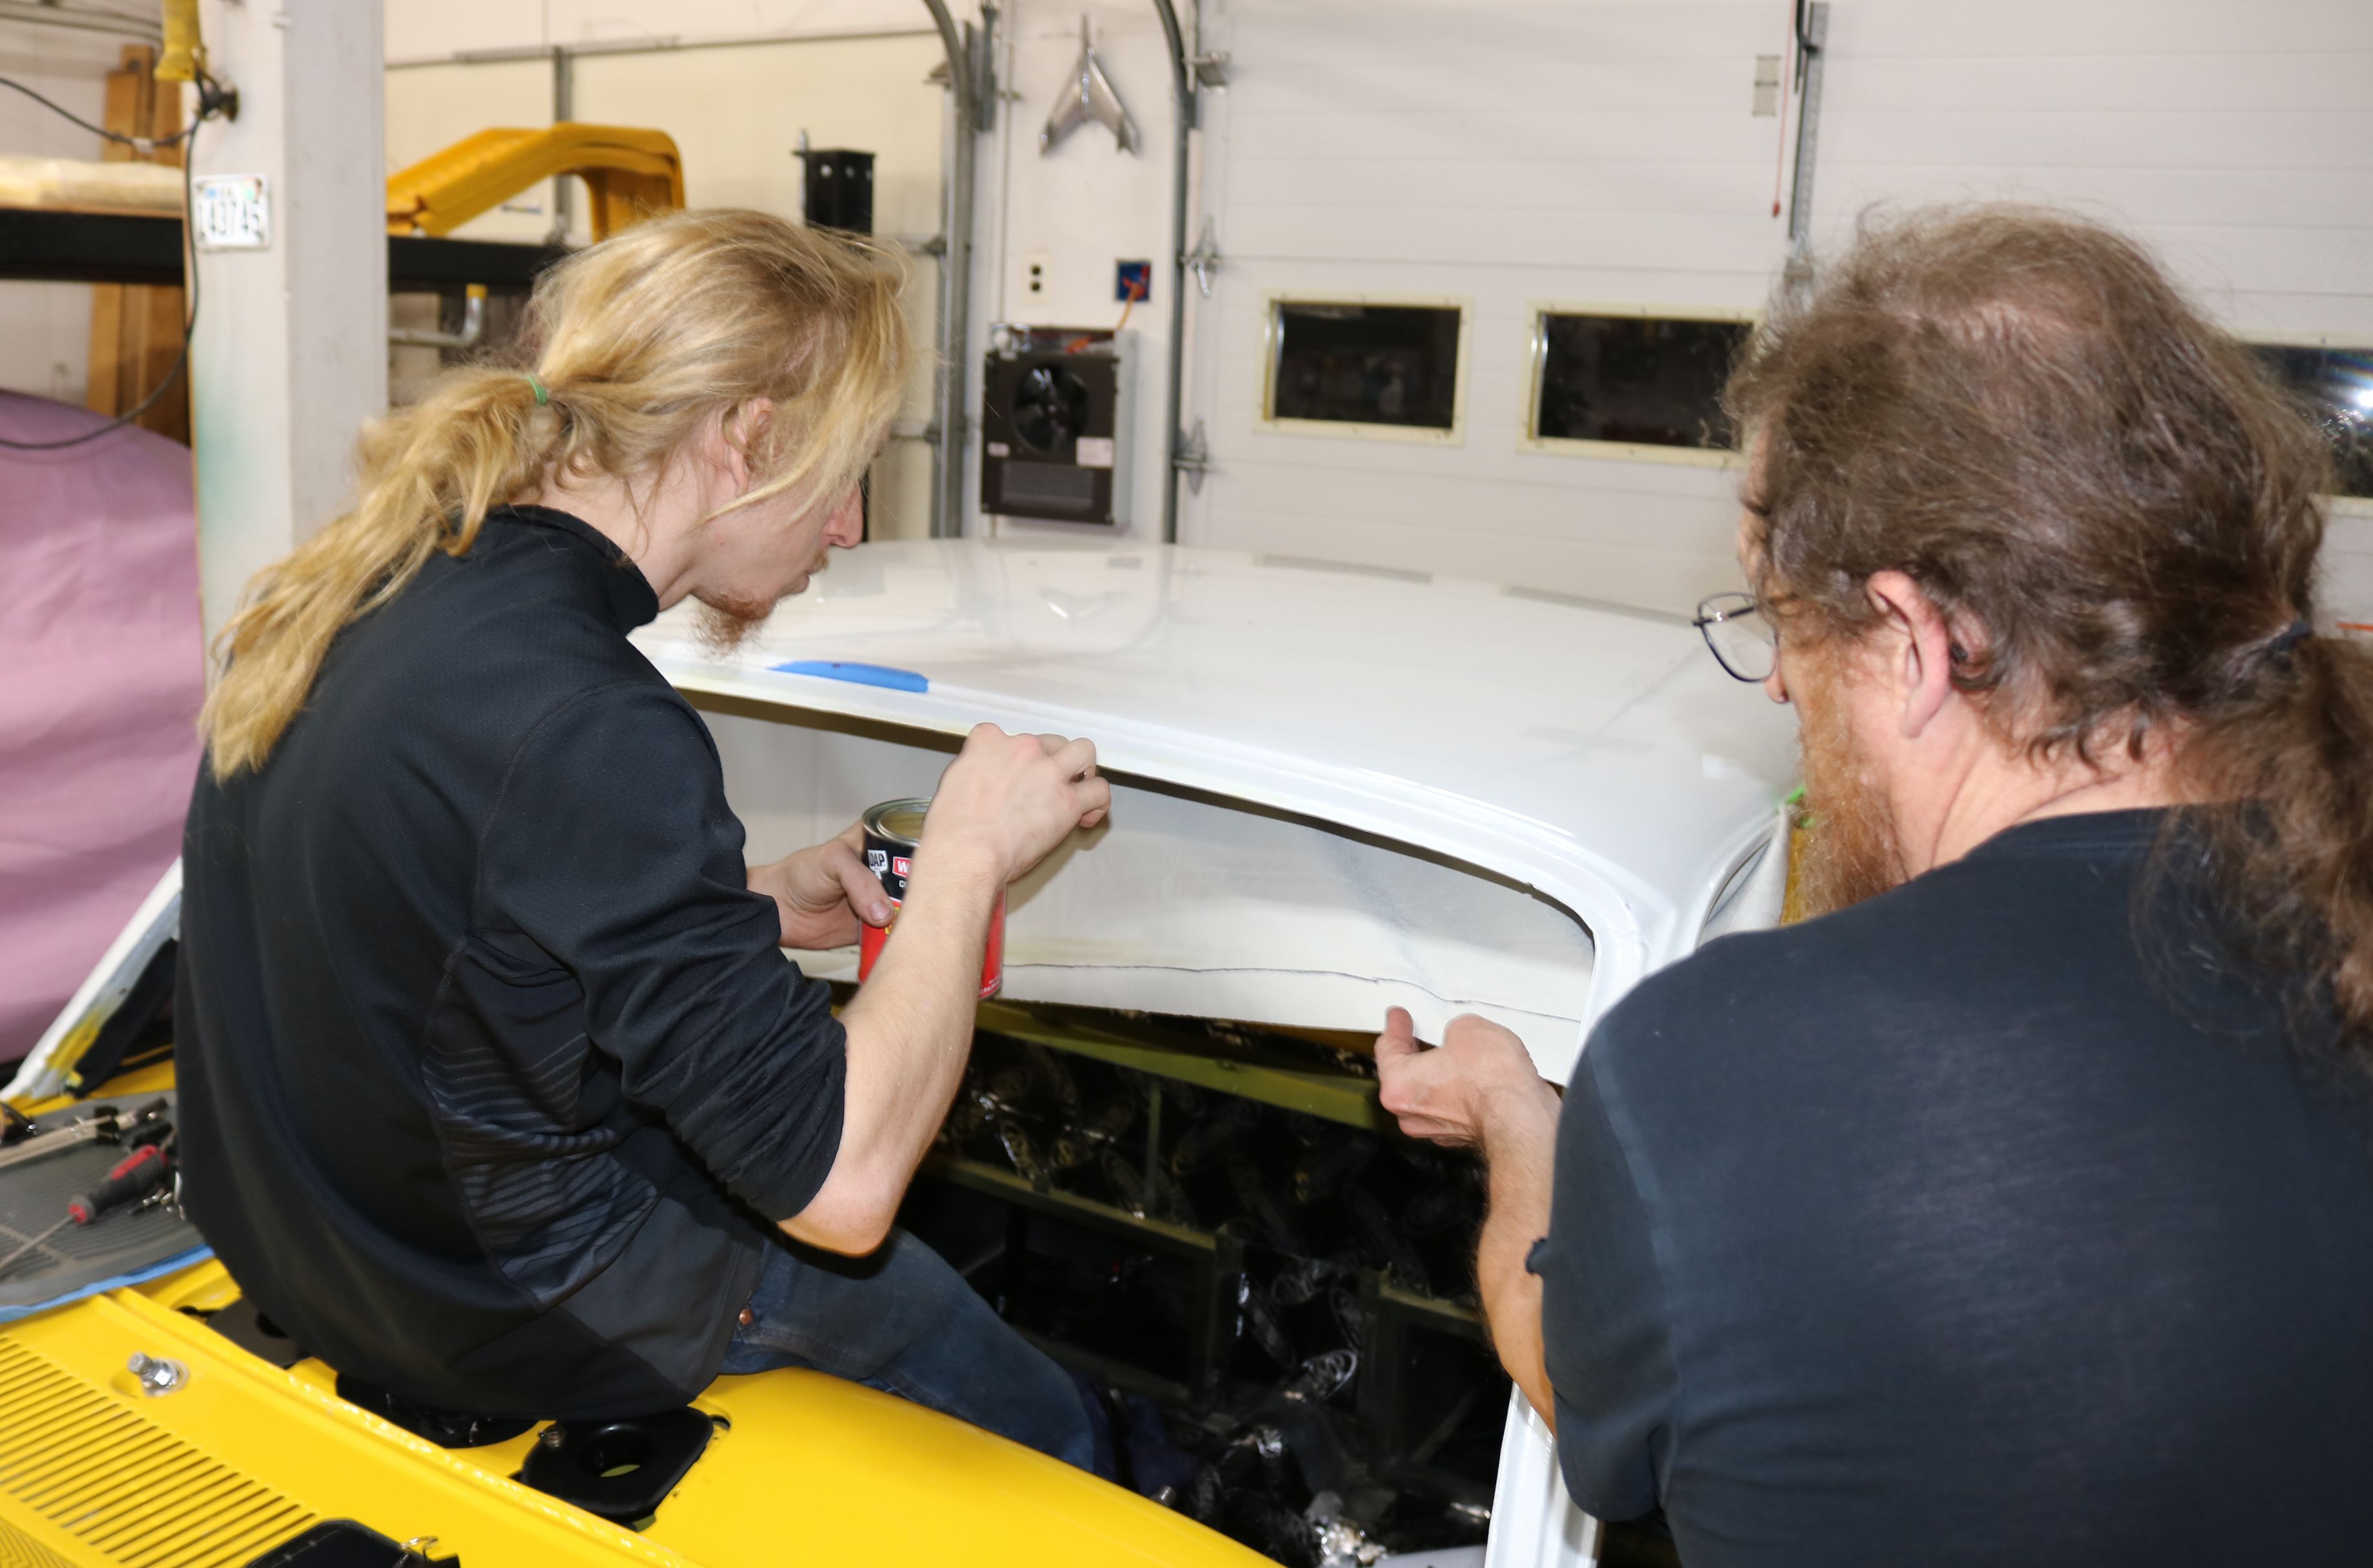
Time to install the headliner. The headliner has to be installed before the windshield as the material is underneath the rubber seal for the windshield.
|
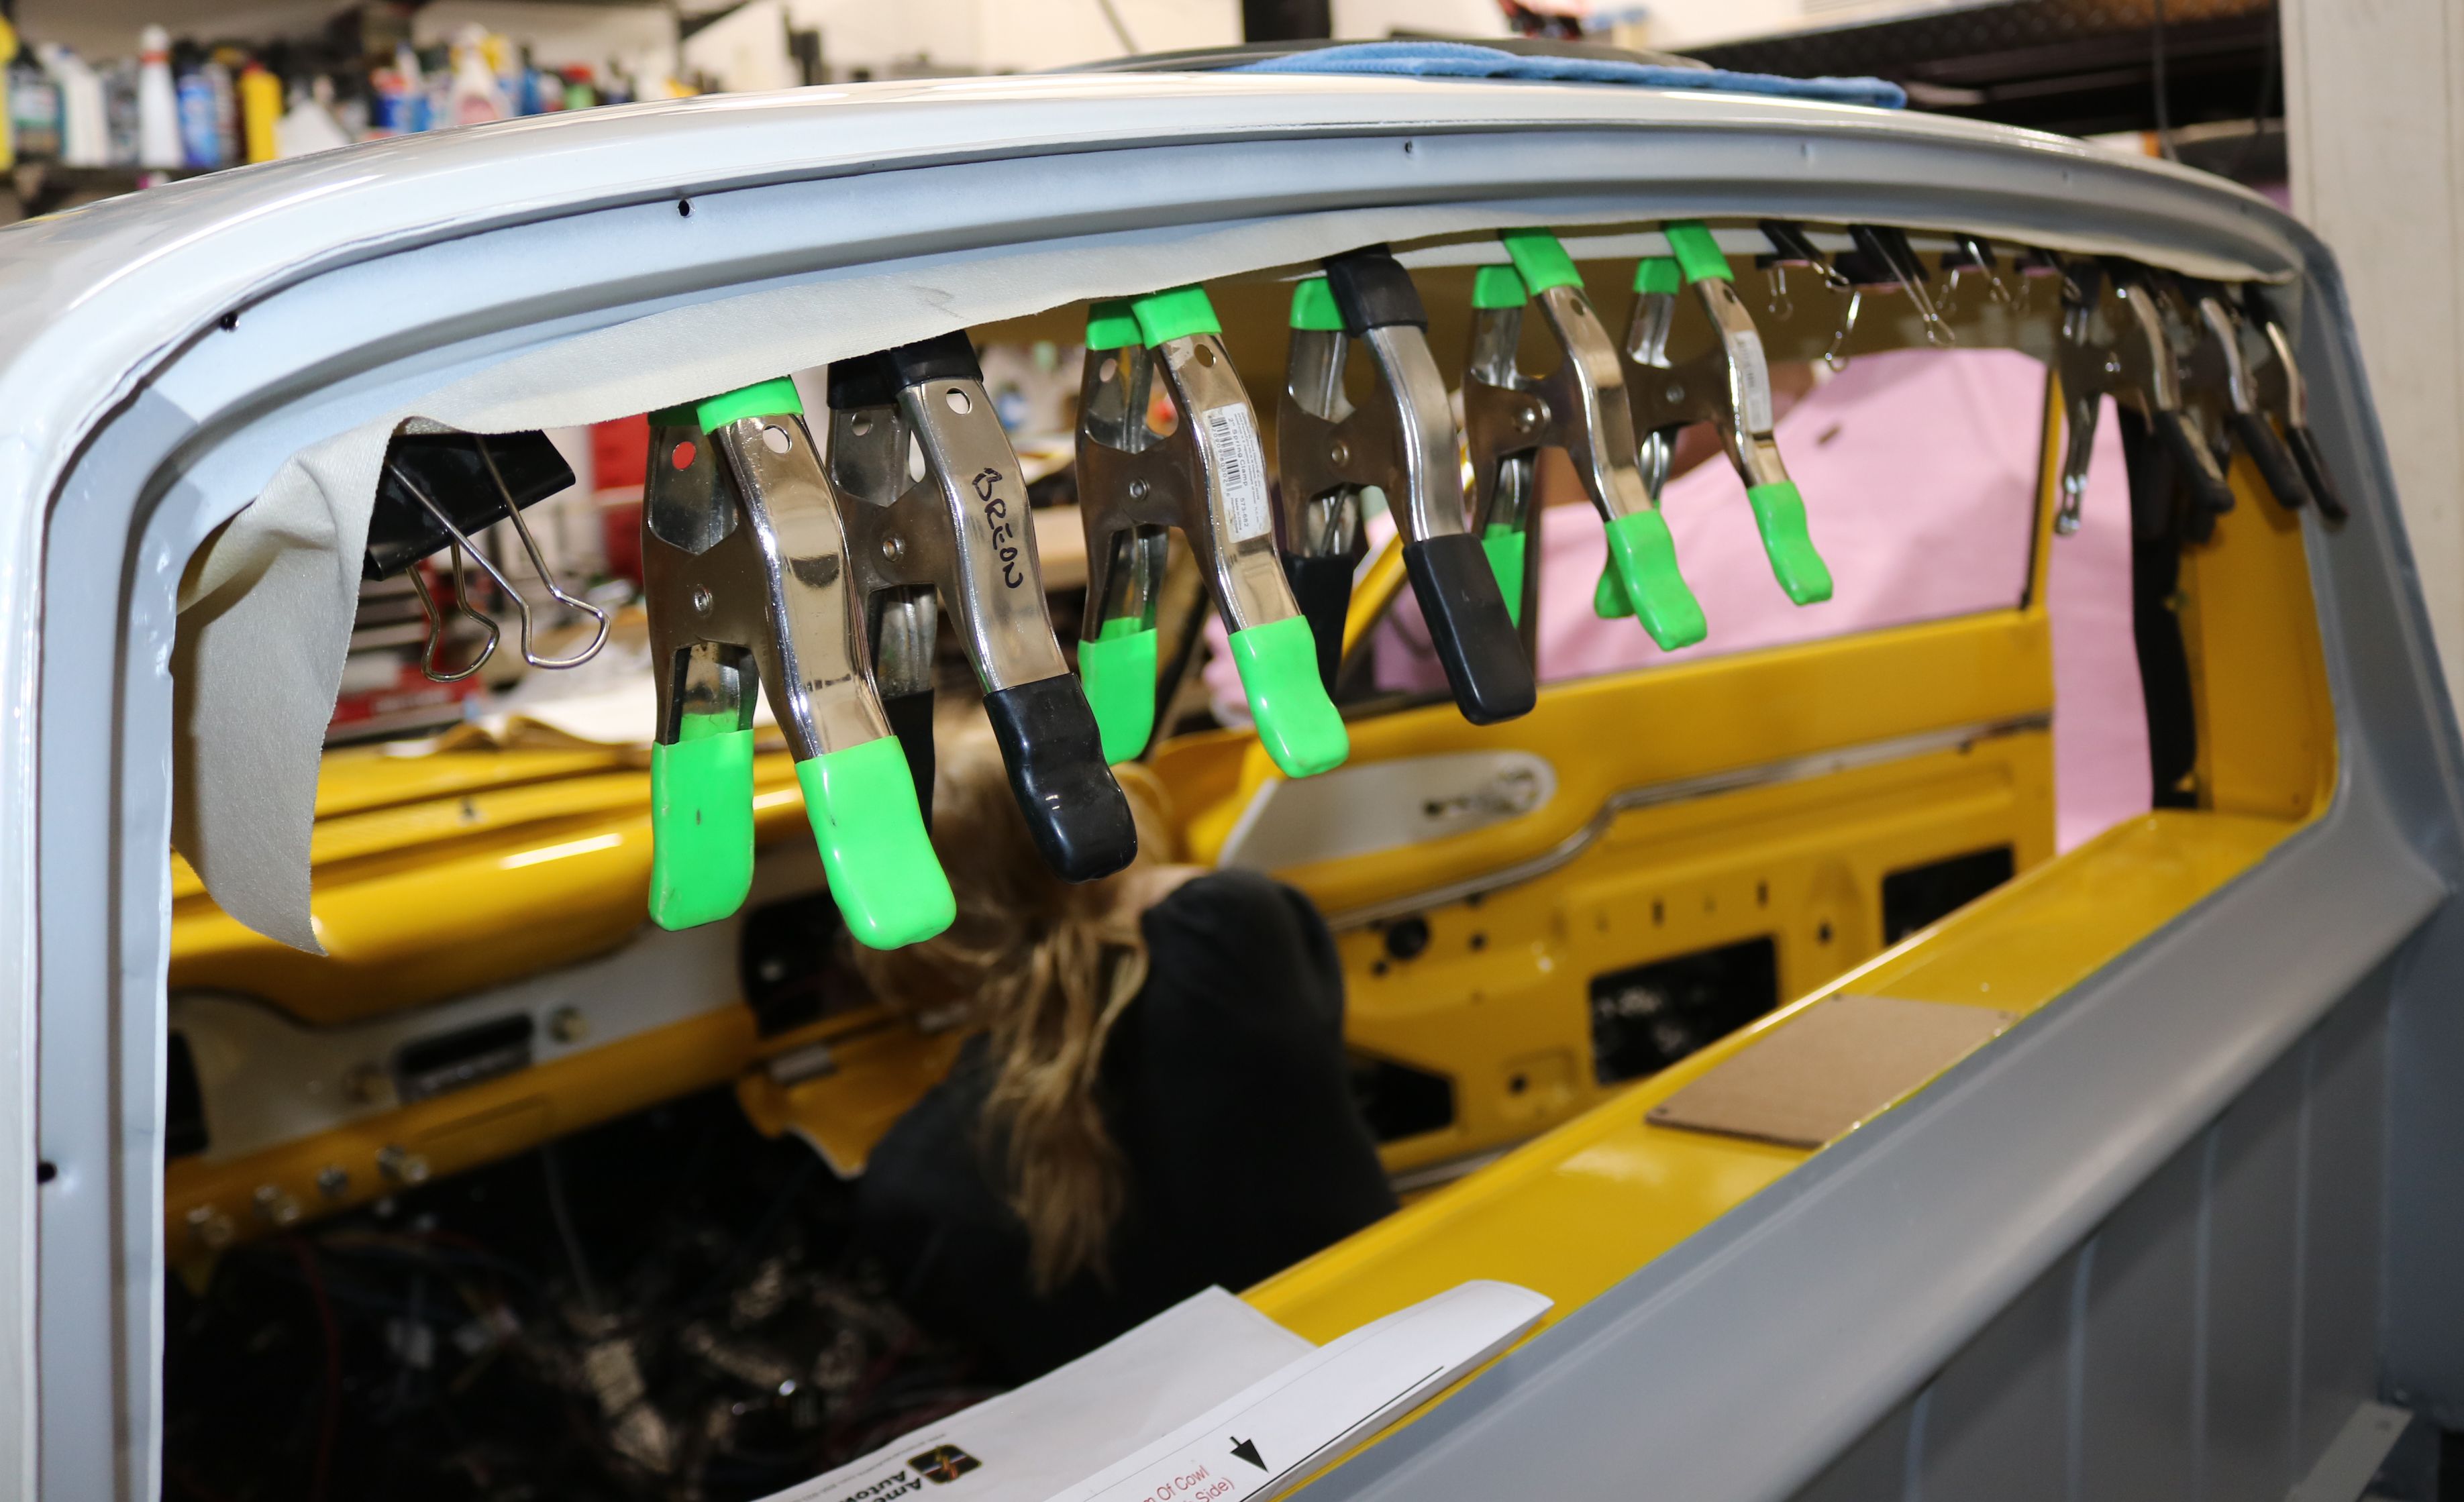
Once the headliner was stretched into place, spring clamps were used to hold it until we could glue in into place.
|
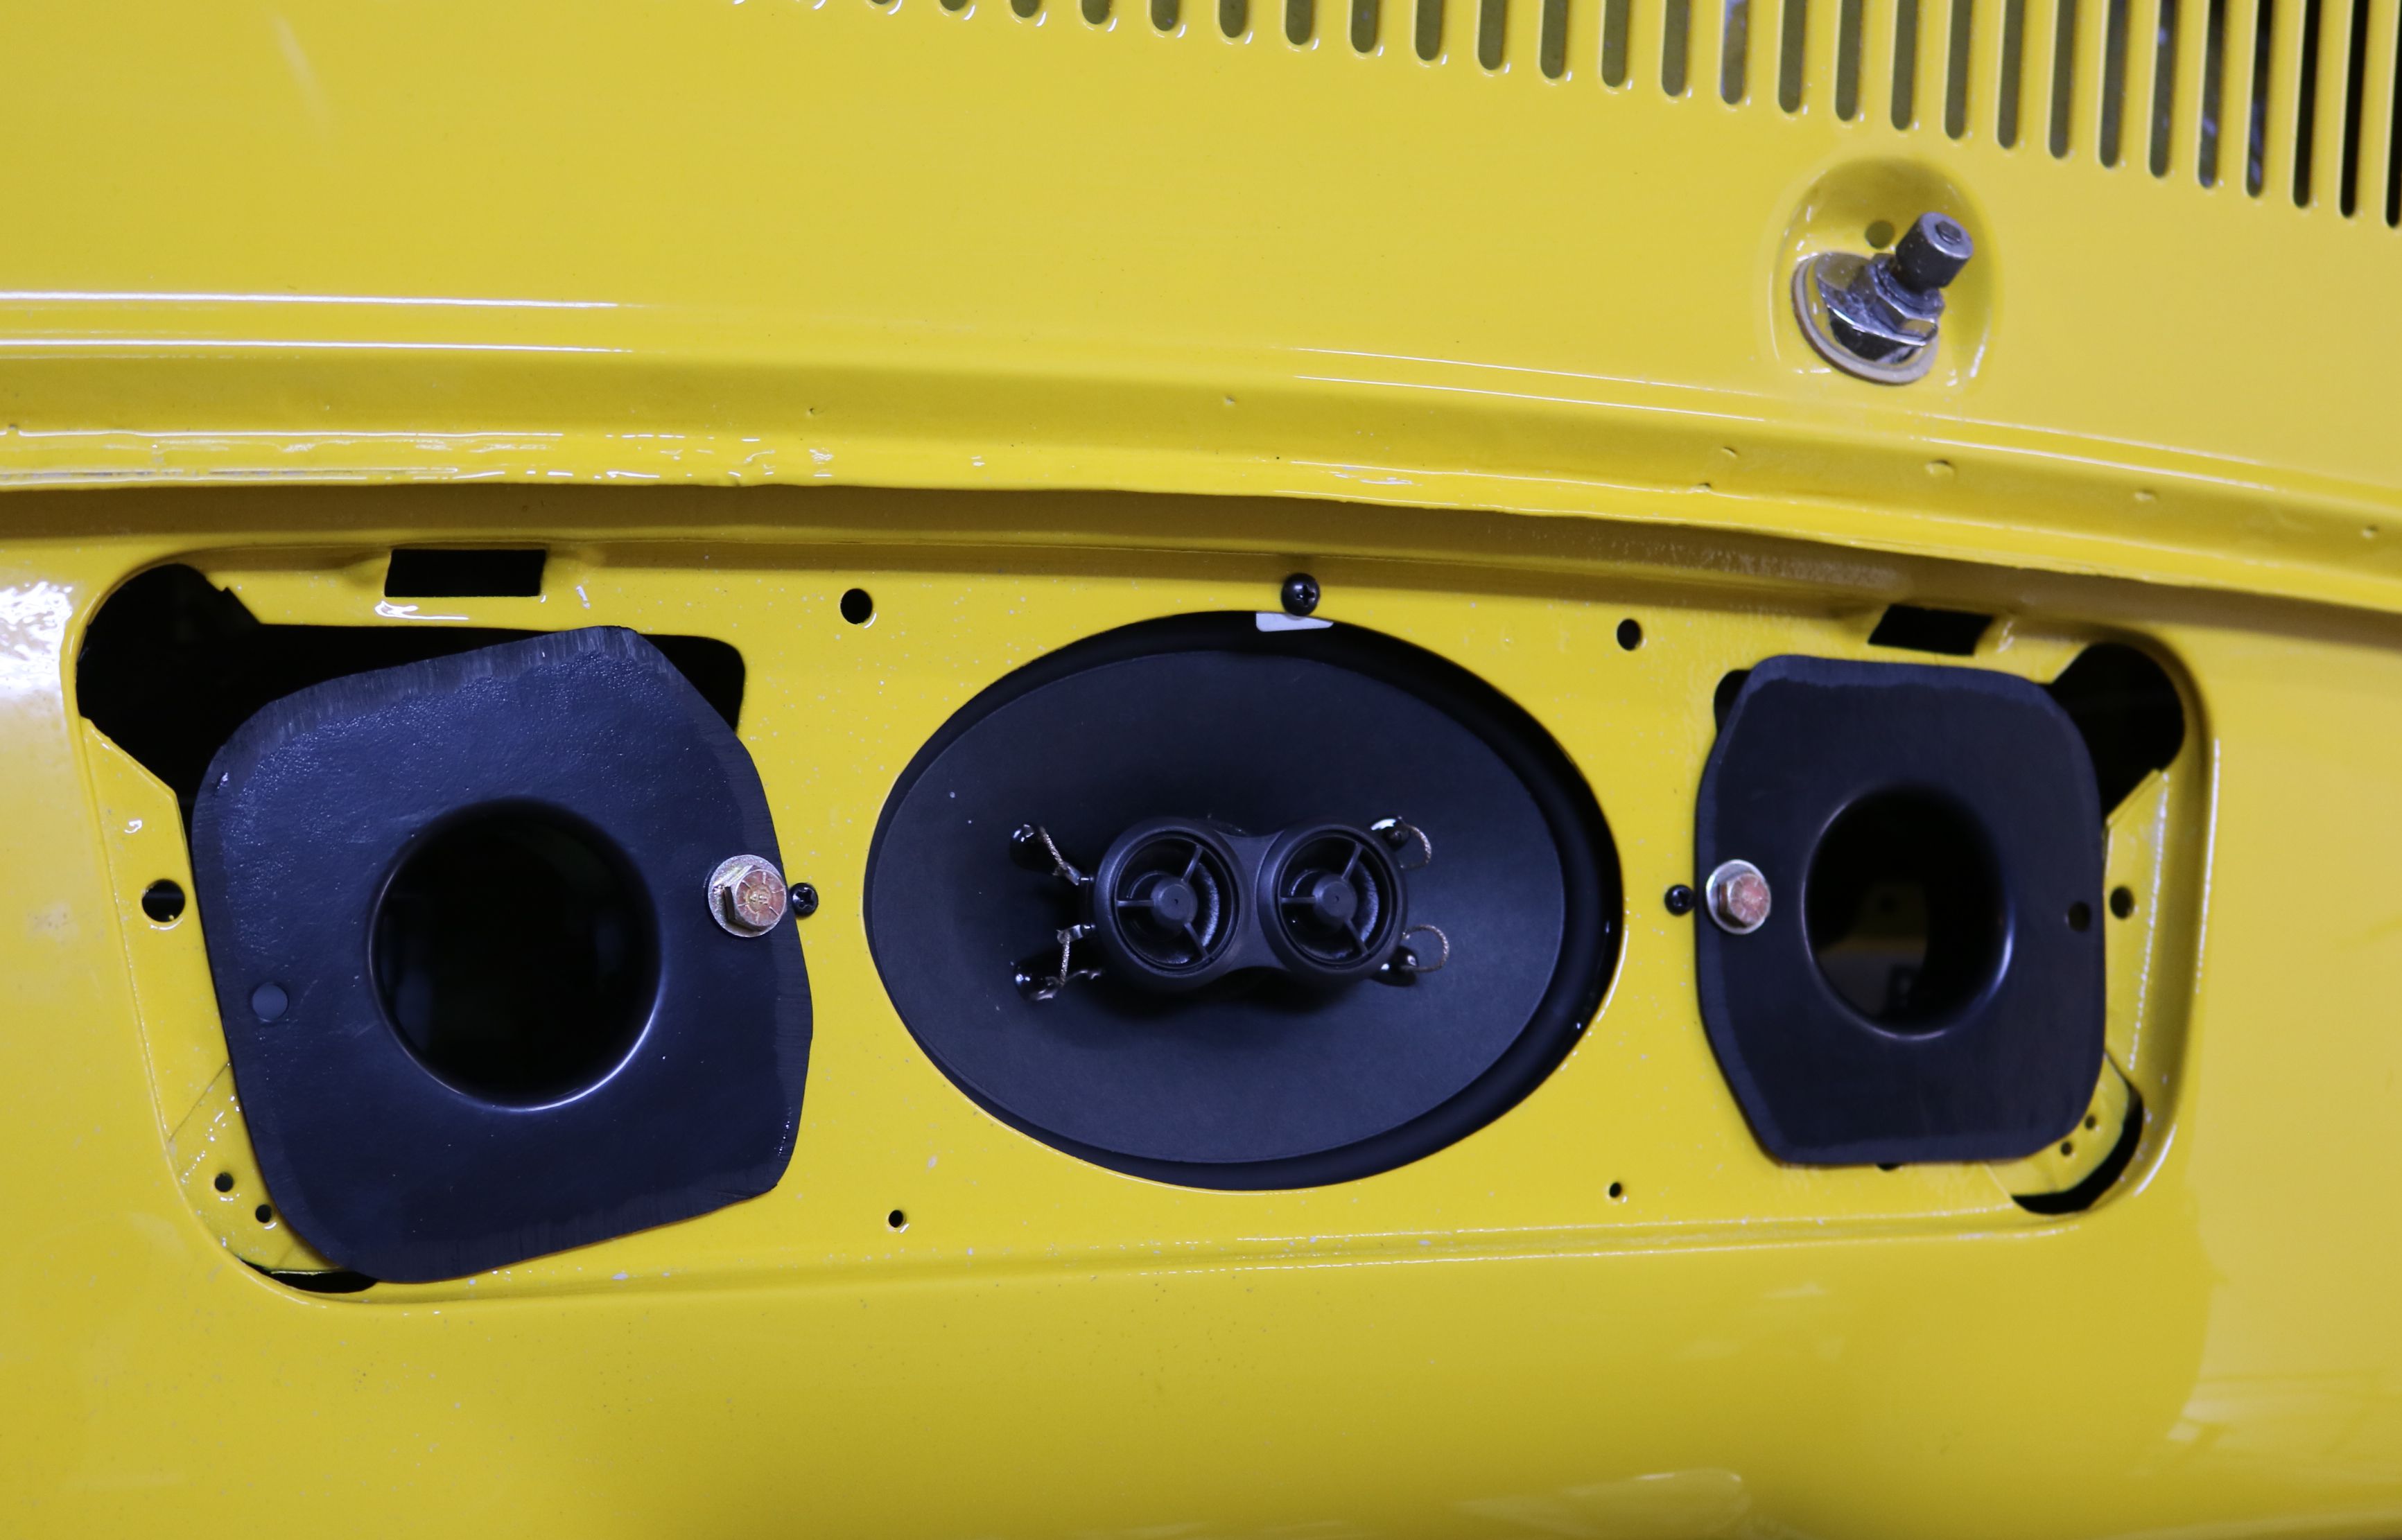
While waiting for the glue to set, the speaker was installed in the dash along with the air vent plates.
|
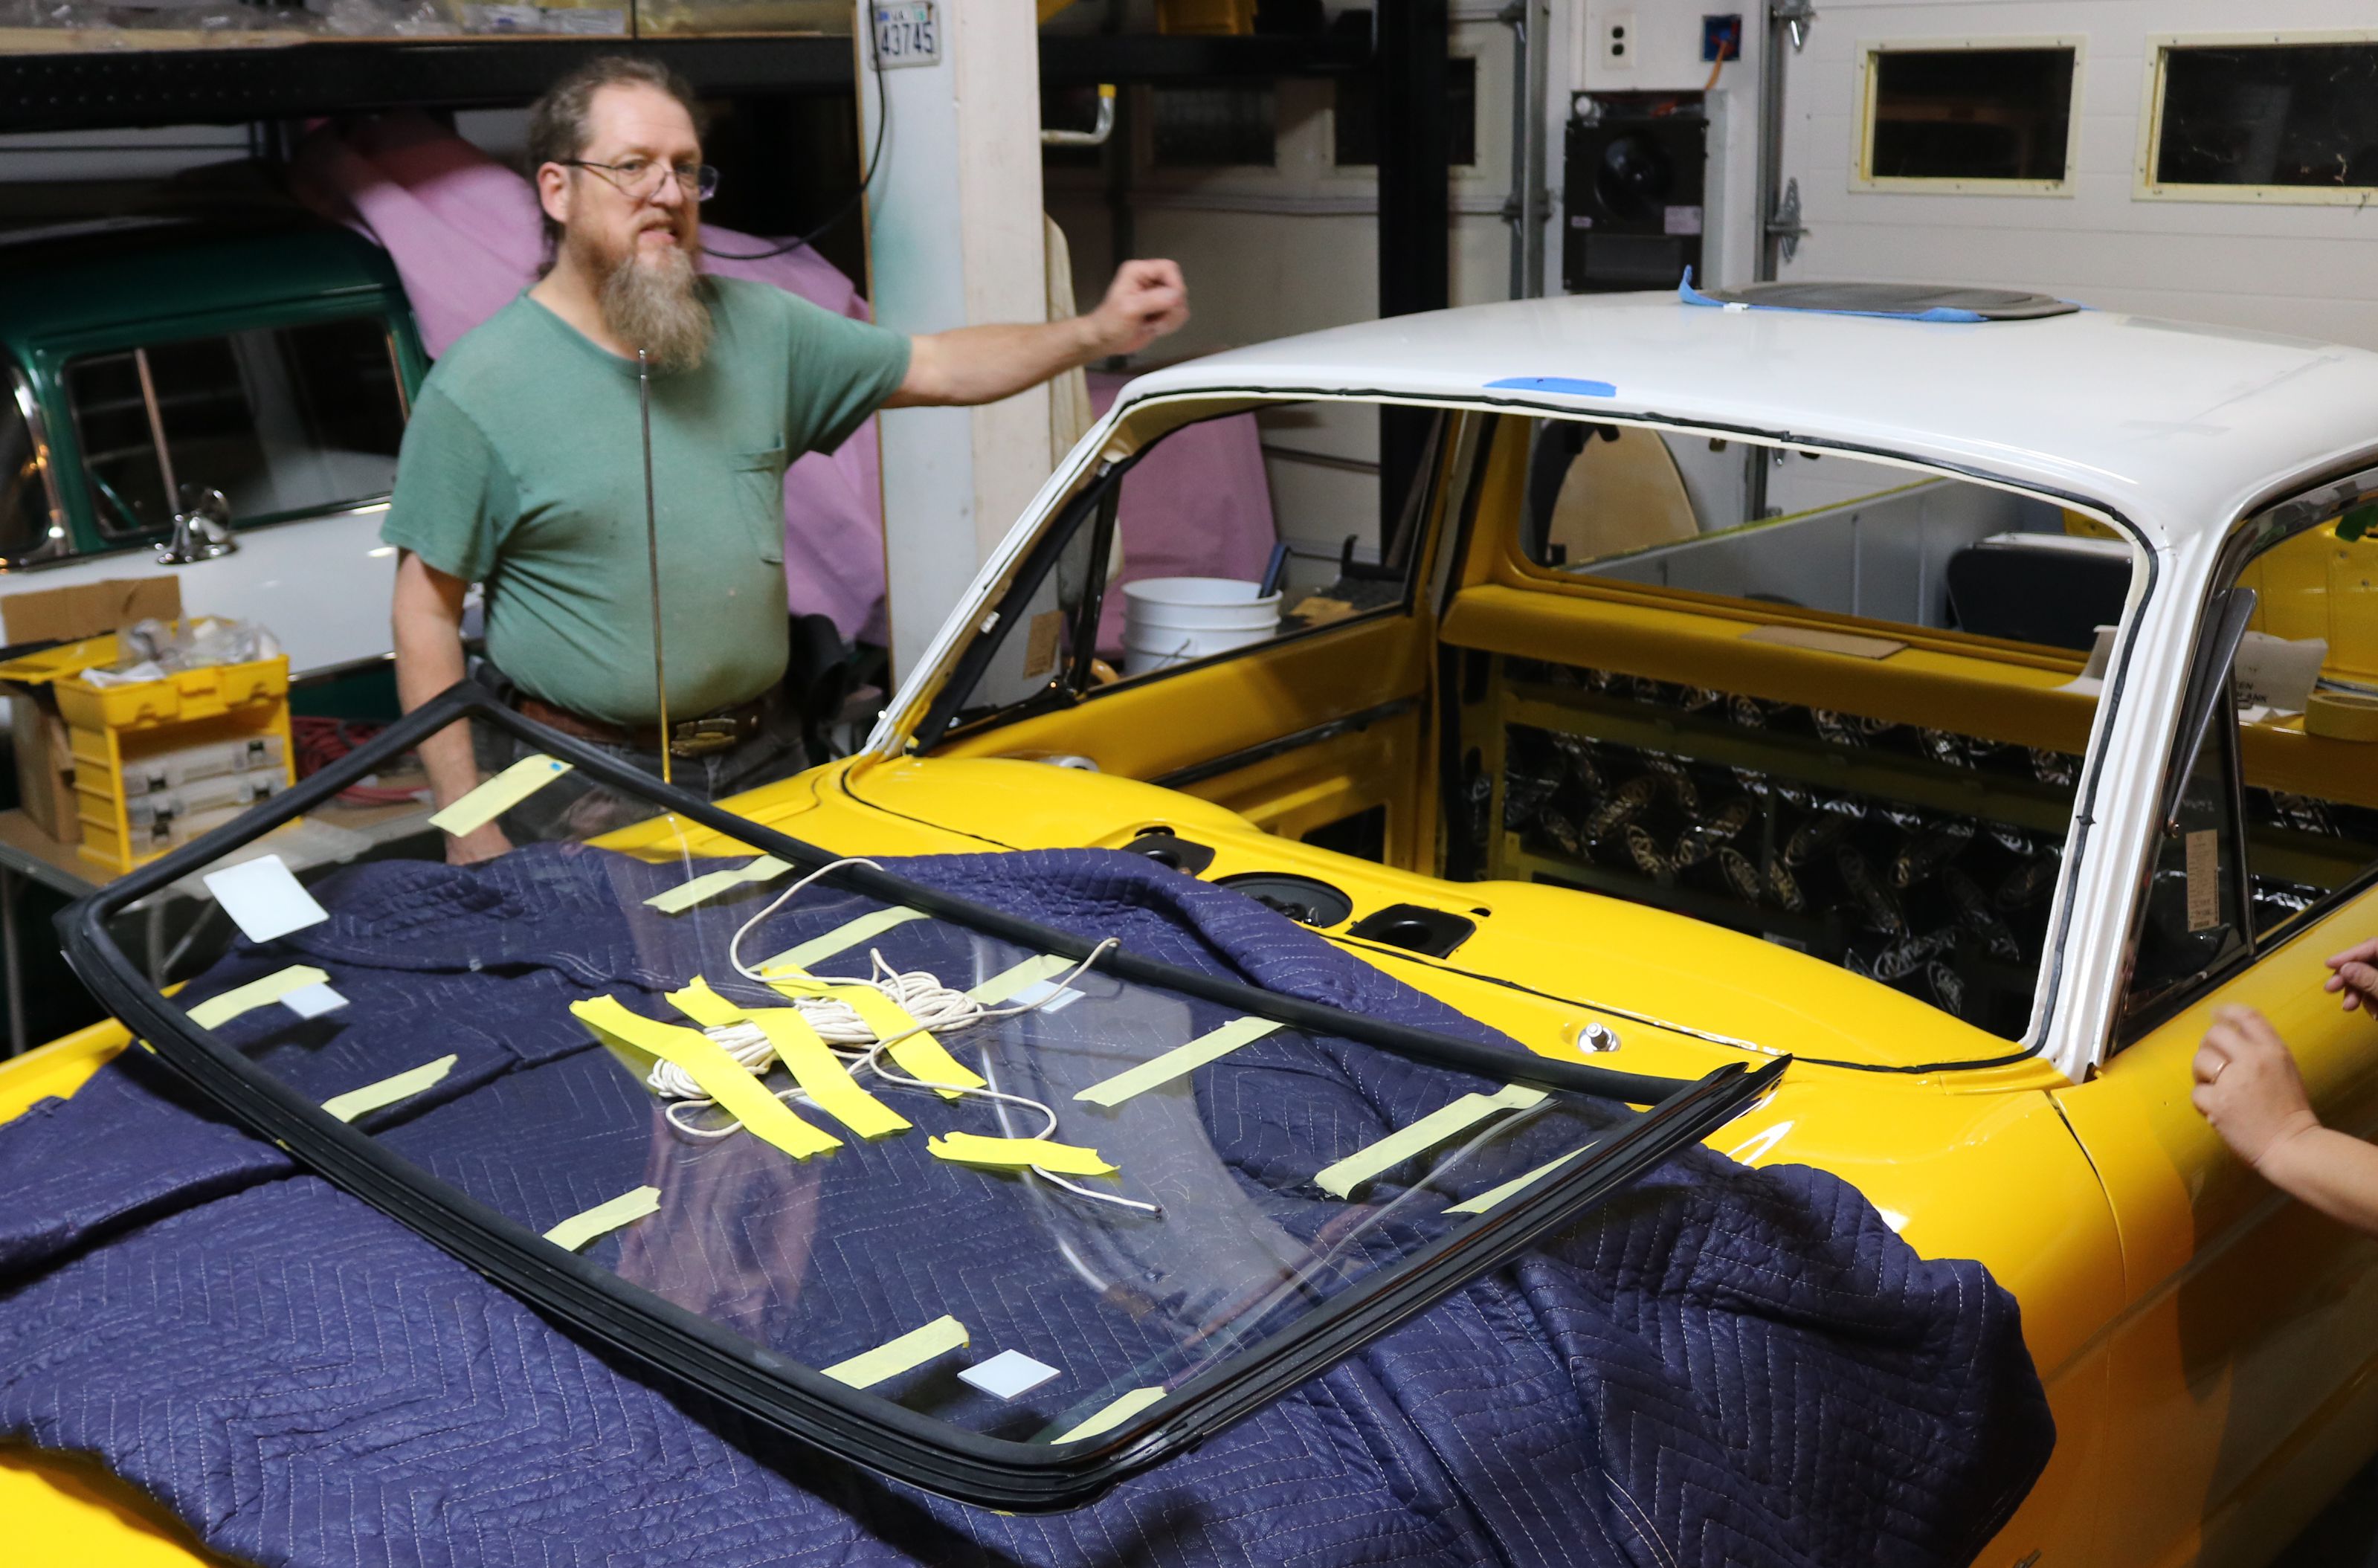
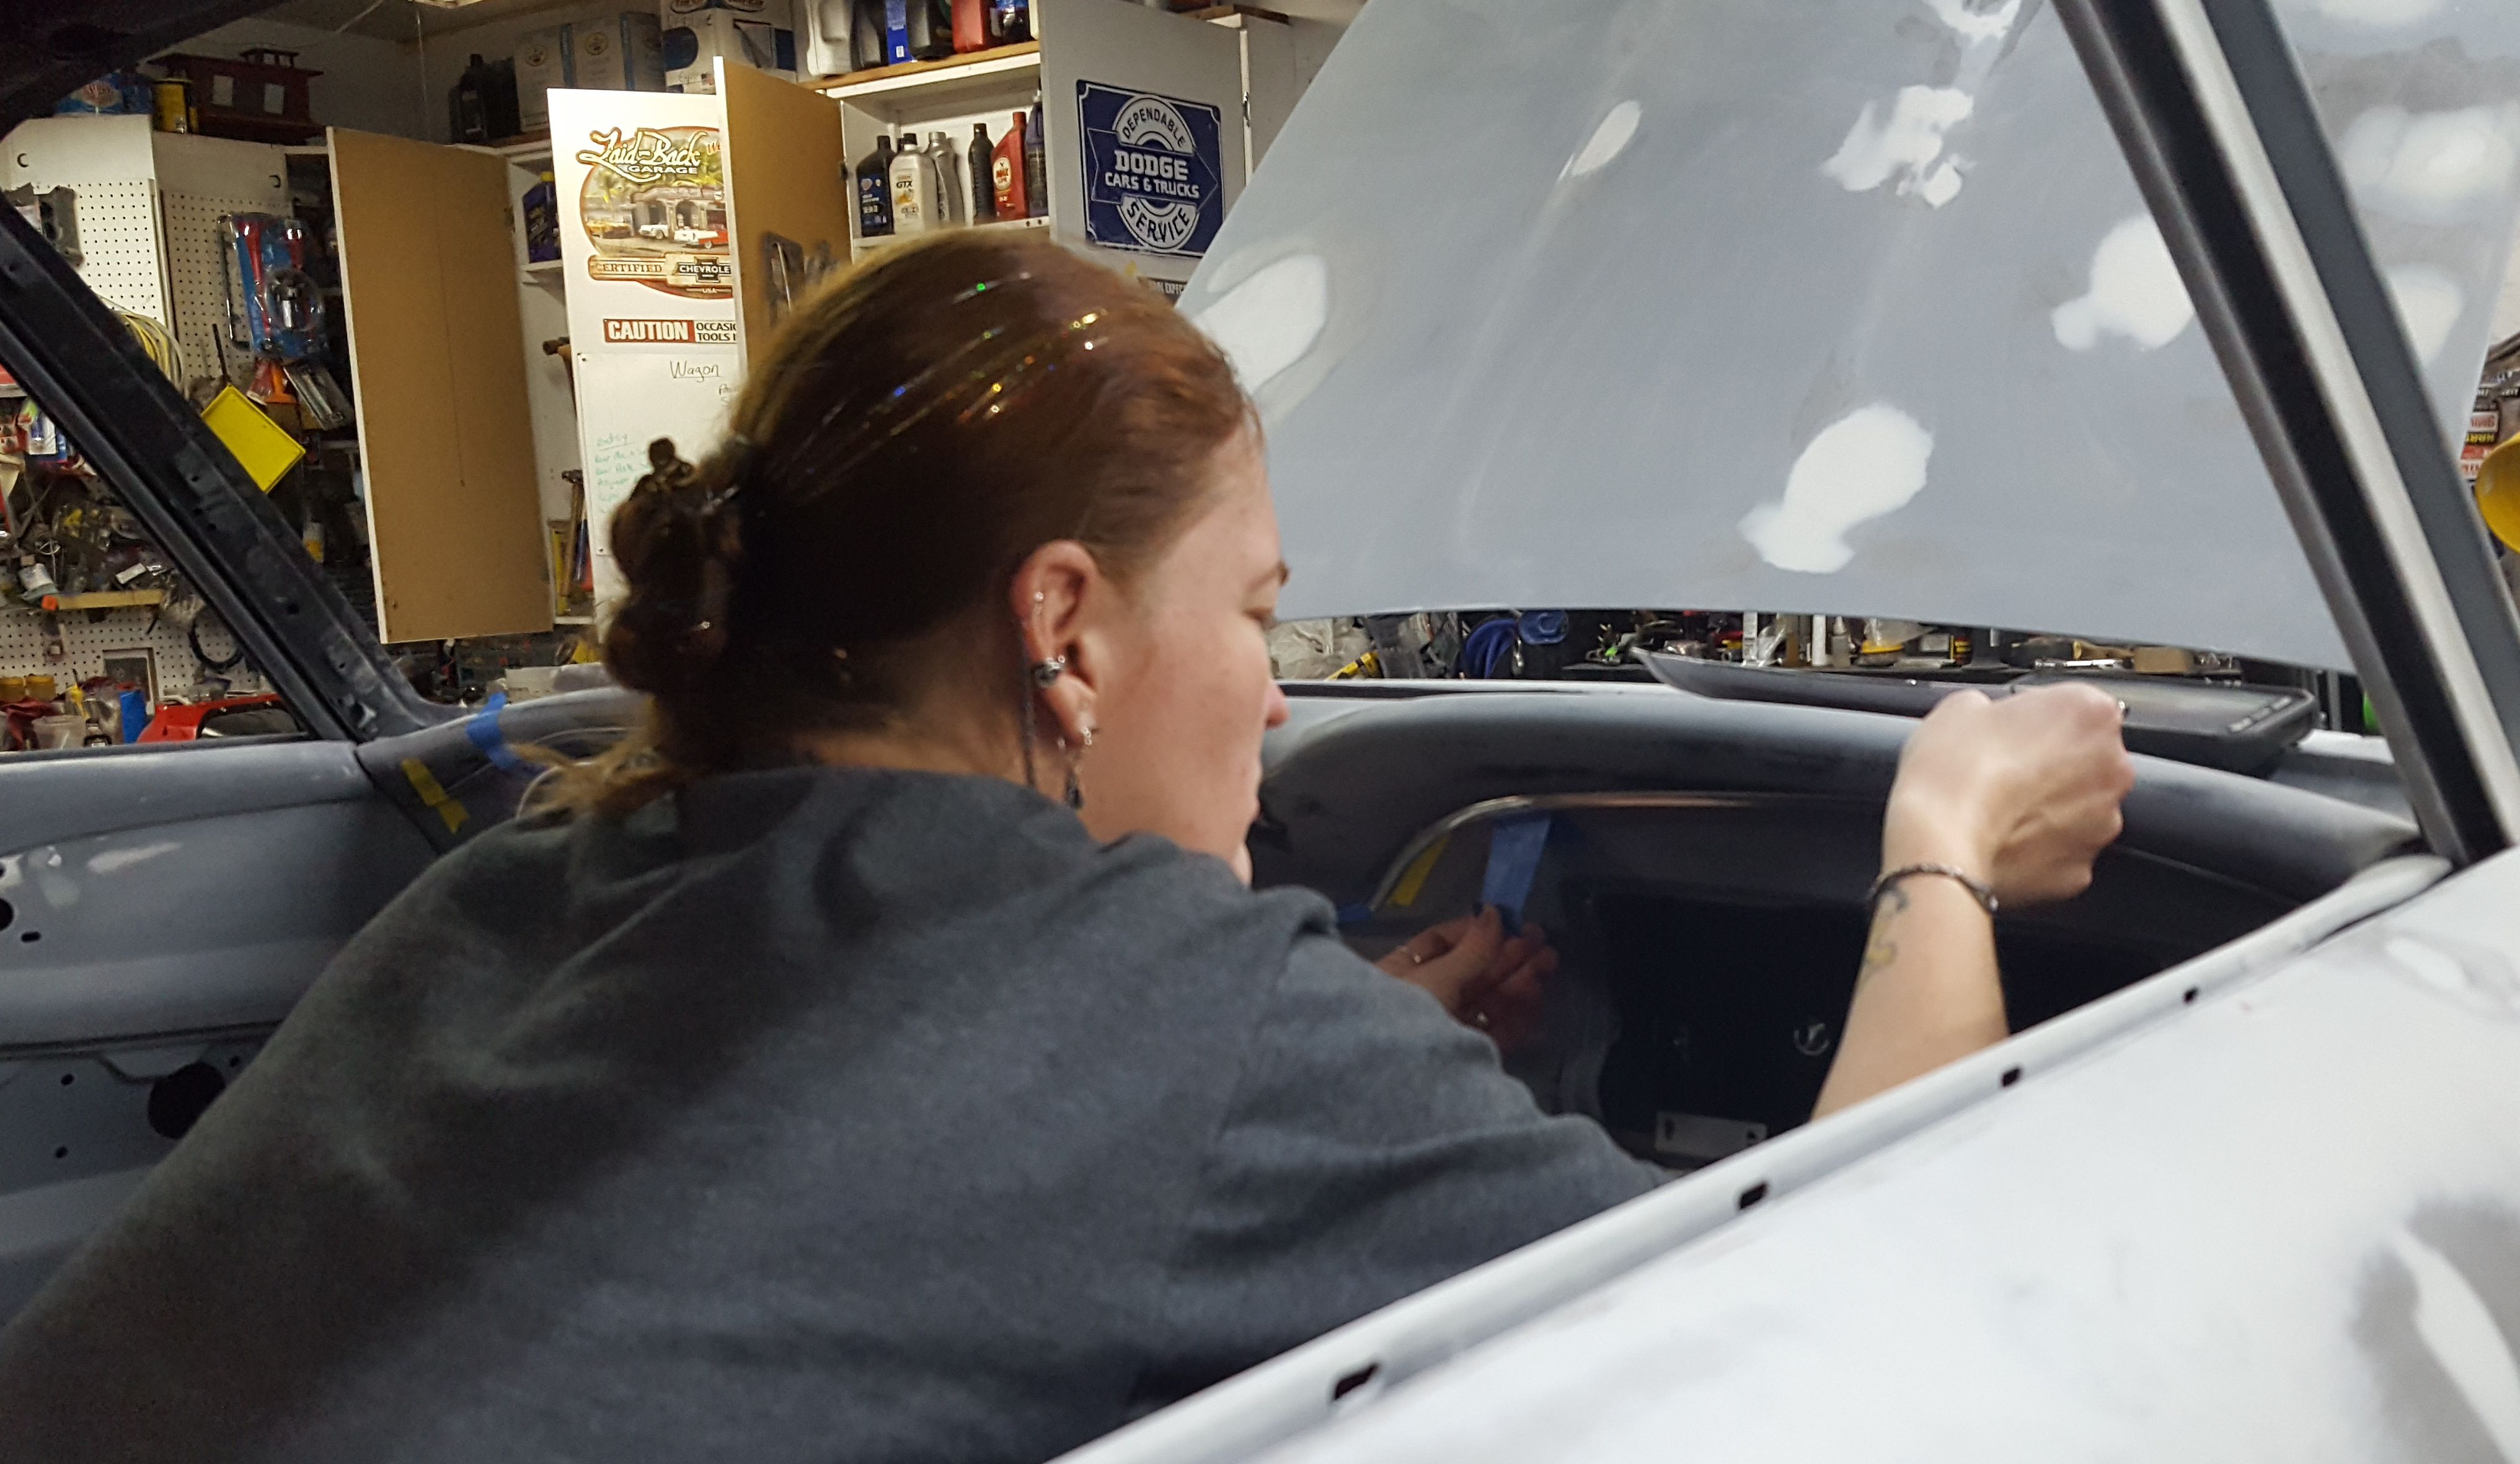
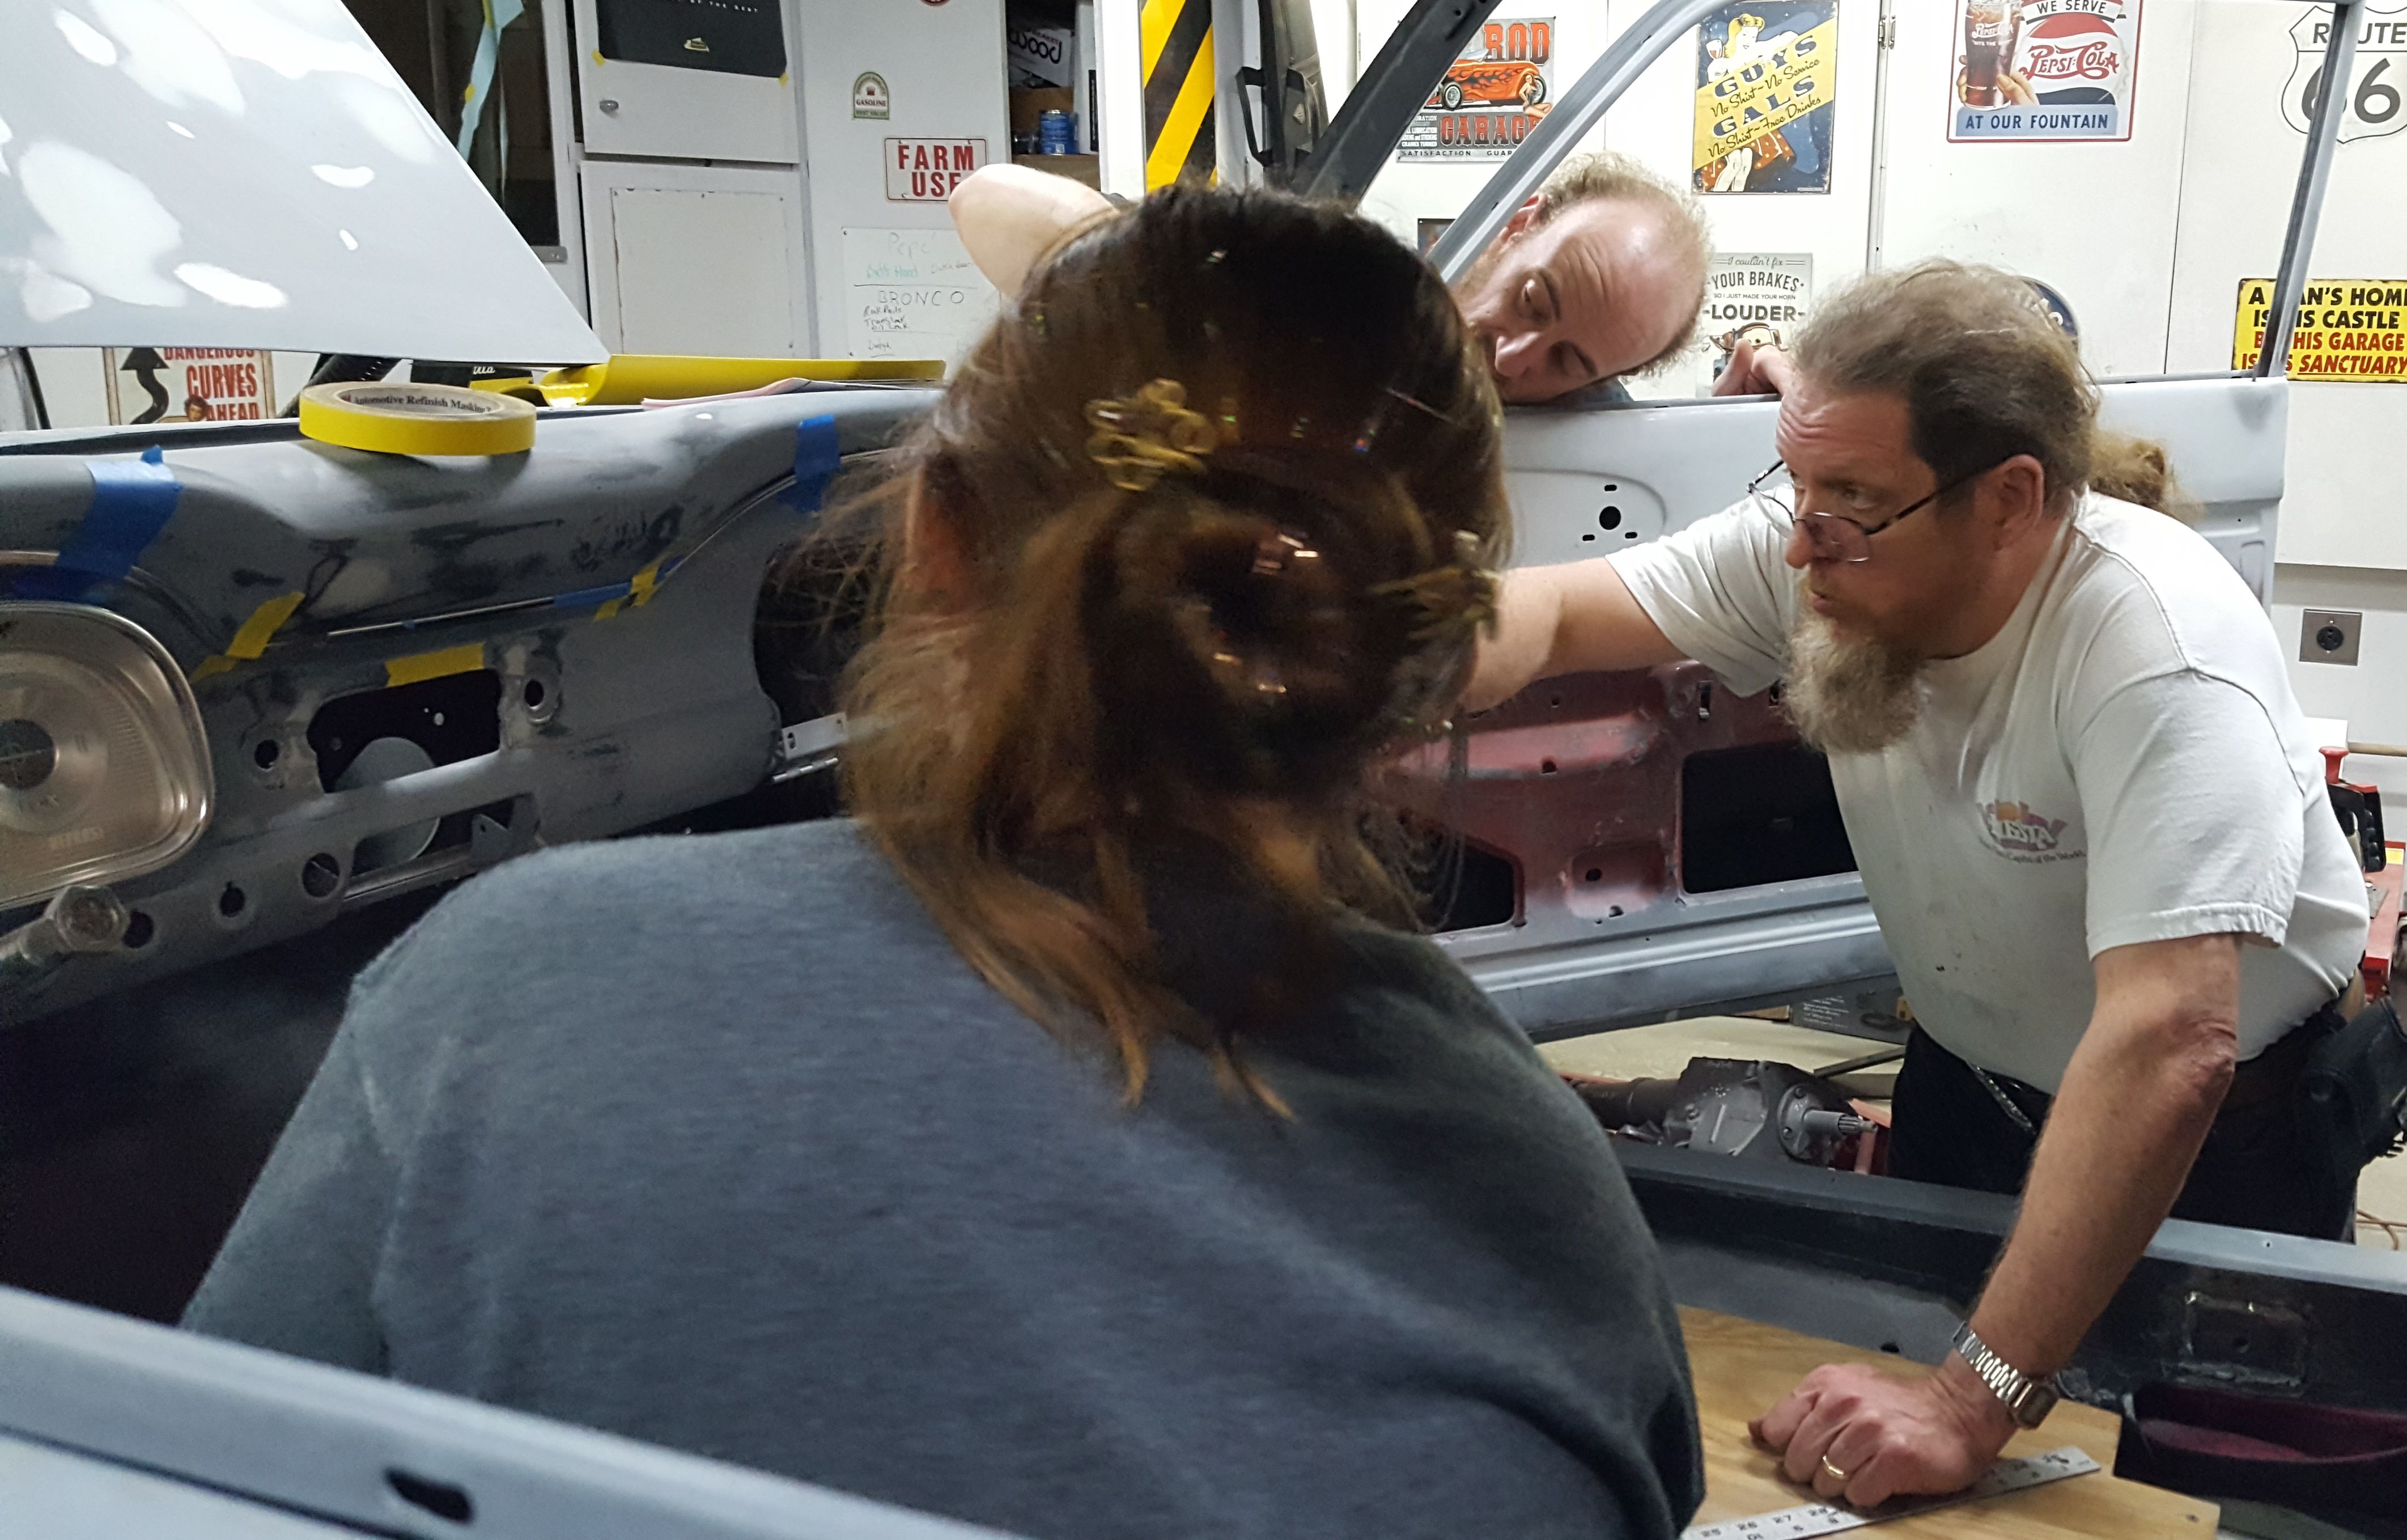
Time to install the windshield. This one uses the same pull rope trick as Betsy and the Wagon, messy, but effective. We also sealed the windshield with strip caulk to be sure there were no leaks.
|
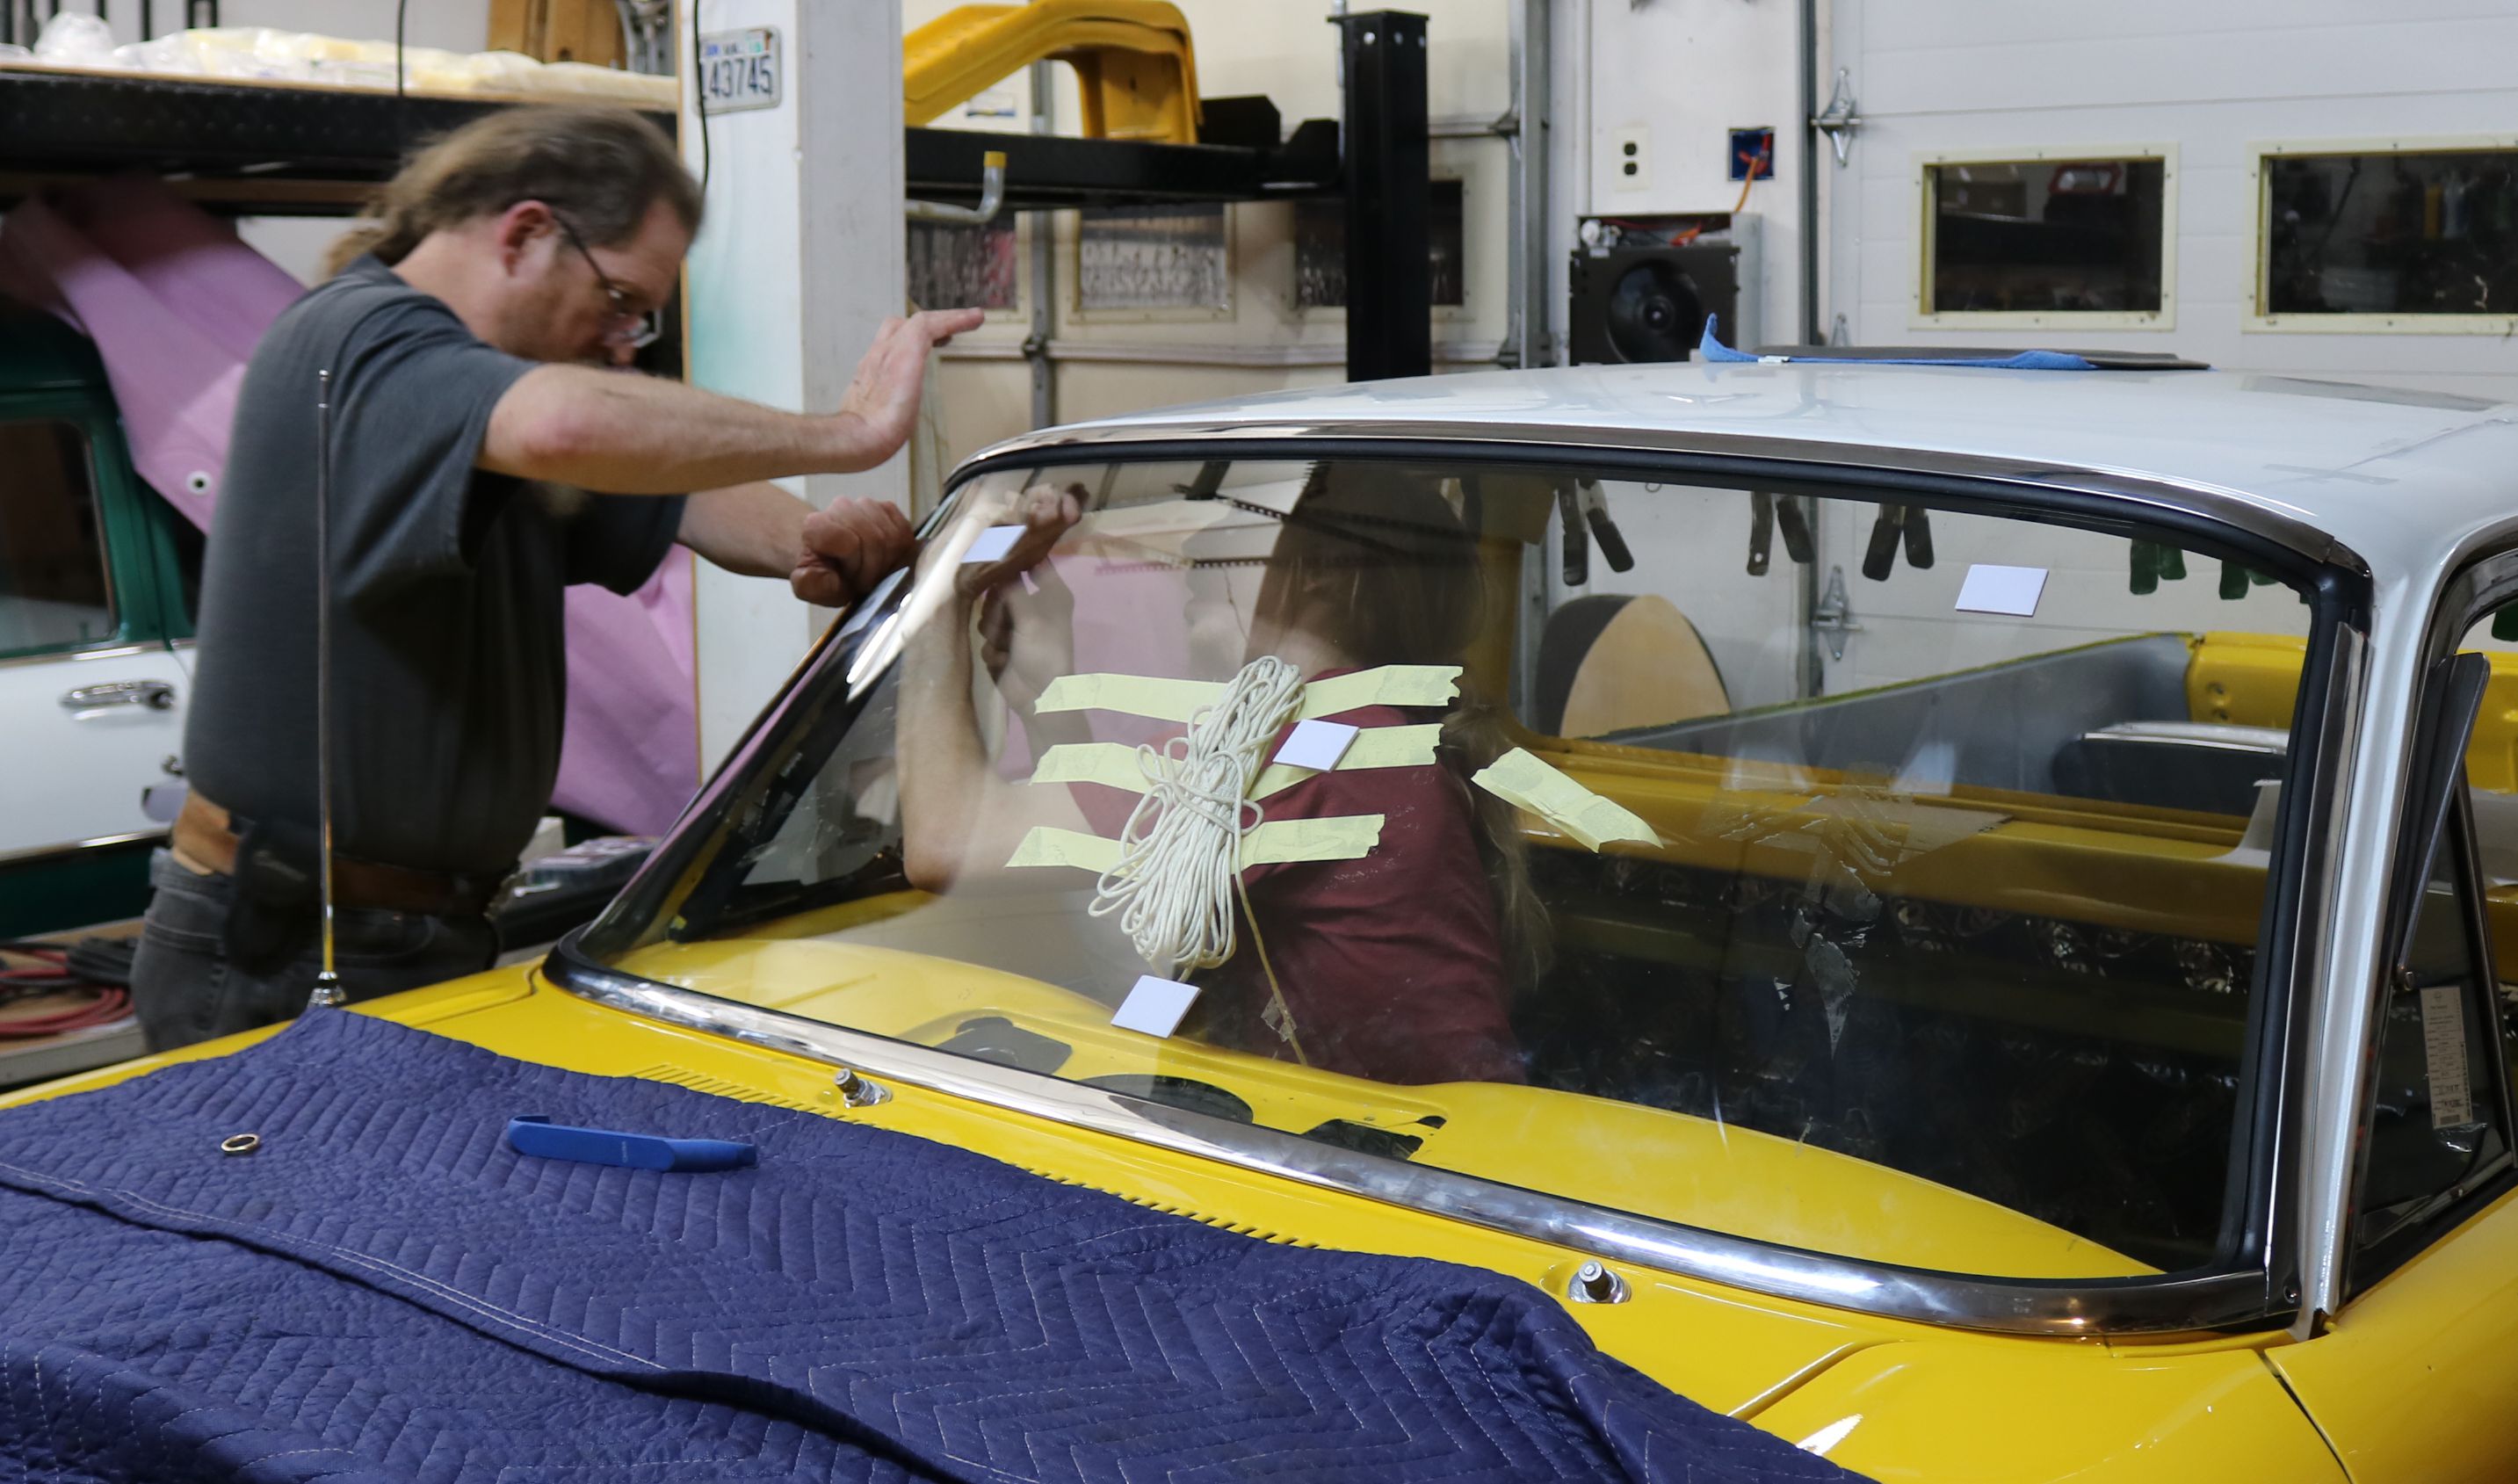
While our son pulled the rope on the inside, Dad and I pressed and beat the glass into location. The stainless trim has a U shaped channel and has to go into the rubber seal before the glass is installed in the car, so we have to make sure everything goes in correctly at the same time.
|
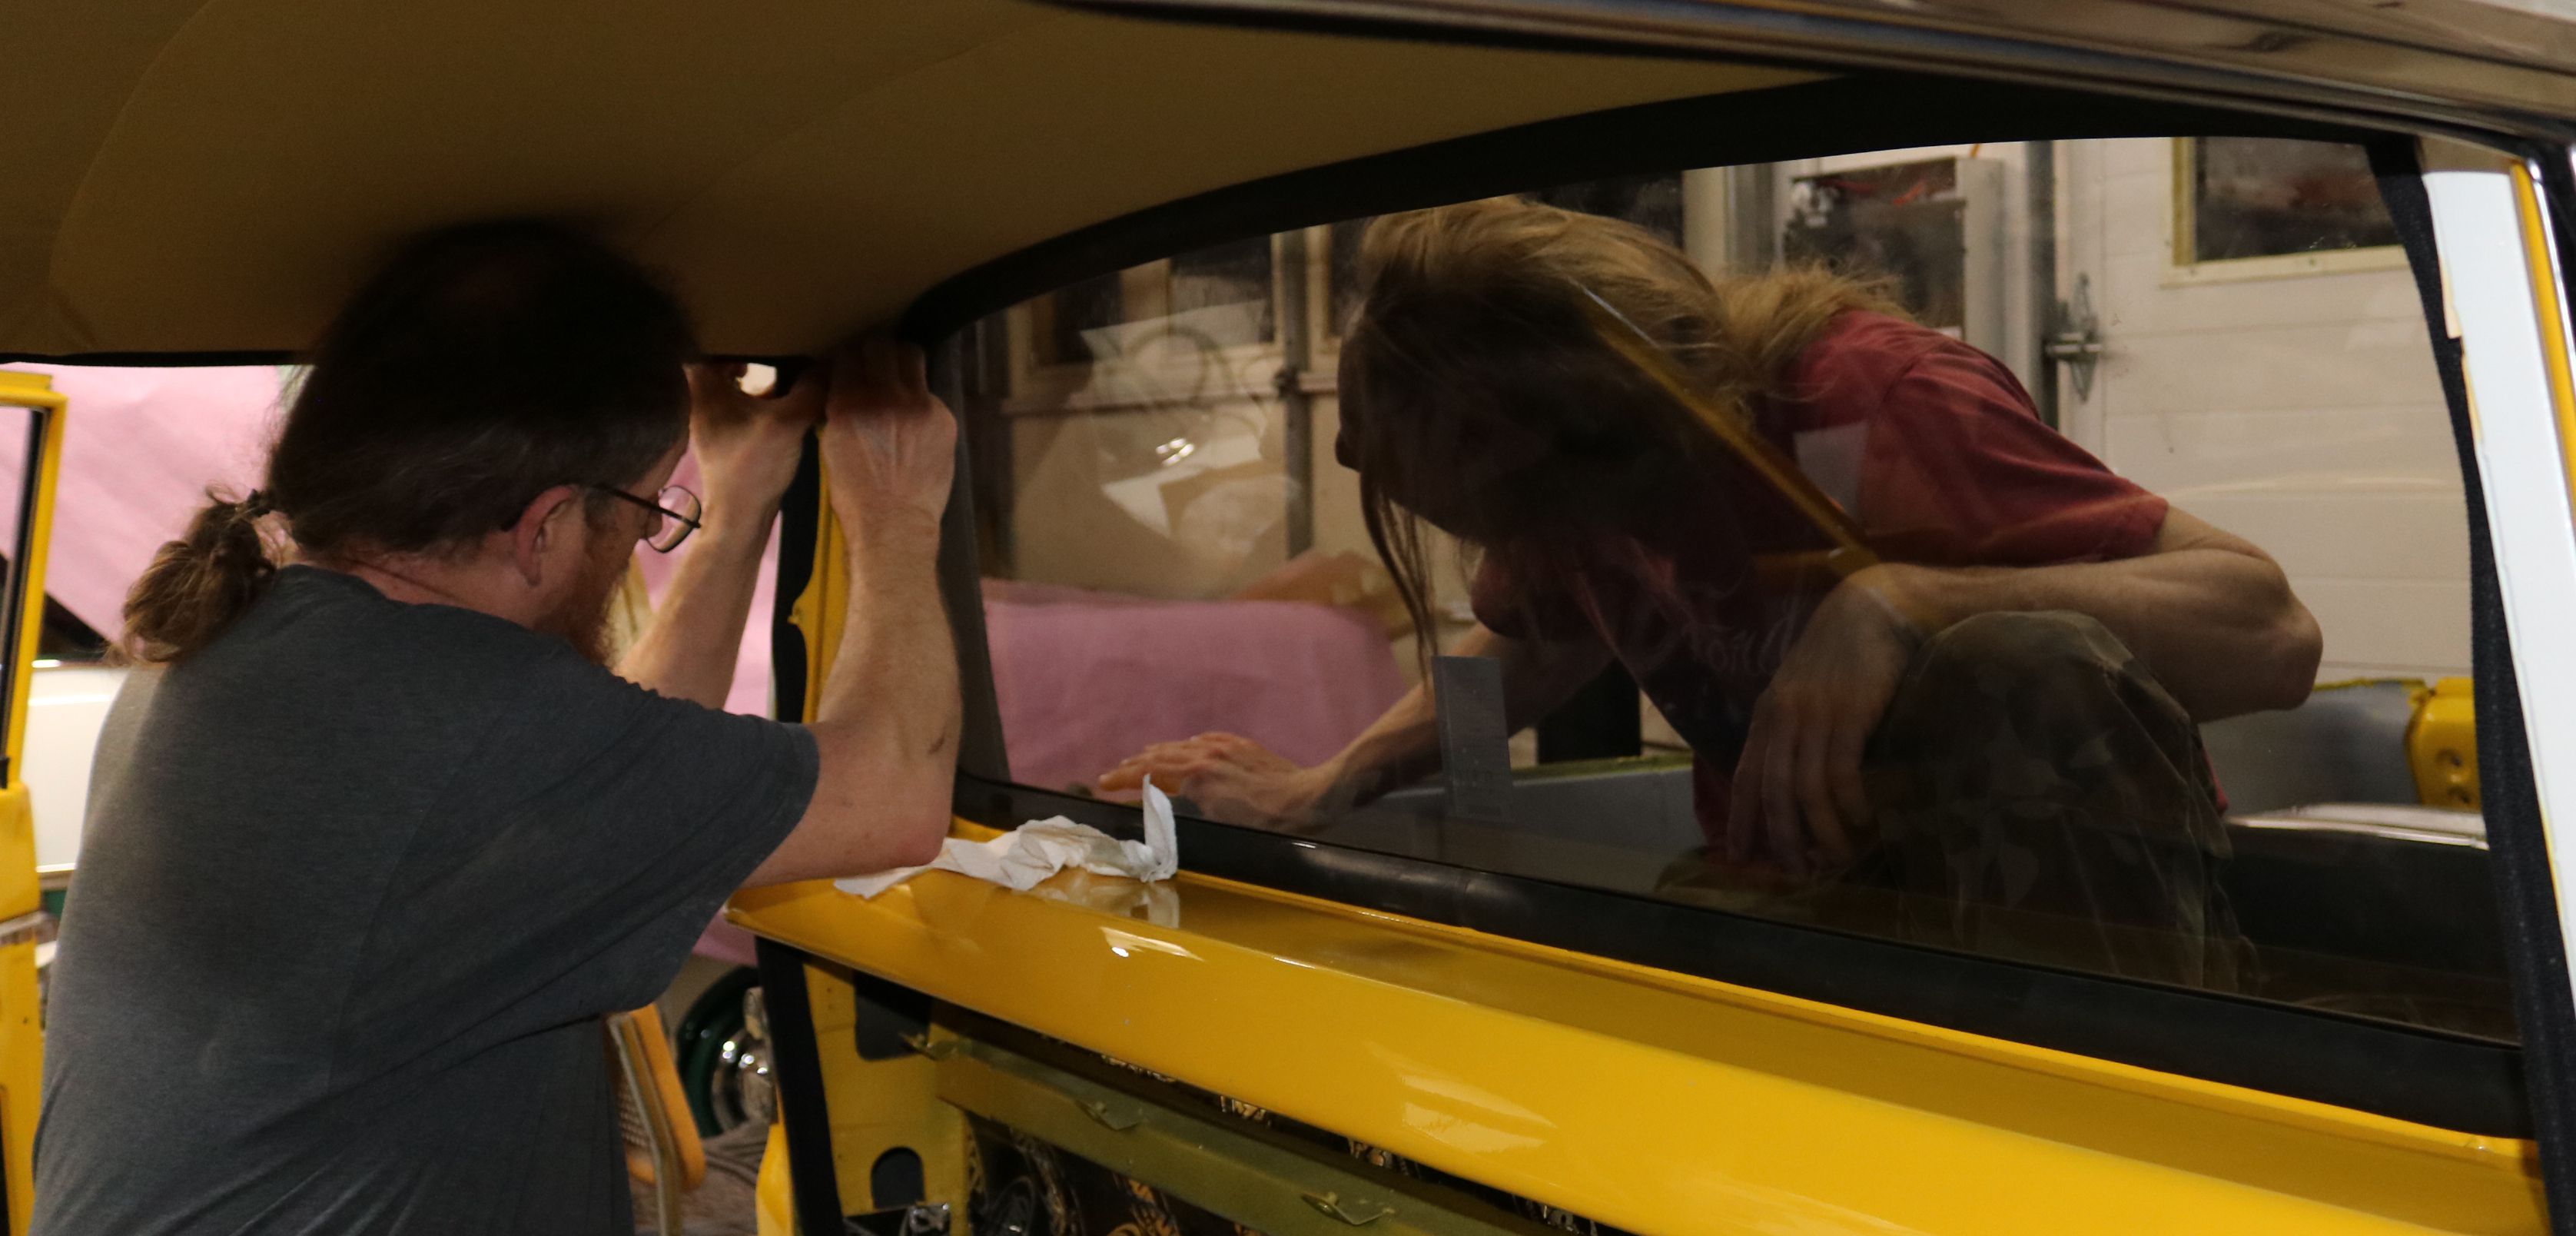
Now for the back glass. The windlacing made this a tight fit as it had to be installed from the inside to the outside. We did not use the strip caulk here as this glass has to come back out to paint the back of the cab.
|

