
The fenders were sprayed with All-U-Need for a second round.
|
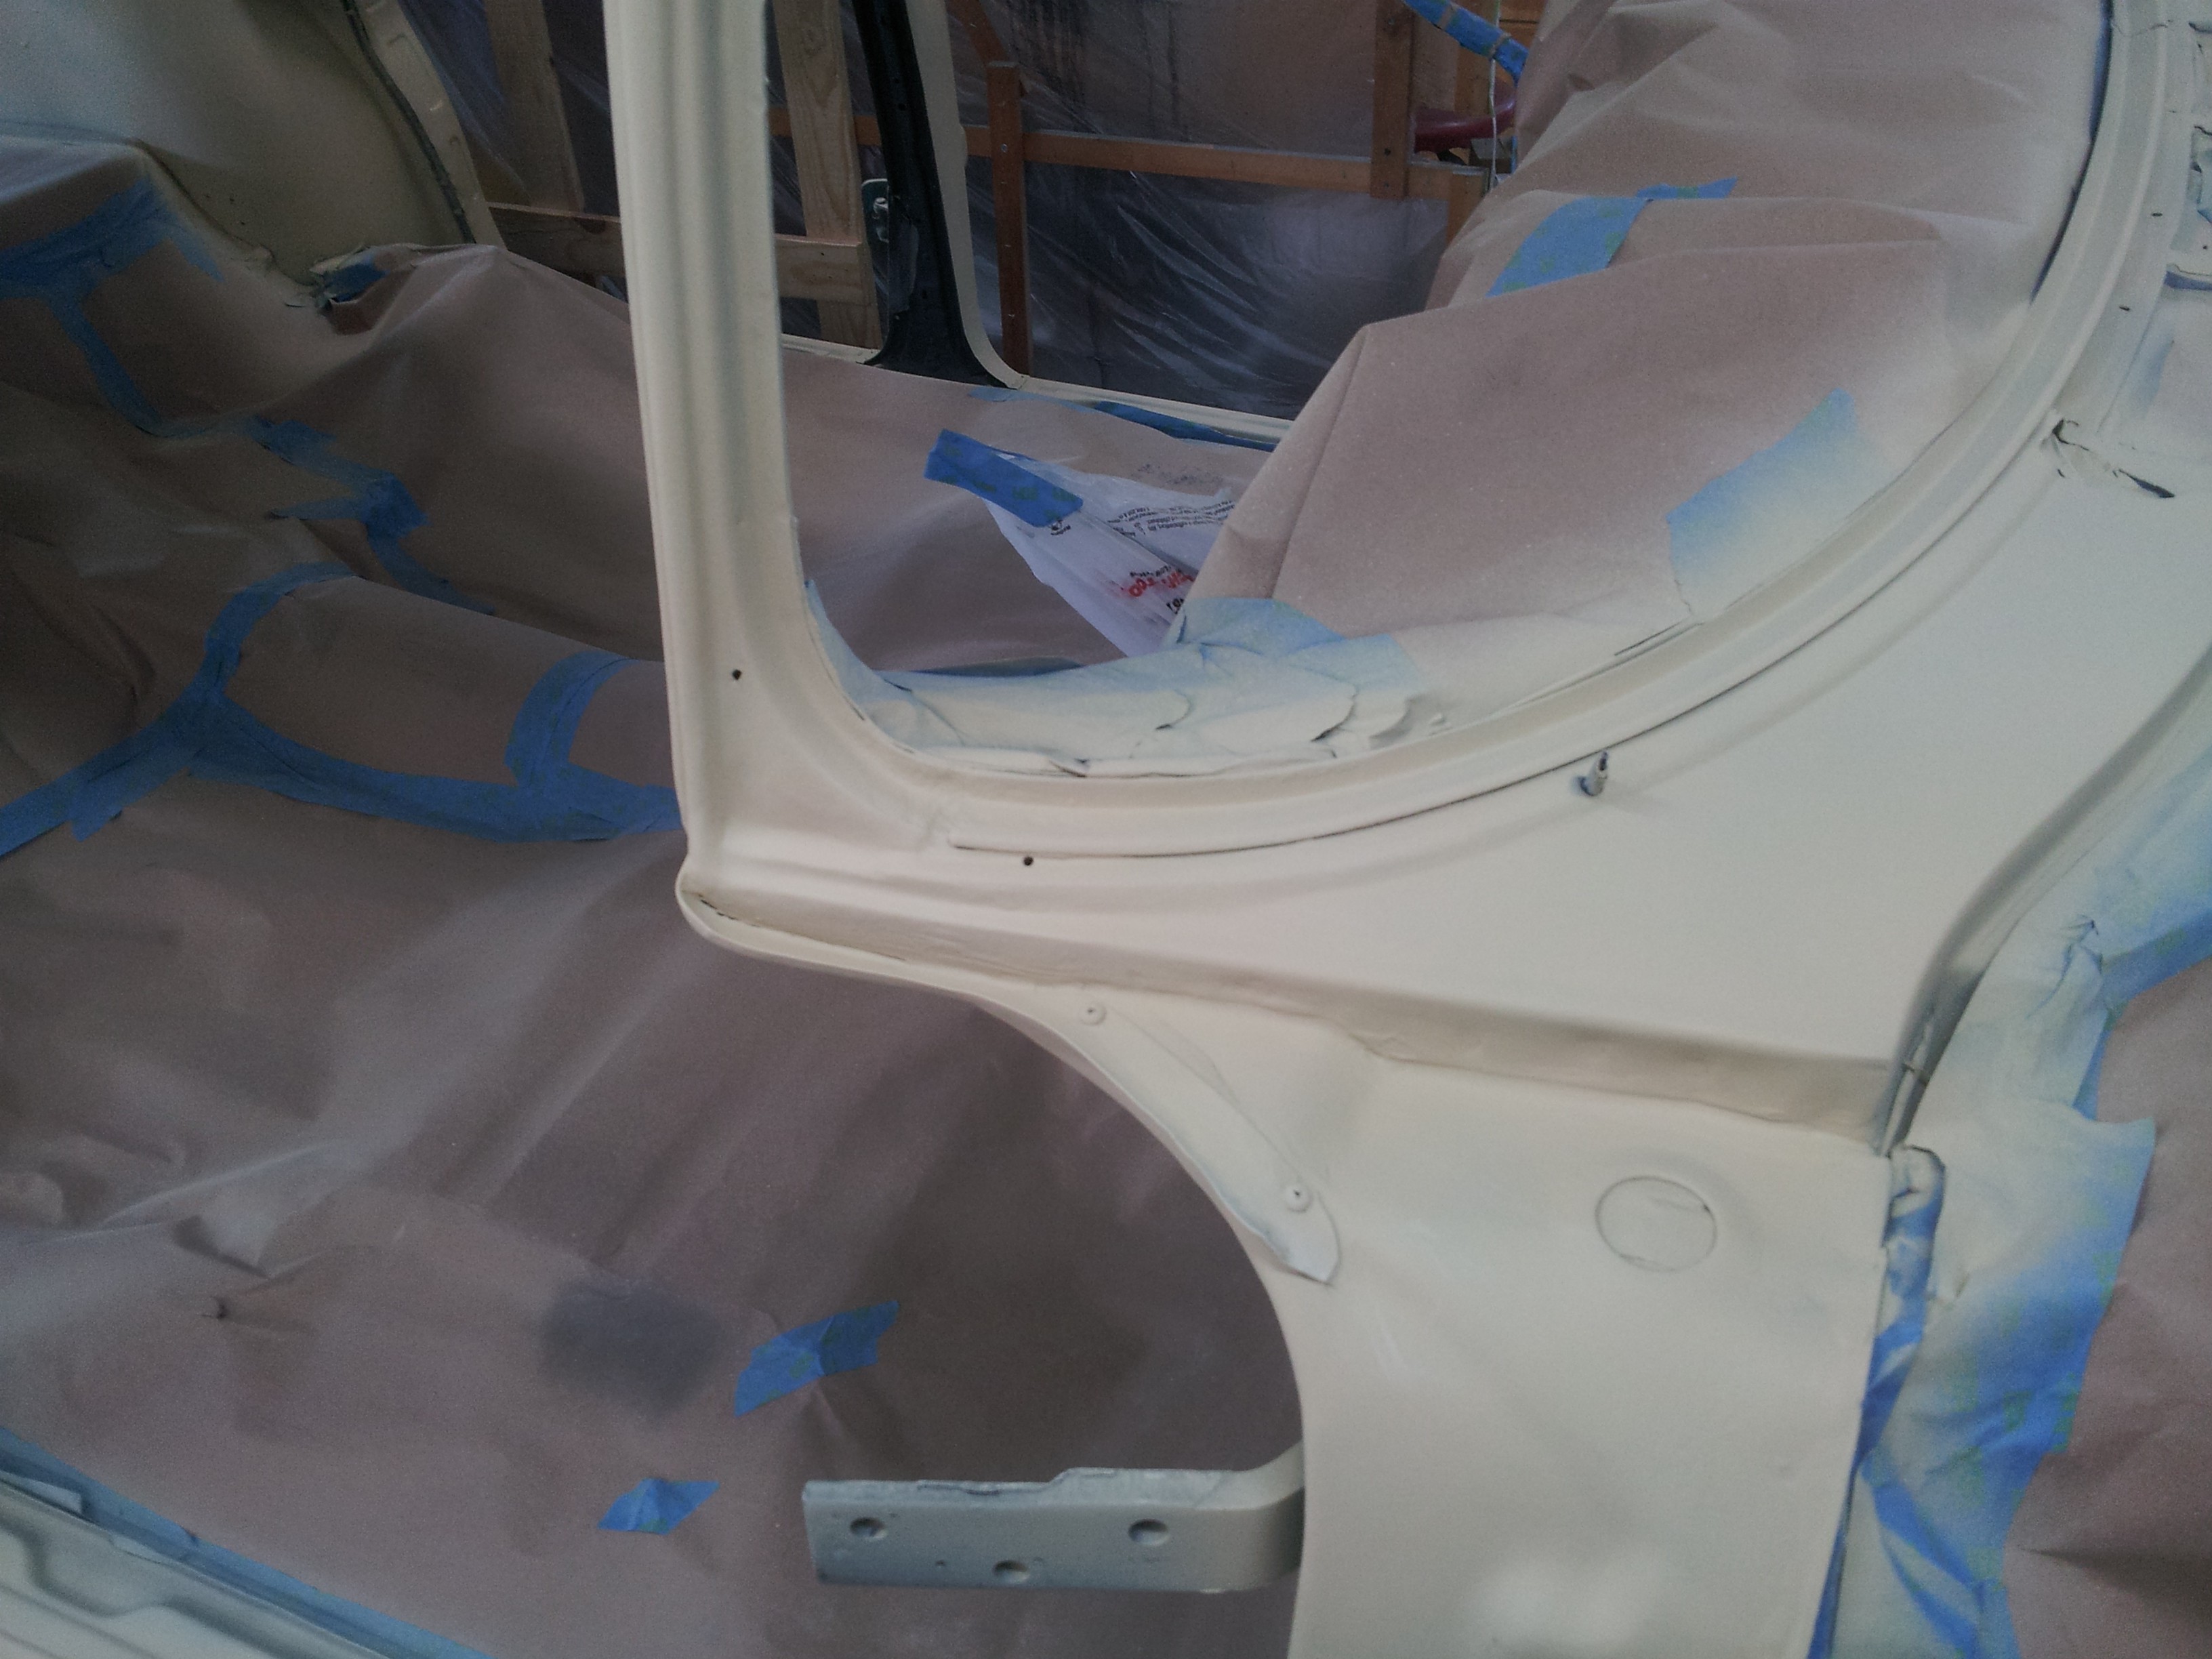
The passenger side cowl area is done and looking good.
|

The putty work shows through just slightly with a discoloration. Sanding should dress this out.
|

The welded up holes are looking pretty smooth now.
|
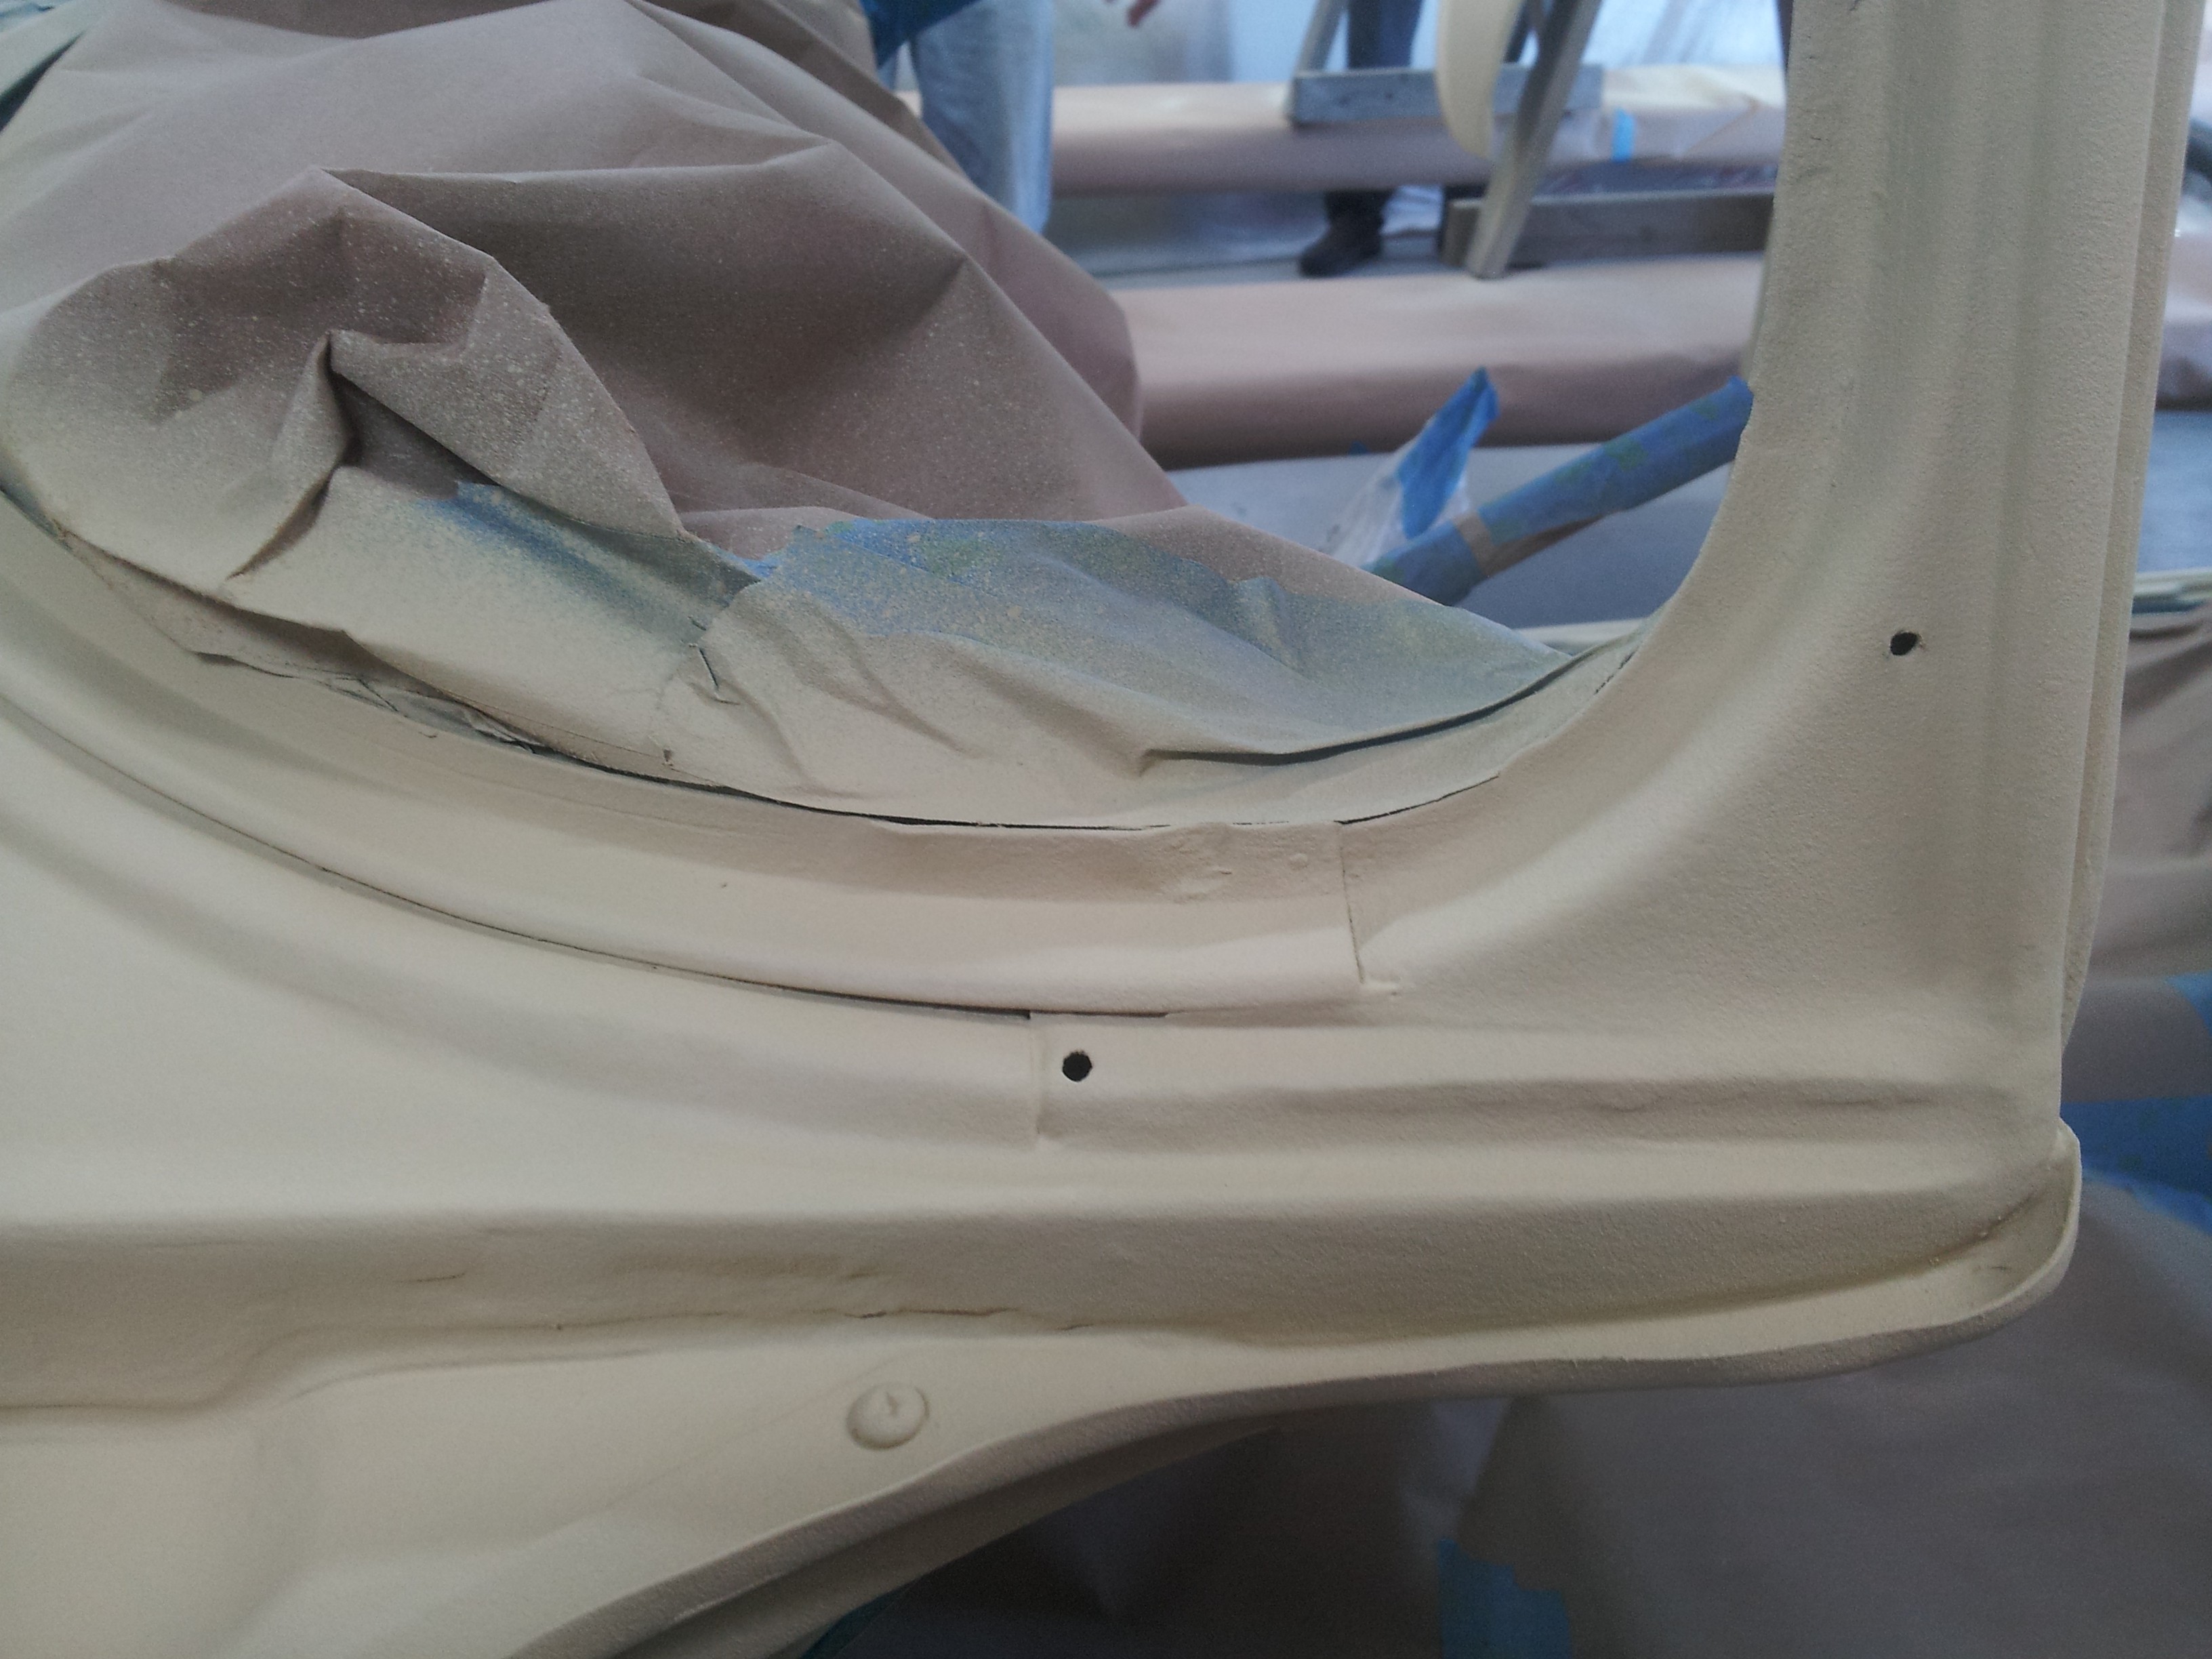
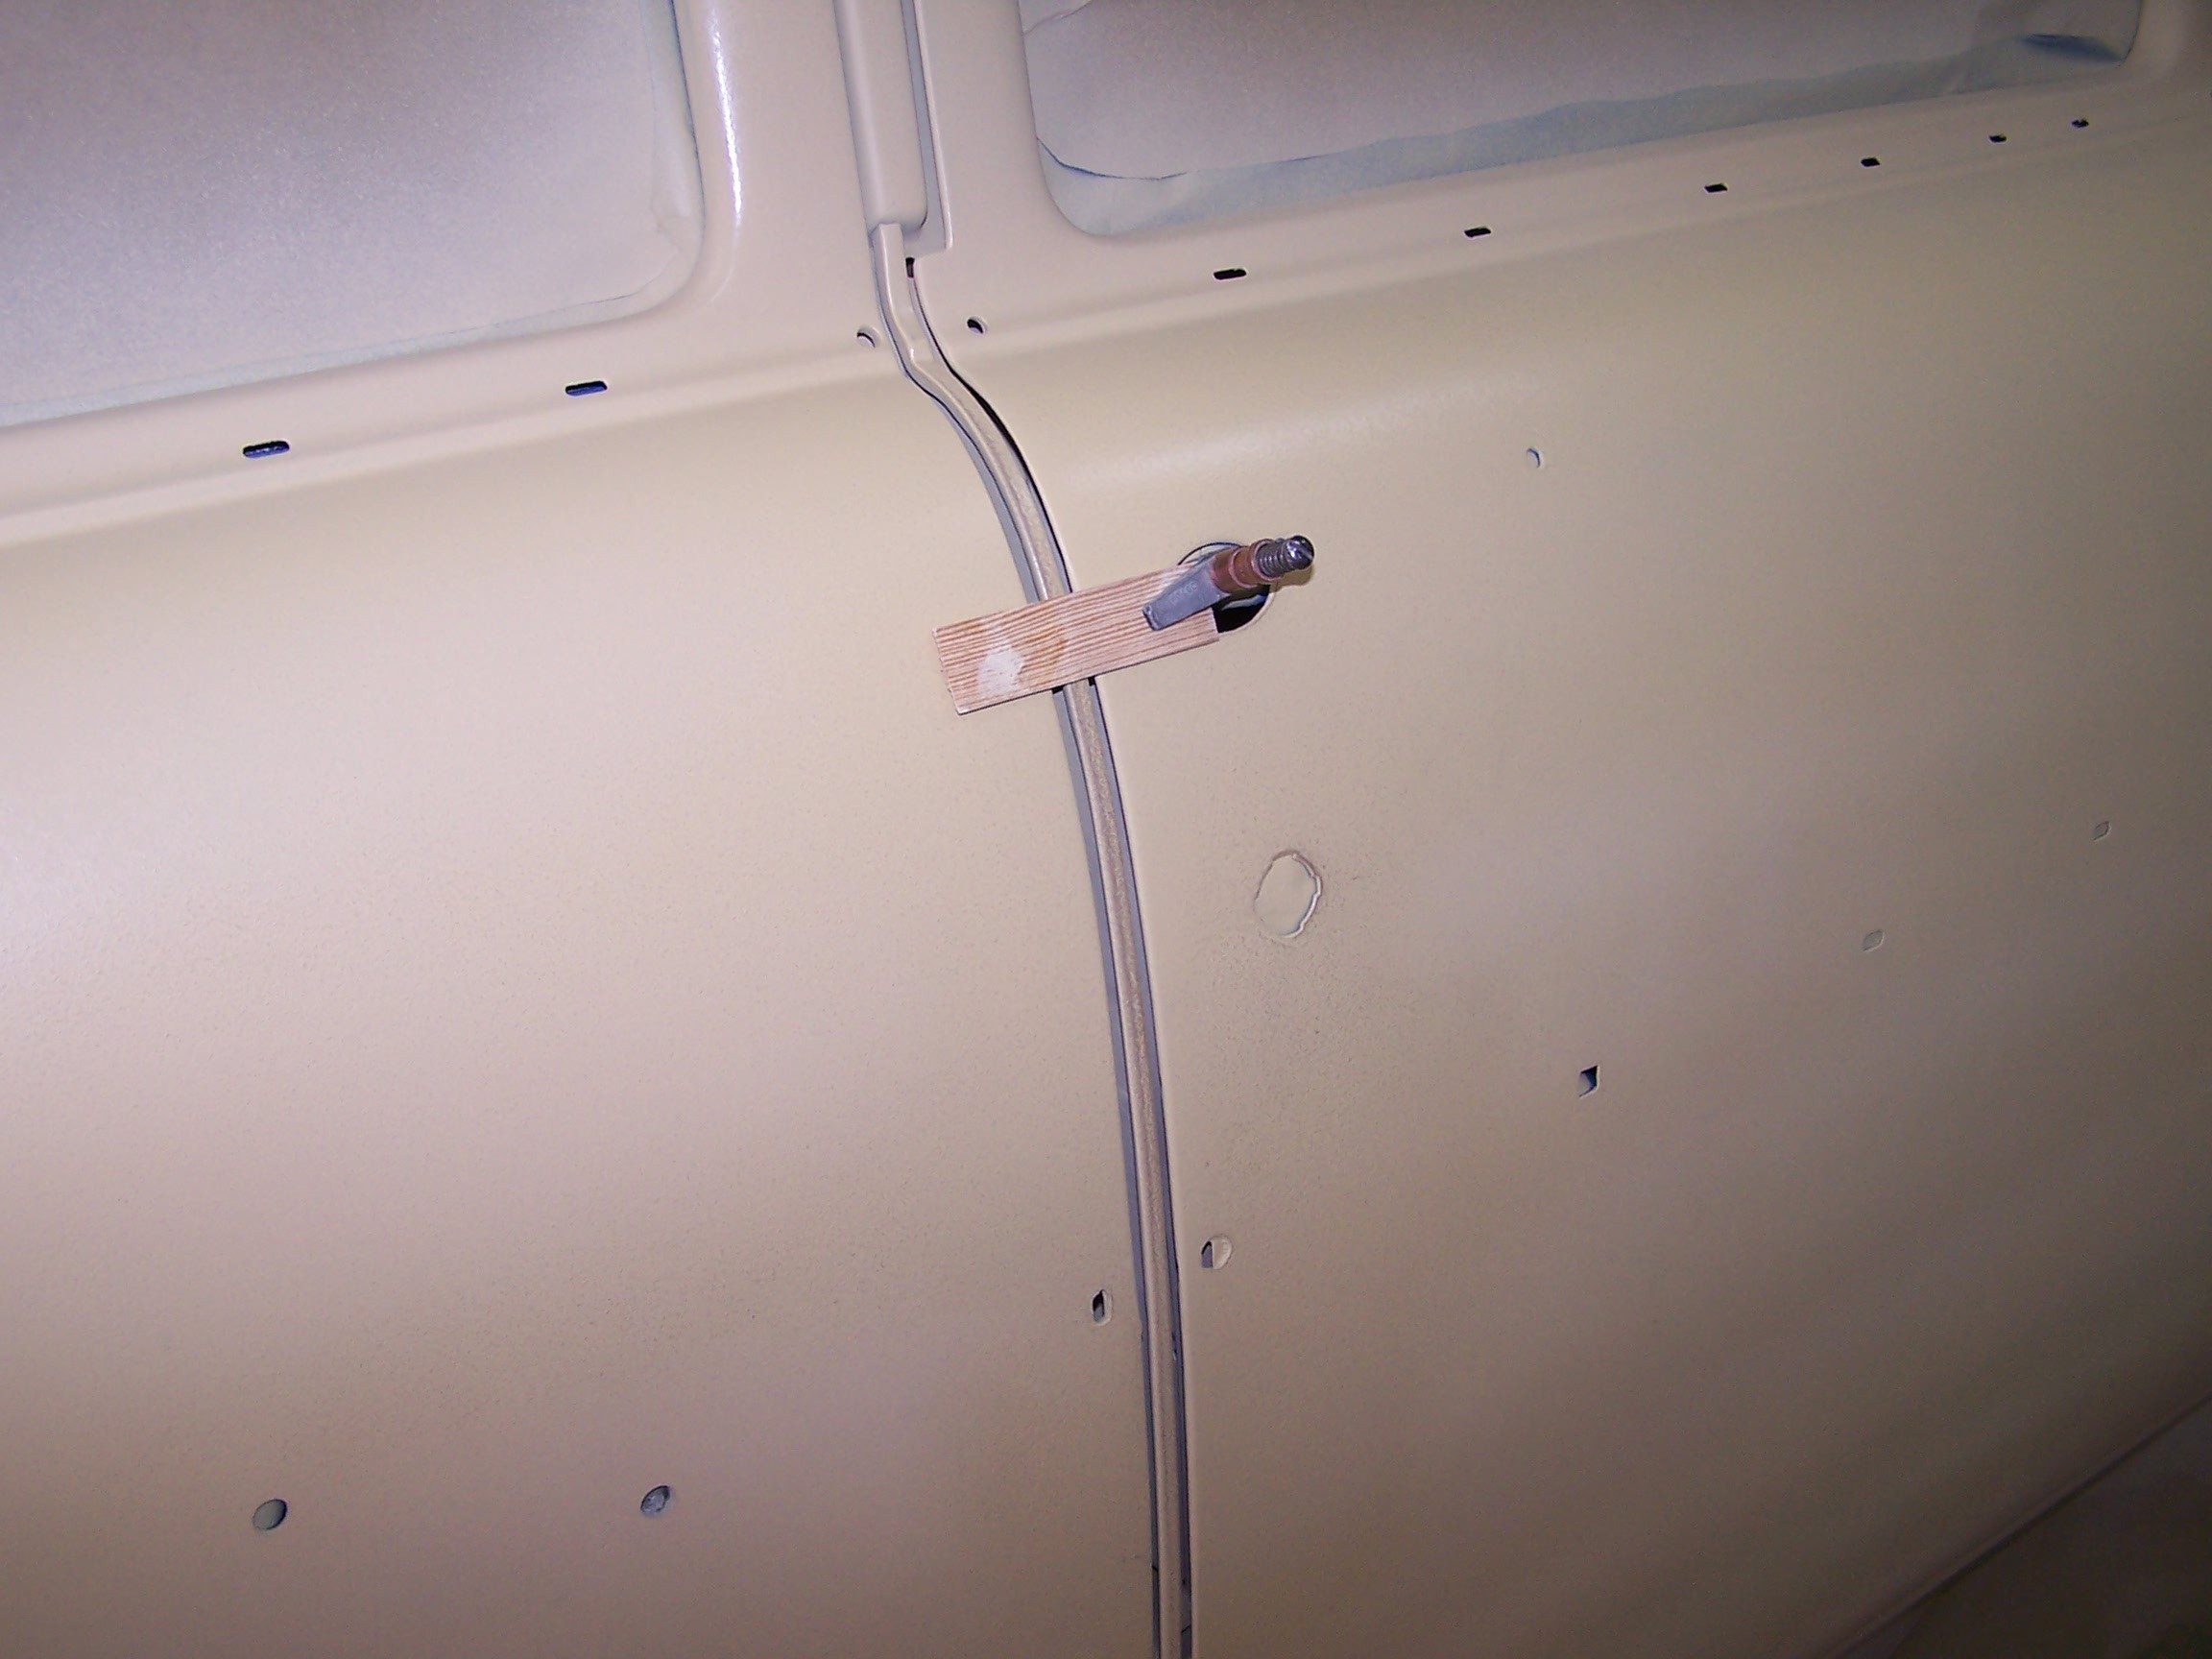
The driver side cowl section. Now that the extra putty is removed, it's looking very good.
|

The doors were sprayed inside and out, not that the inside really needed a high build.
|

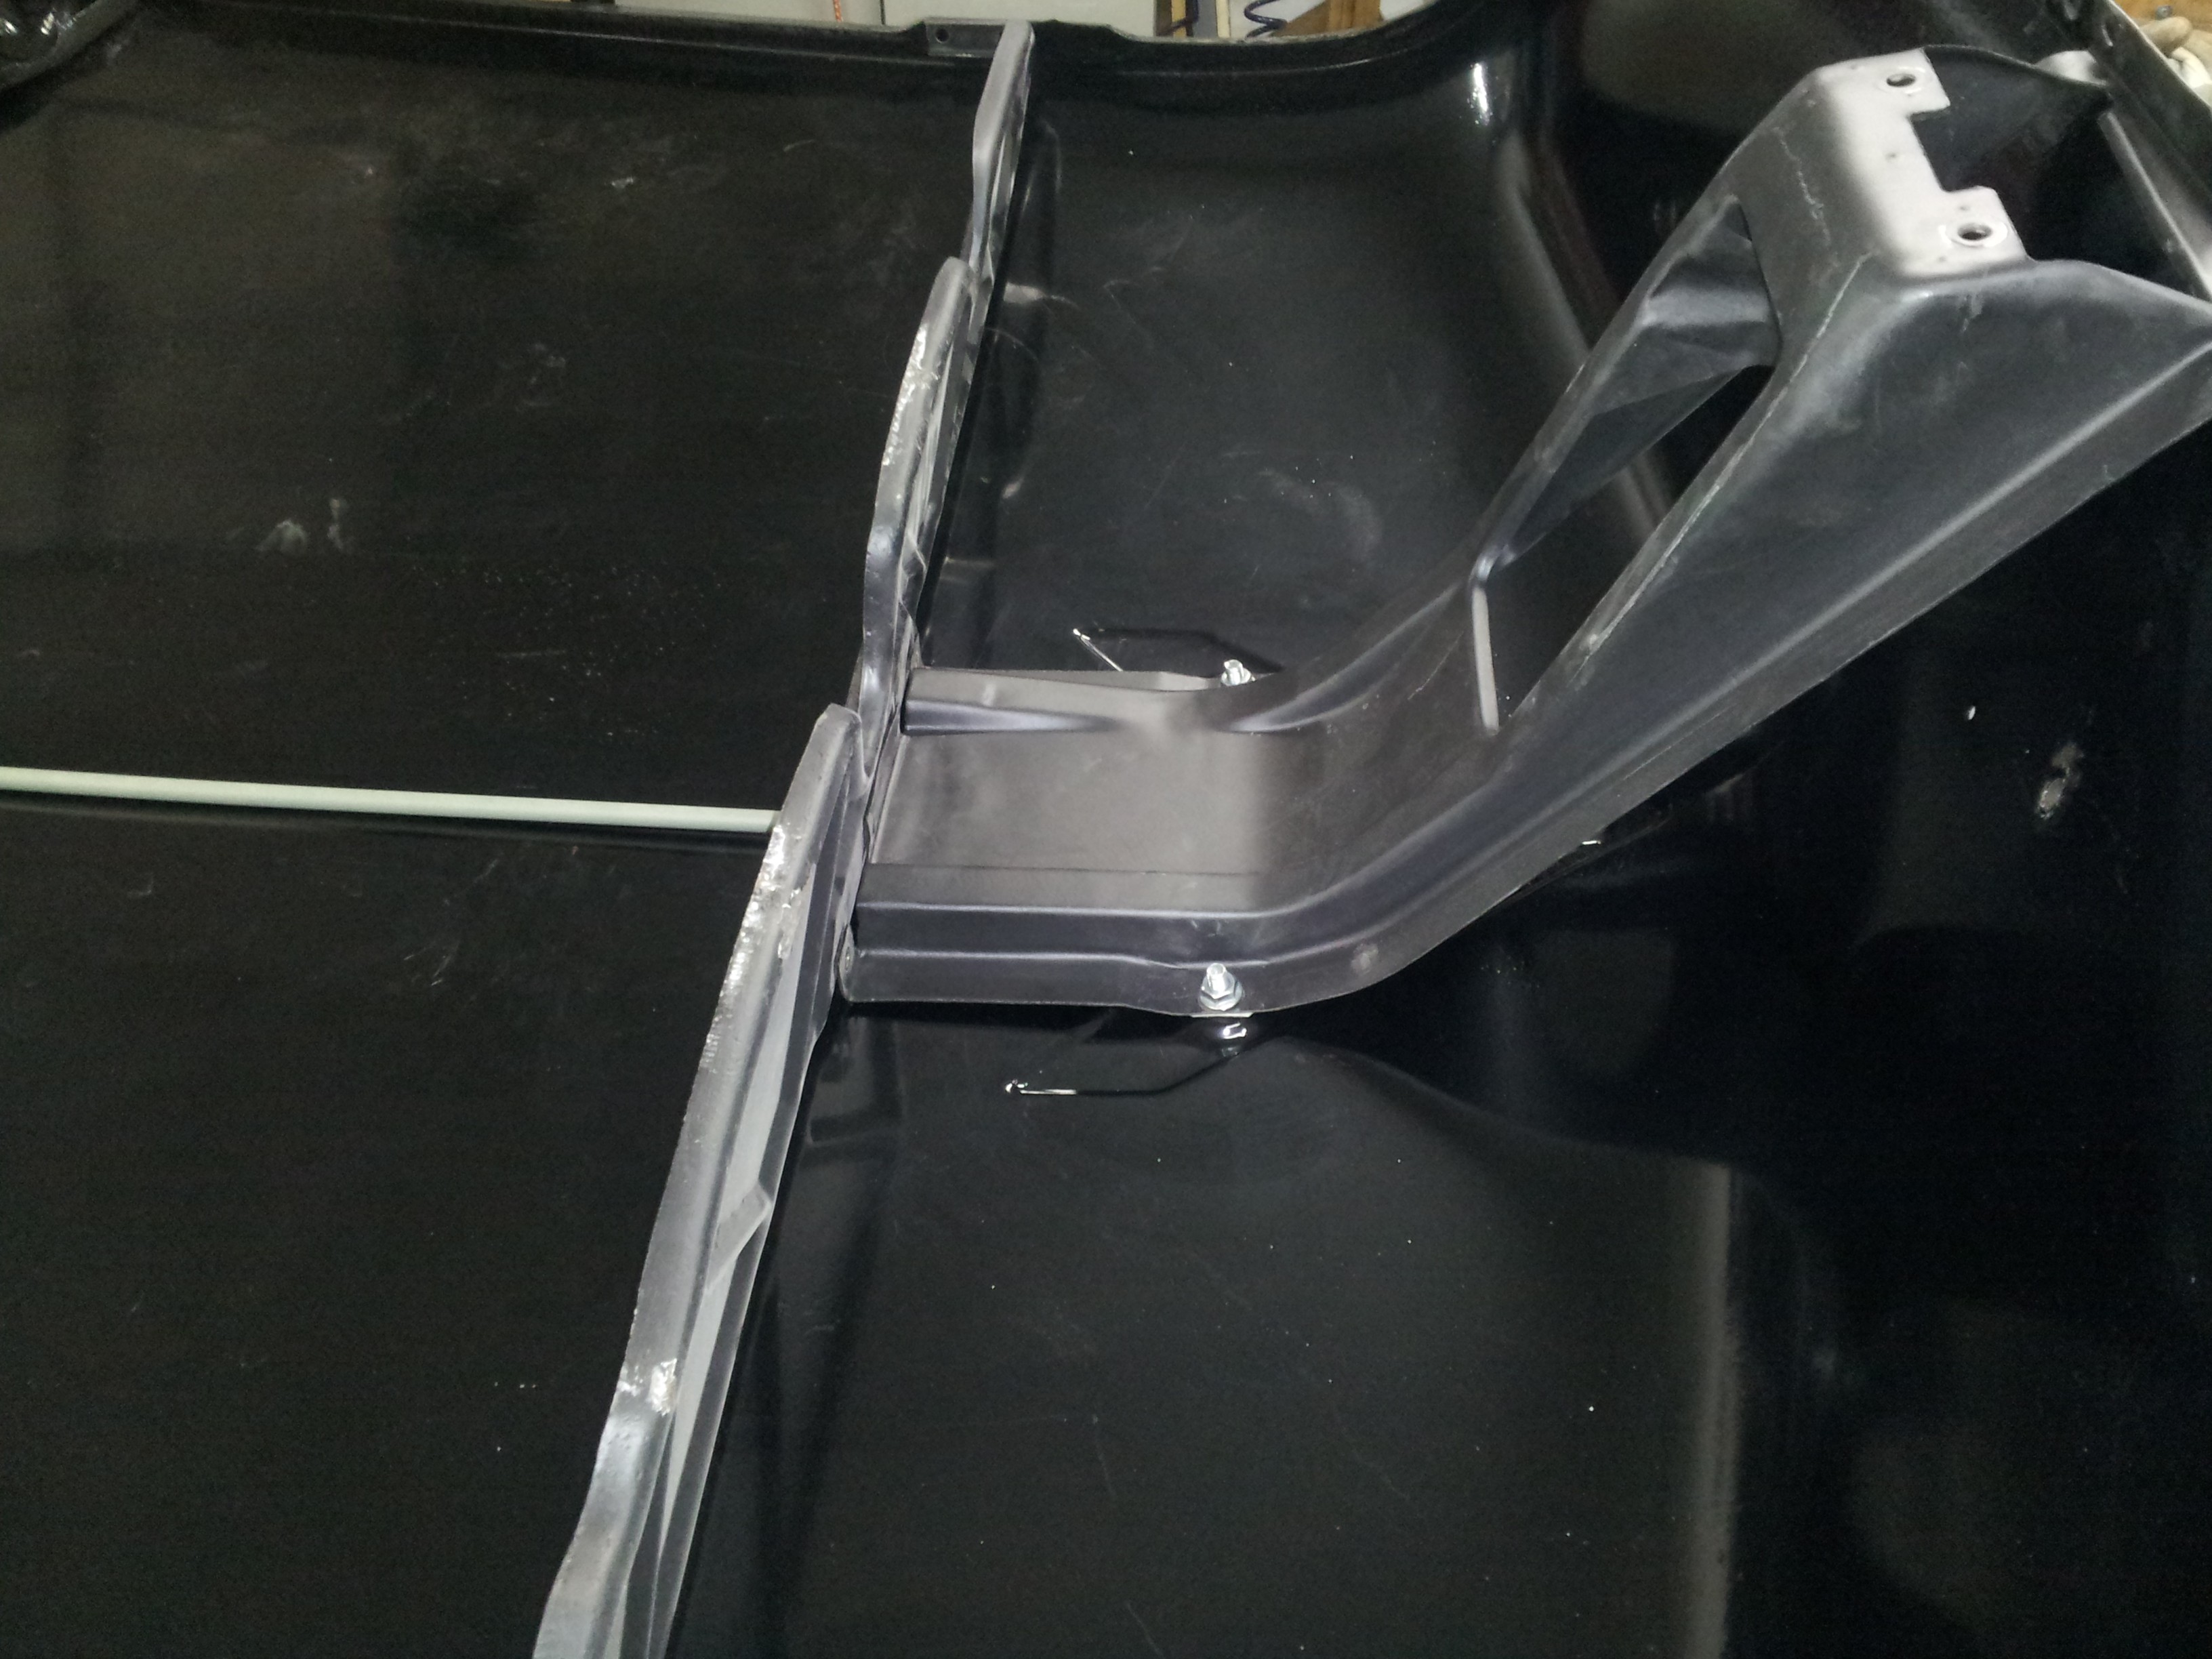
The inside of the tailgate looks good.
|

To prevent the usual Tri-5 hood warpage, Kurt tried a brace under the hood, hidden in the central channel and under the bracing. We will let you know if this works over time.
|
The hood bracing secures down the front of the support rod.
|

Probably one of the strangest anniversary gifts ever, we gave each other the grill and several other miscelleanous chrome goodies.
|

Since the hood had the same rust pitting as the fenders and we had learned from experience just exactly how the All-U-Need worked, we decided to put a skim coat of putty on the entire hood to smooth it down.
|

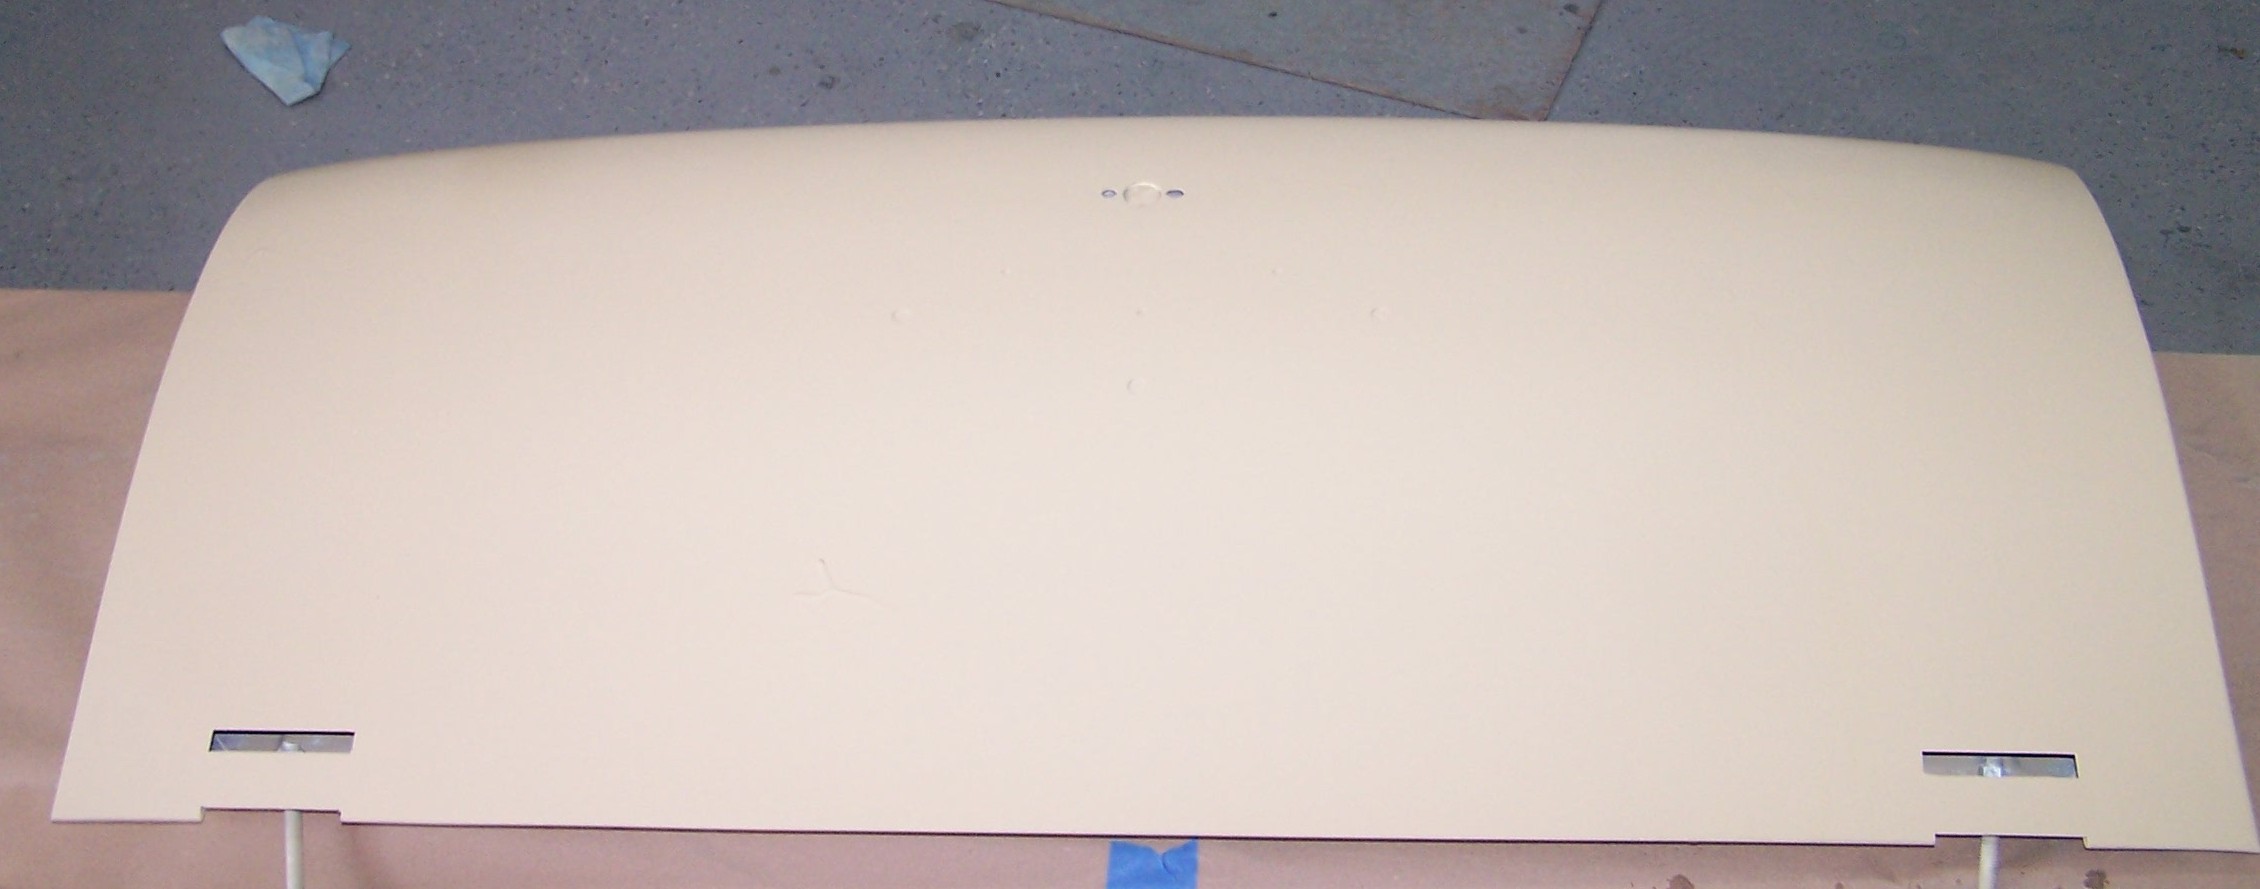
The rear hatch was stripped and cleaned for spraying white. Not much body work to do here.
|

The hood was dressed out mostly, then prepped for a coat of All-U-Need.
|

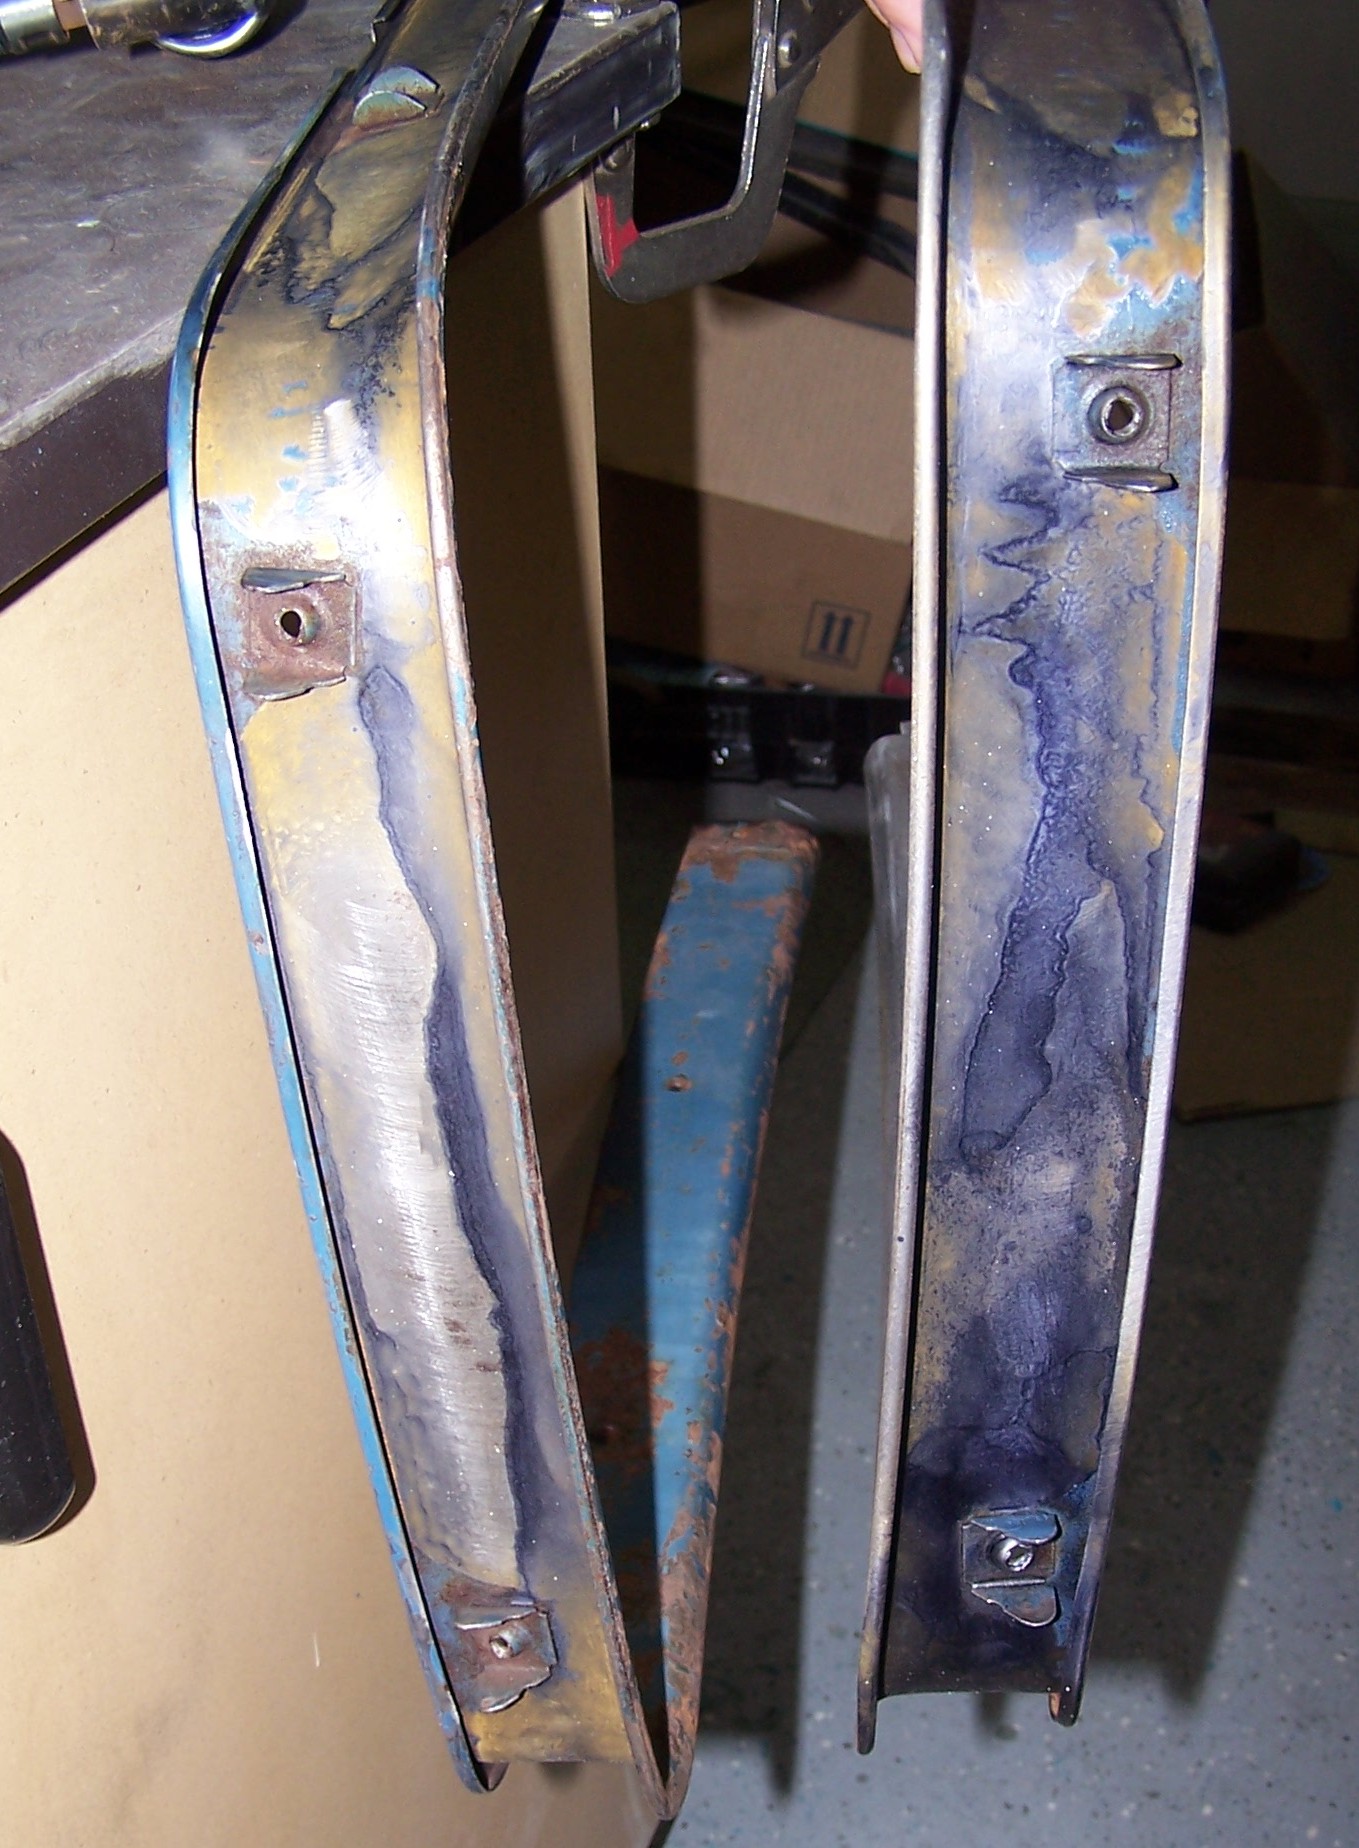
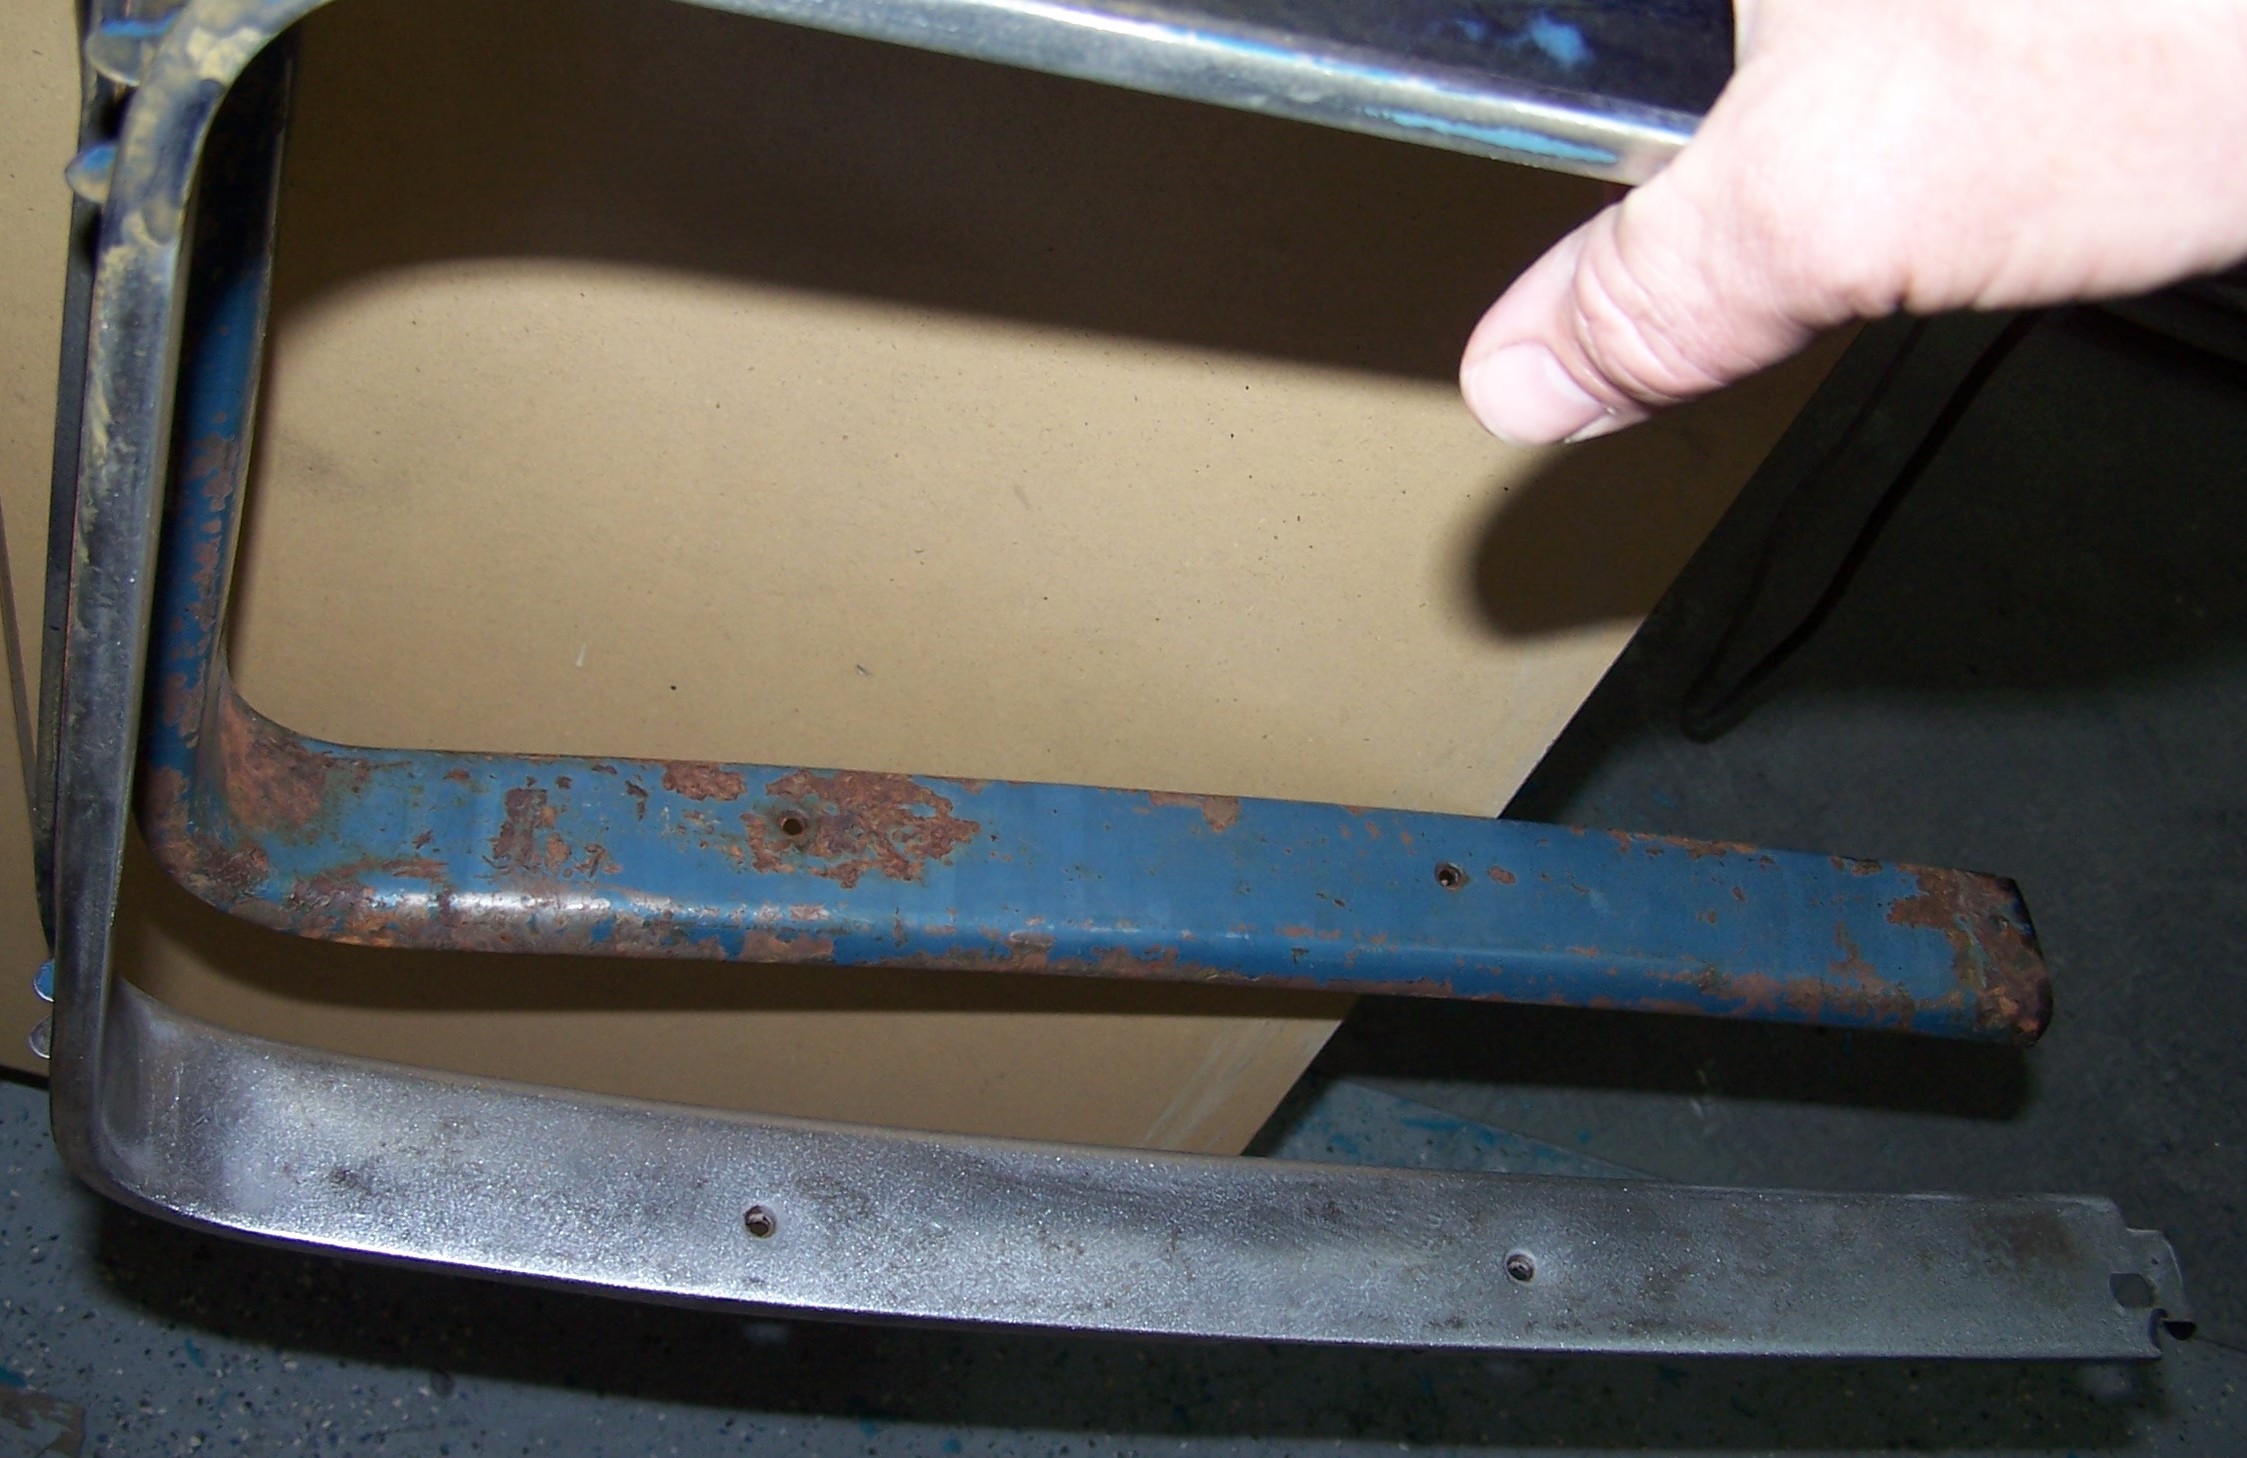
The window trim is waiting for cleaning and painting. Those that would fit in the sandblasting booth would be blasted and painted.
|

The rear window trim however will not fit in the sandblasting booth.
|
The inside of the window trim was treated to a chemical rust killer.
|
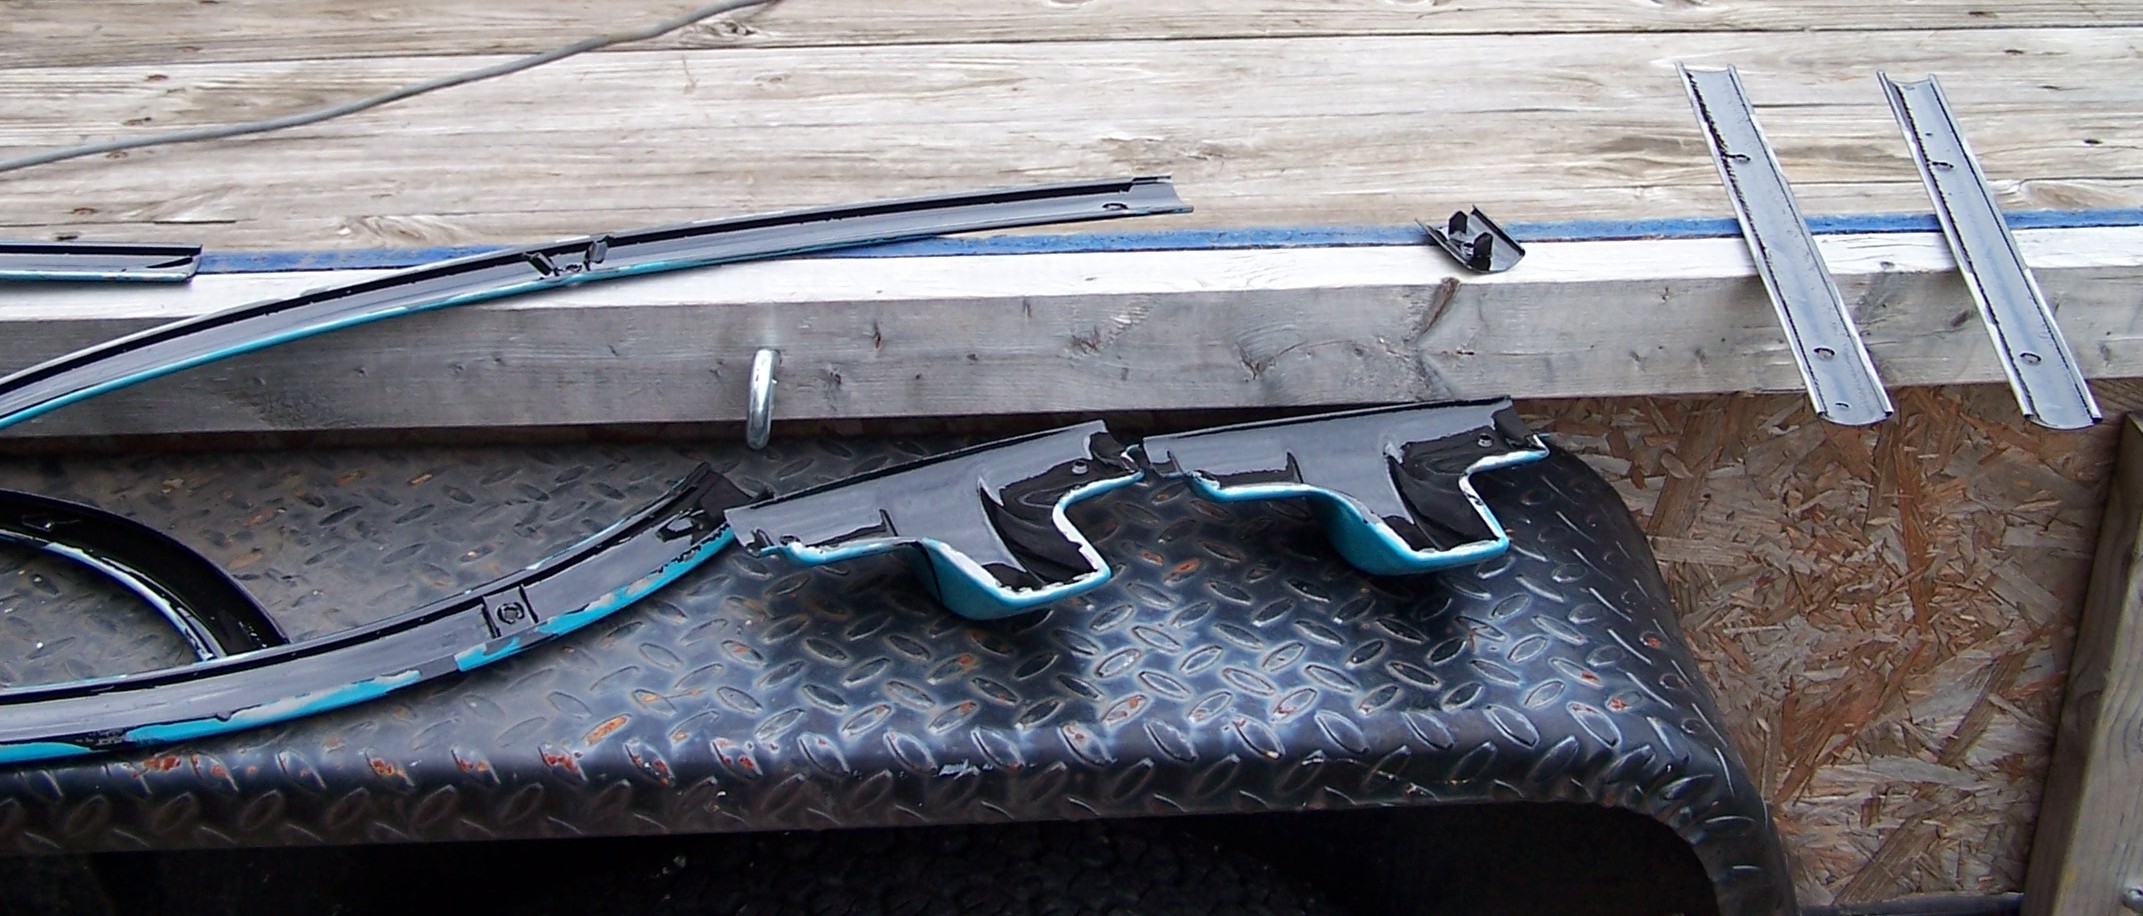
The hatch trim just barely fit in the sandblaster. This is one half after sandblasting and the other half before.
|

A pile of smaller window trim pieces waiting on the sandblaster.
|

The inside of the window trims were coated with POR15.
|
The coated window trims were set outside to dry.
|
The tailgate is a sad story. The original tailgate was sent to a sandblasting shop to have the inside blasted. Unfortunately, that process caused the thin skin to warp. After multiple hours of work, Kurt's wife threw up her hands in defeat on ever getting the complex curves of the skin correct again with putty as the metal kept moving under the sanding block. A new tailgate was purchased. However, the slots for the hinges didn't quite match to the original body and had to be metal worked. But that took much less time than working the original would have. And we were rapidly running out of weather.
|
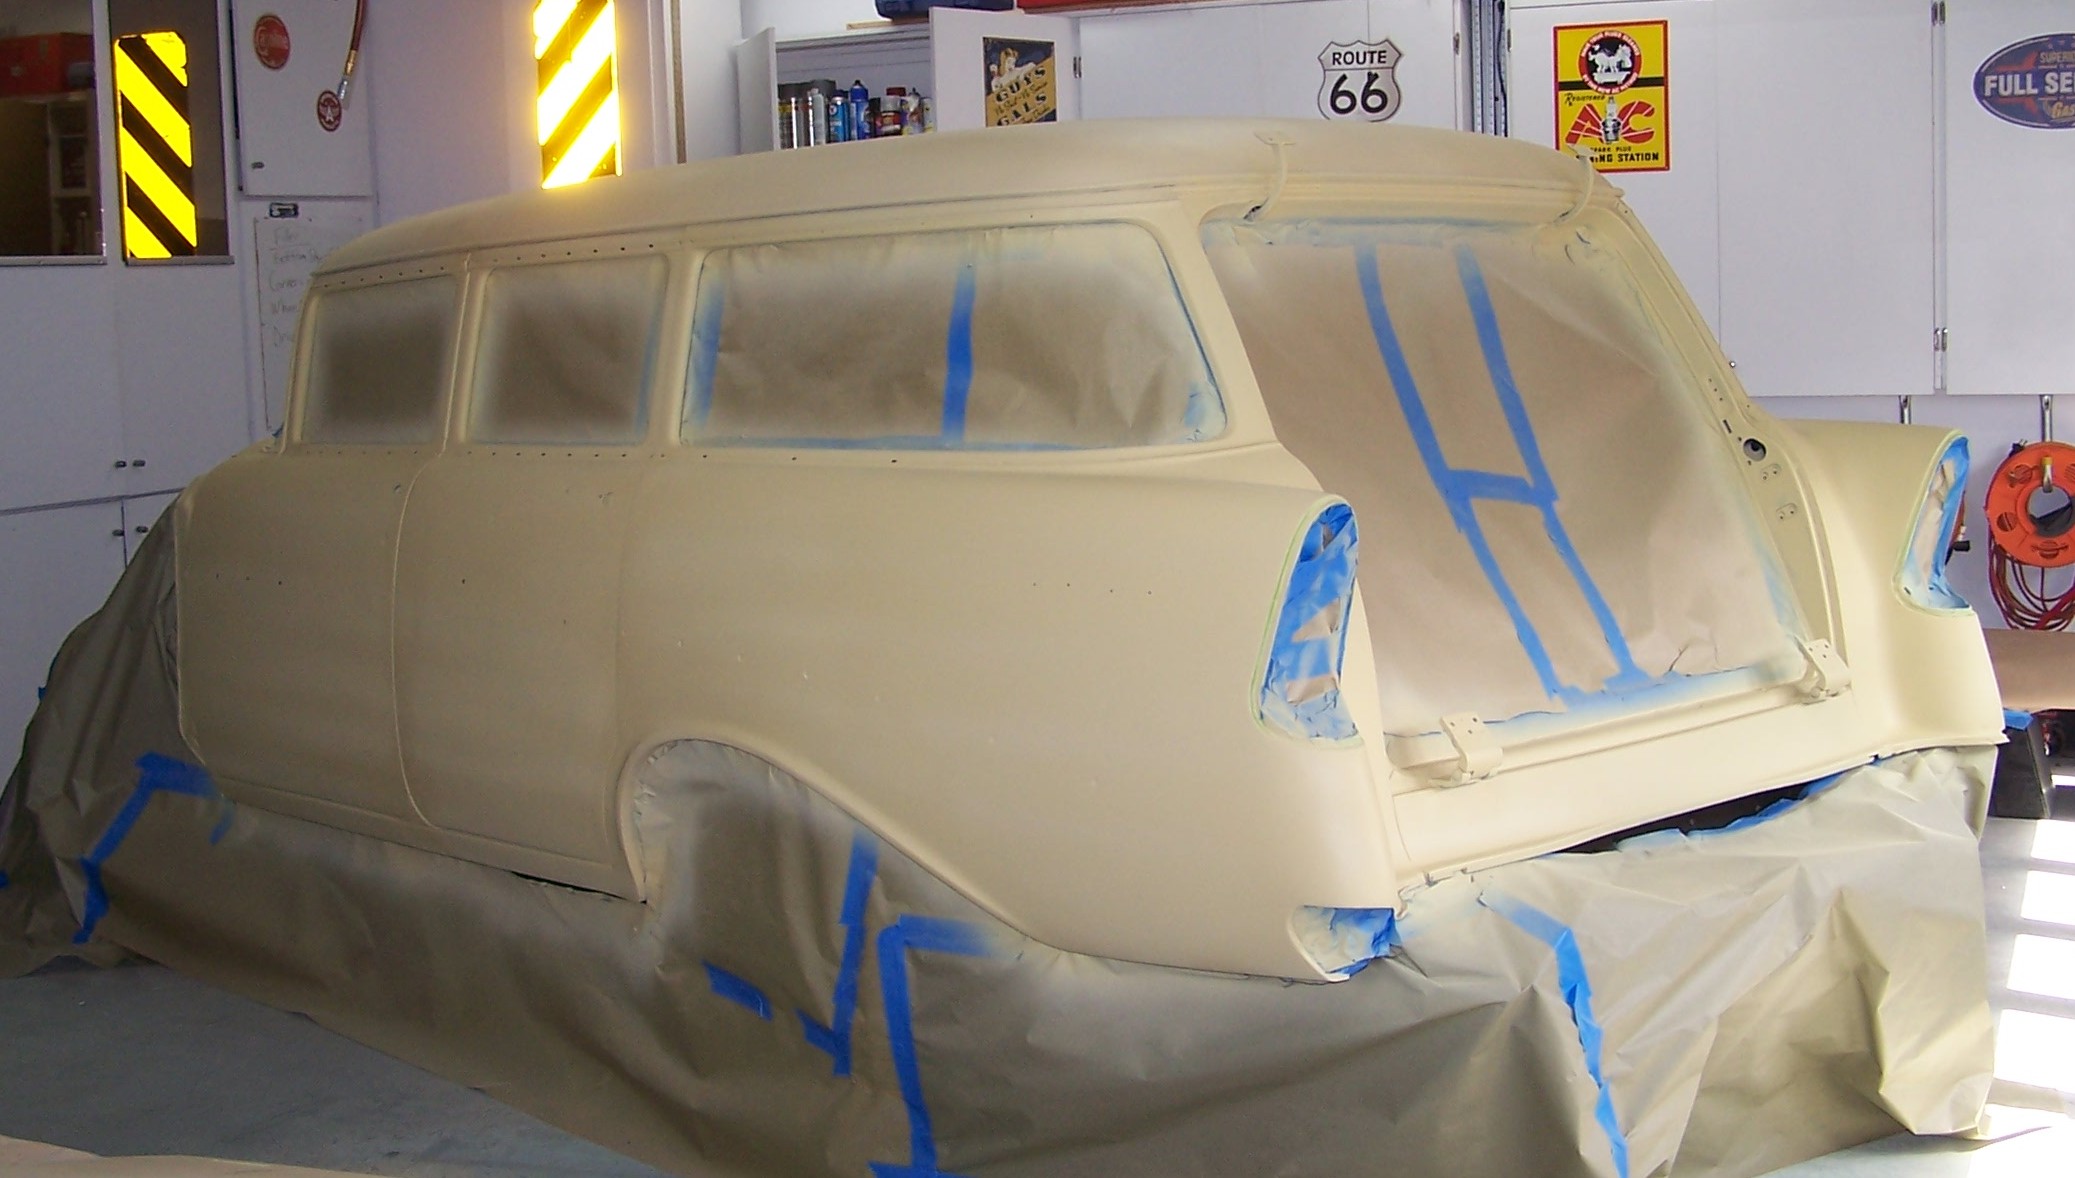
The body has been sanded to P500. Now we have to proof up for all the little imperfections.
|
When we sprayed the second round of All-U-Need, we had the usual plastic sheets hanging up. We left the building with the fans running to help it vent --- and came back to find that the plastic sheet had somehow wrapped up in the fan and had polished the passenger side. Fortunately it sanded off well.
|

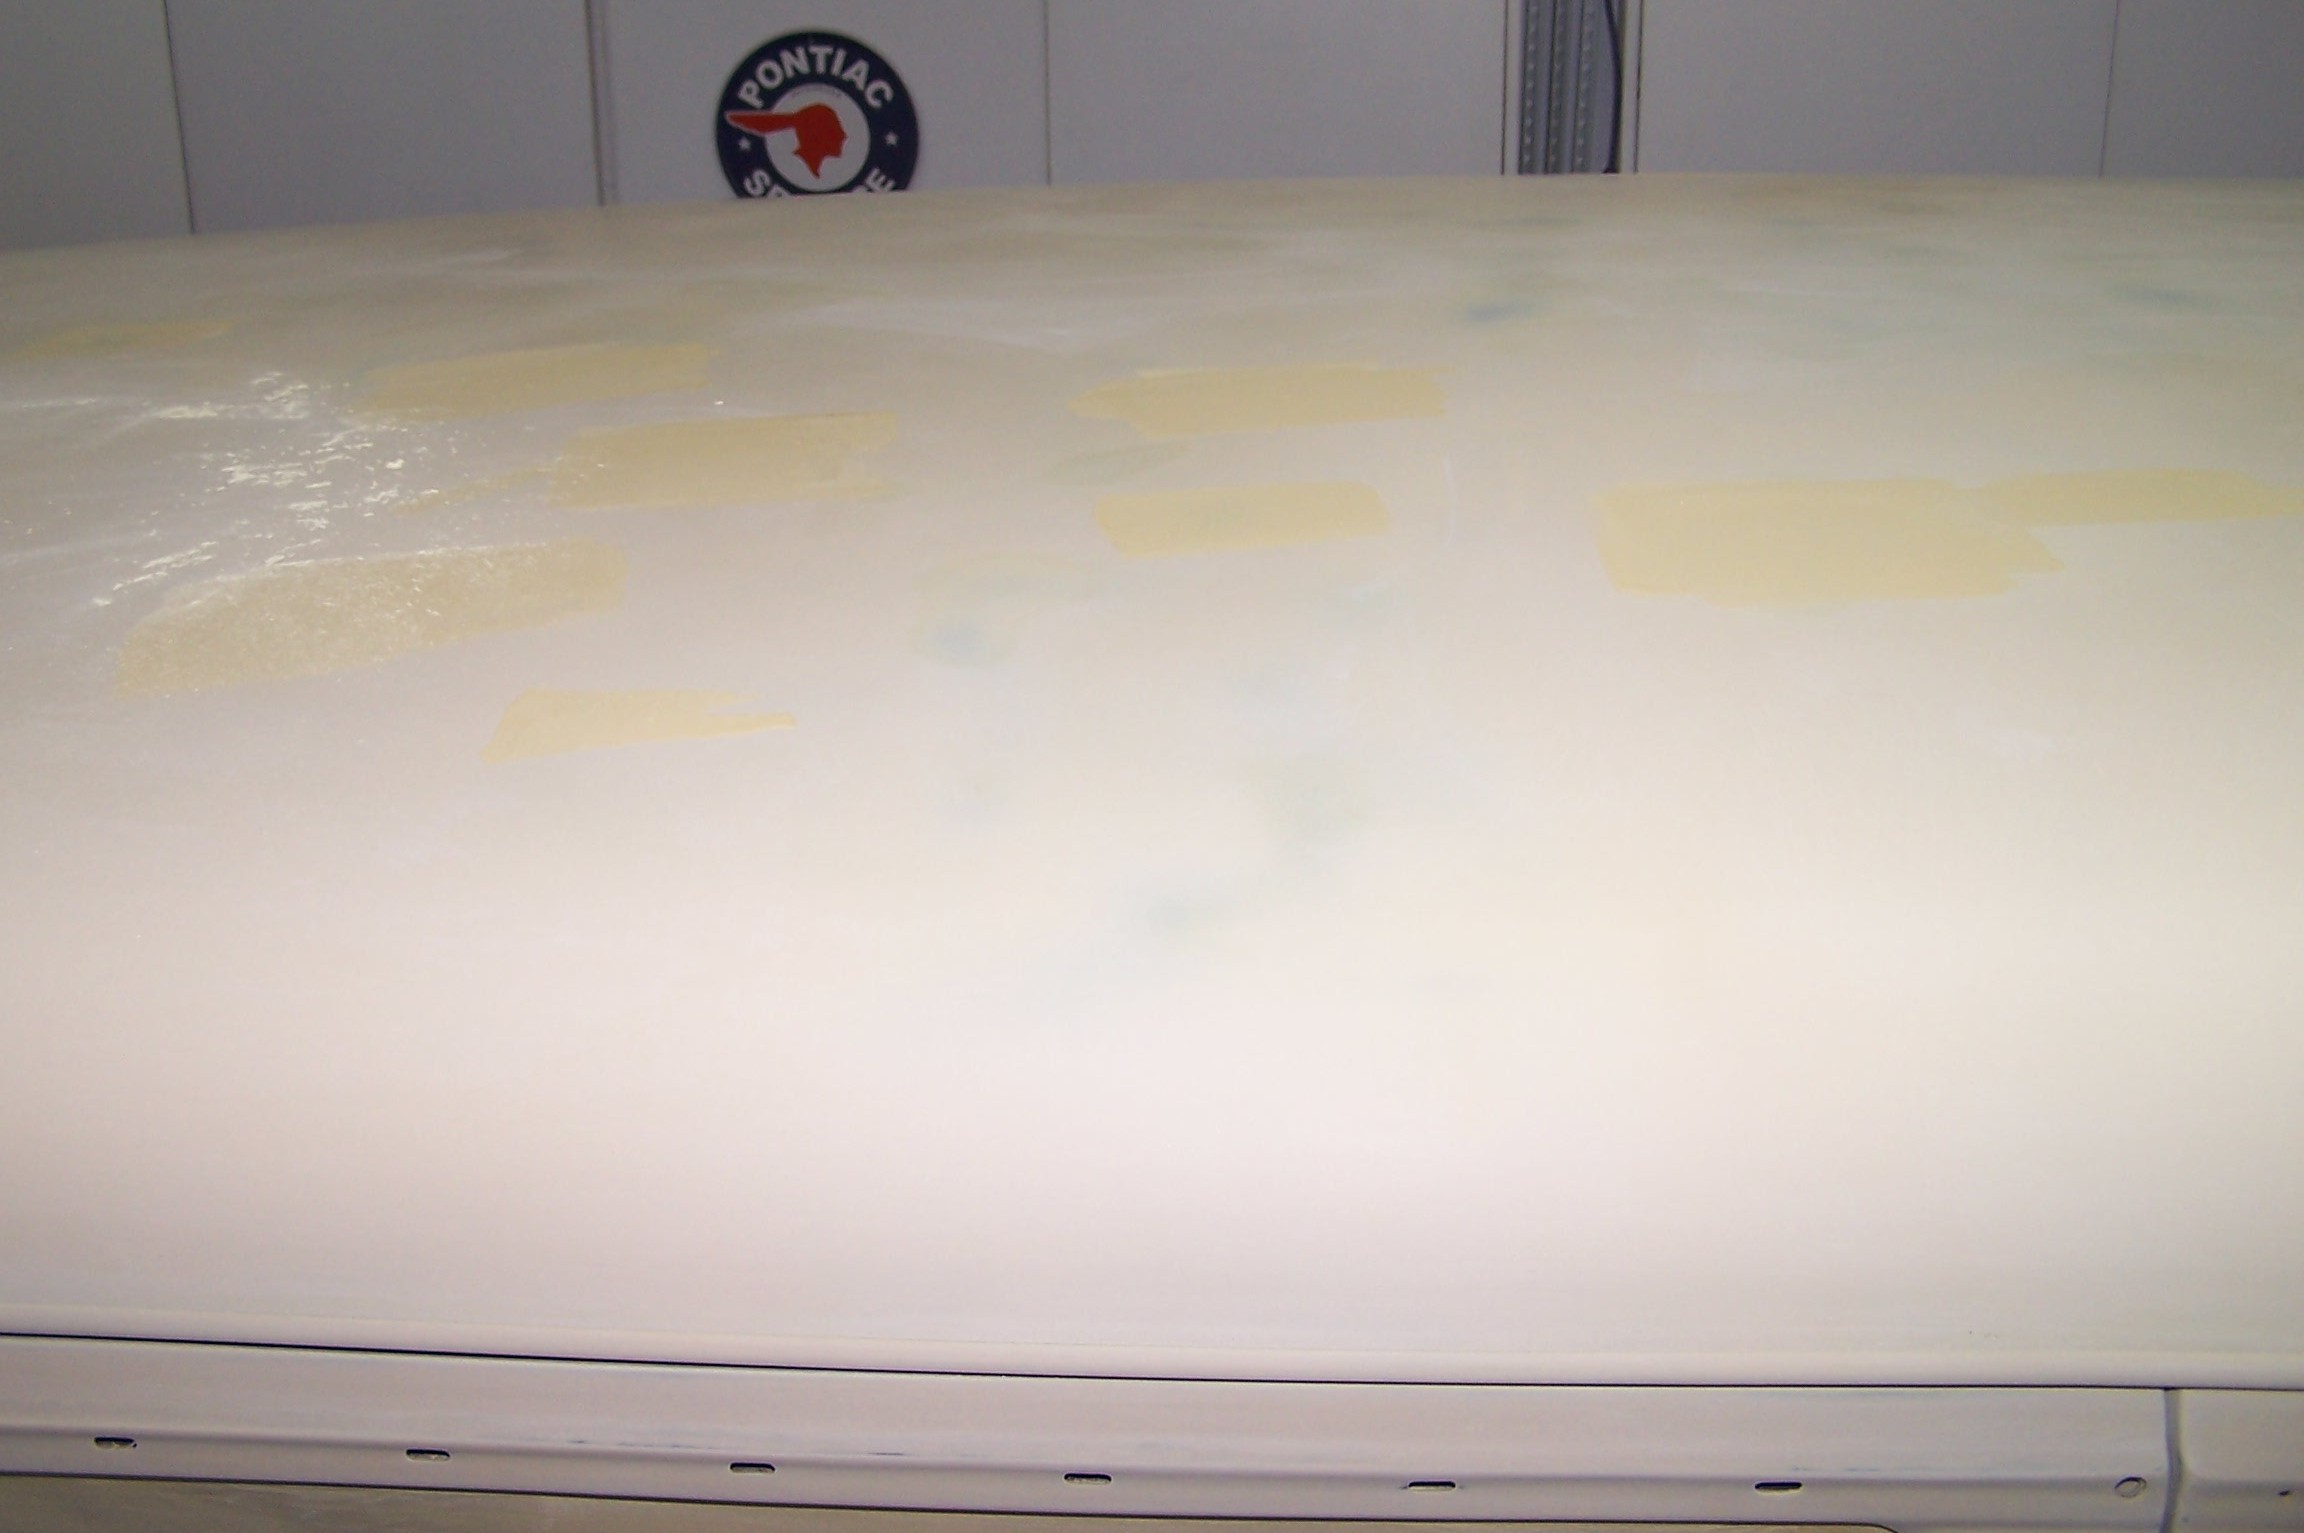
We tried a different technique to take care of the imperfections - a roller. All-U-Need does not require spraying, but can be brushed, rolled, or poured on. So we went around the car with a roller and hit all the spots we could find.
|

There were small spots all over the body. The rolling process took most of them out, after sanding.
|
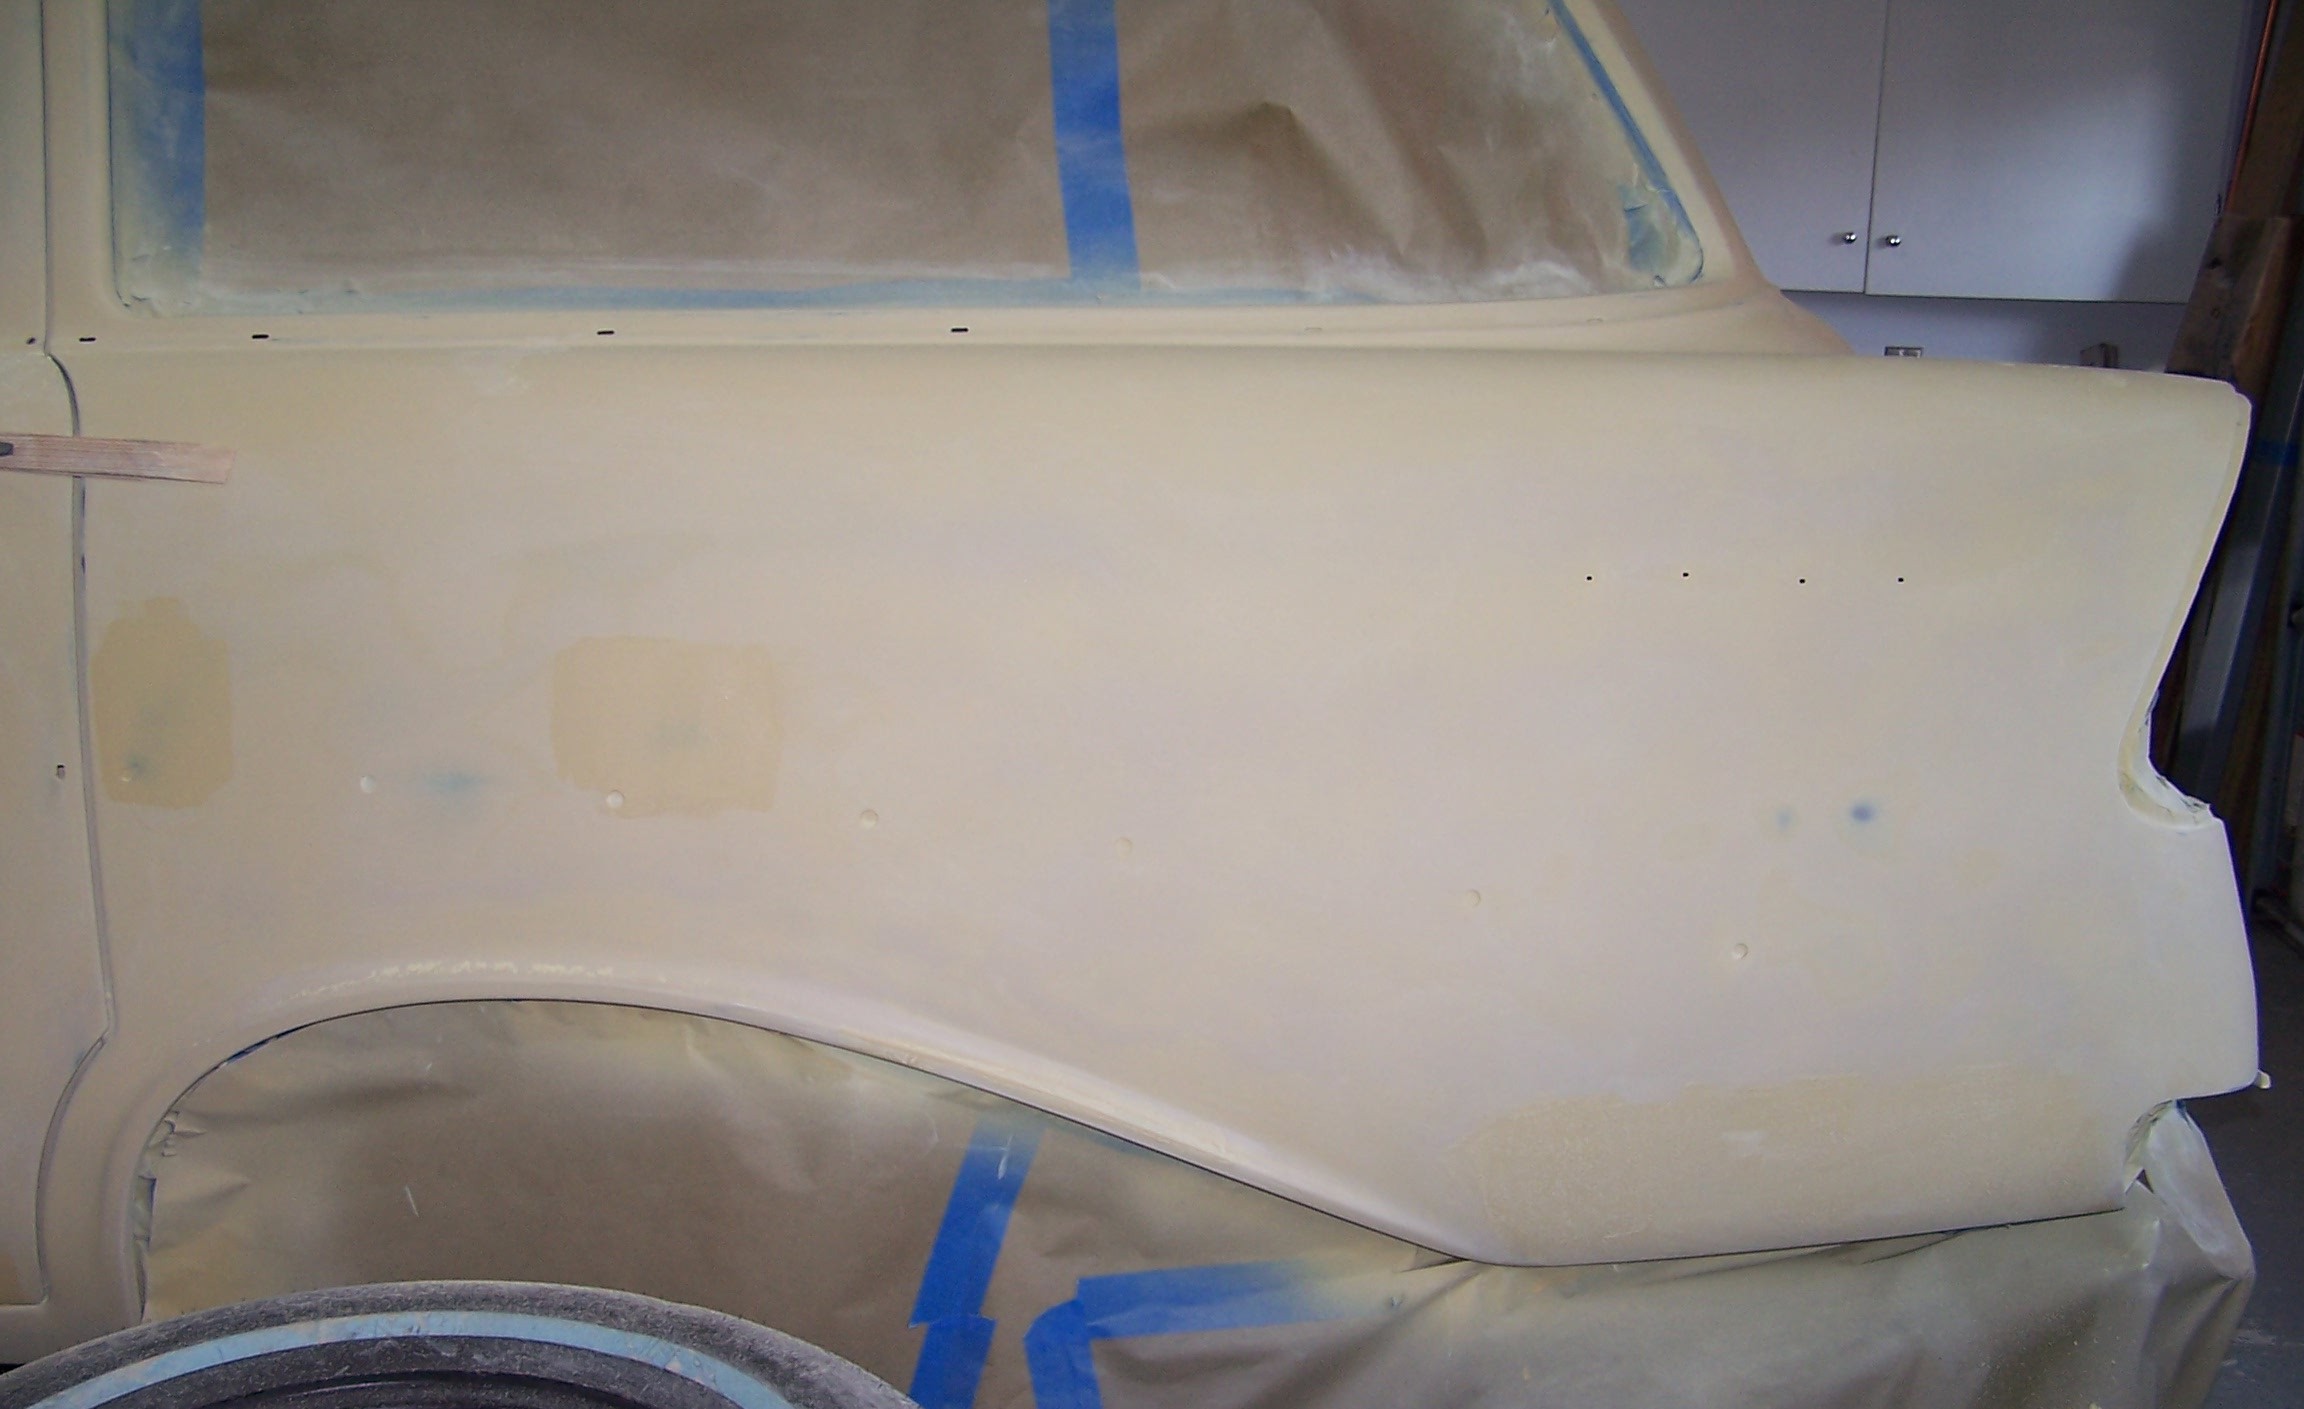
The driver rear fender looks smooth, despite all the putty work.
|
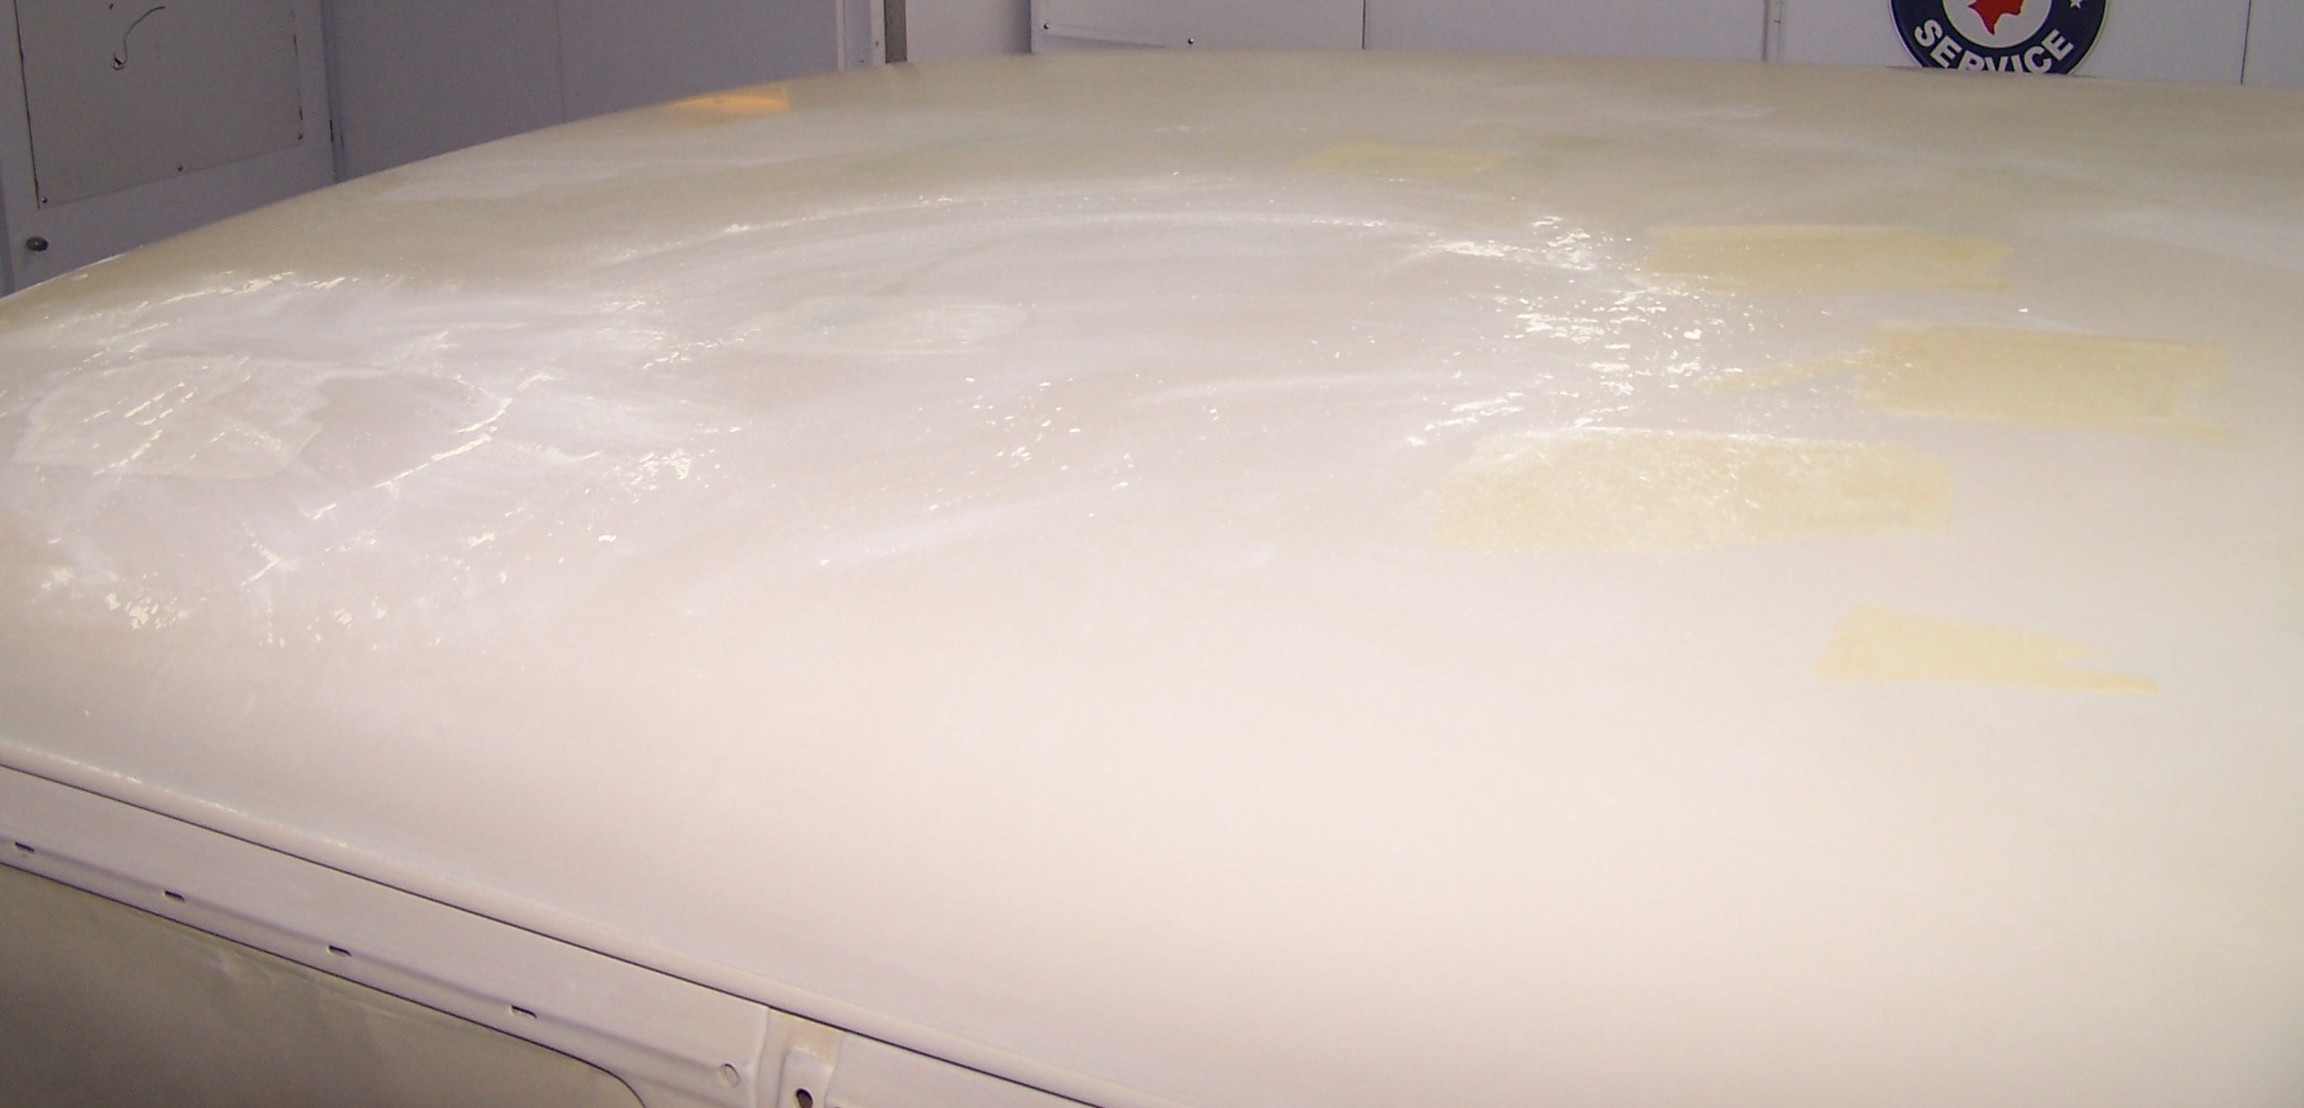
The one dent on the roof was still not quite right. There was one area that was still low, compared to the surrounding area.
|
Rolled spots on the roof.
|


